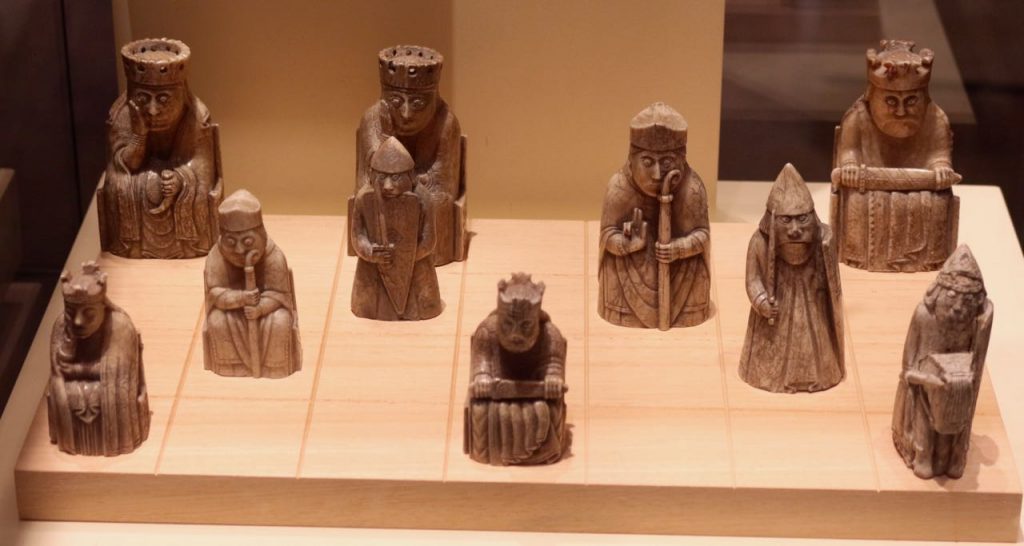
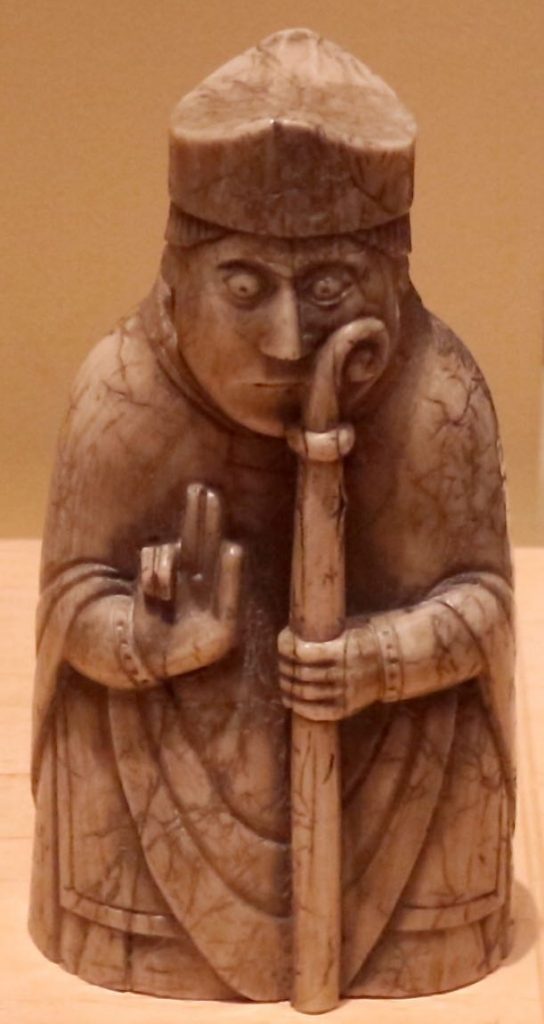
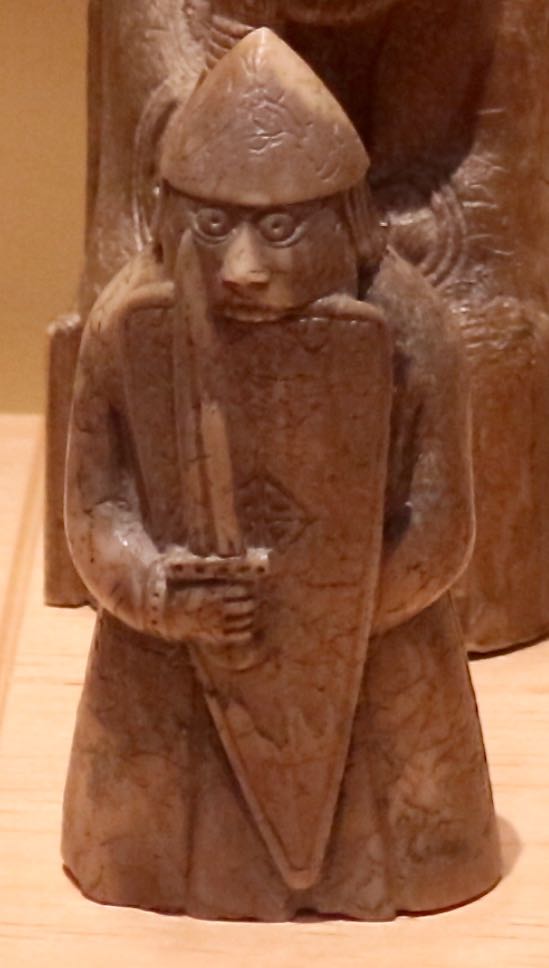
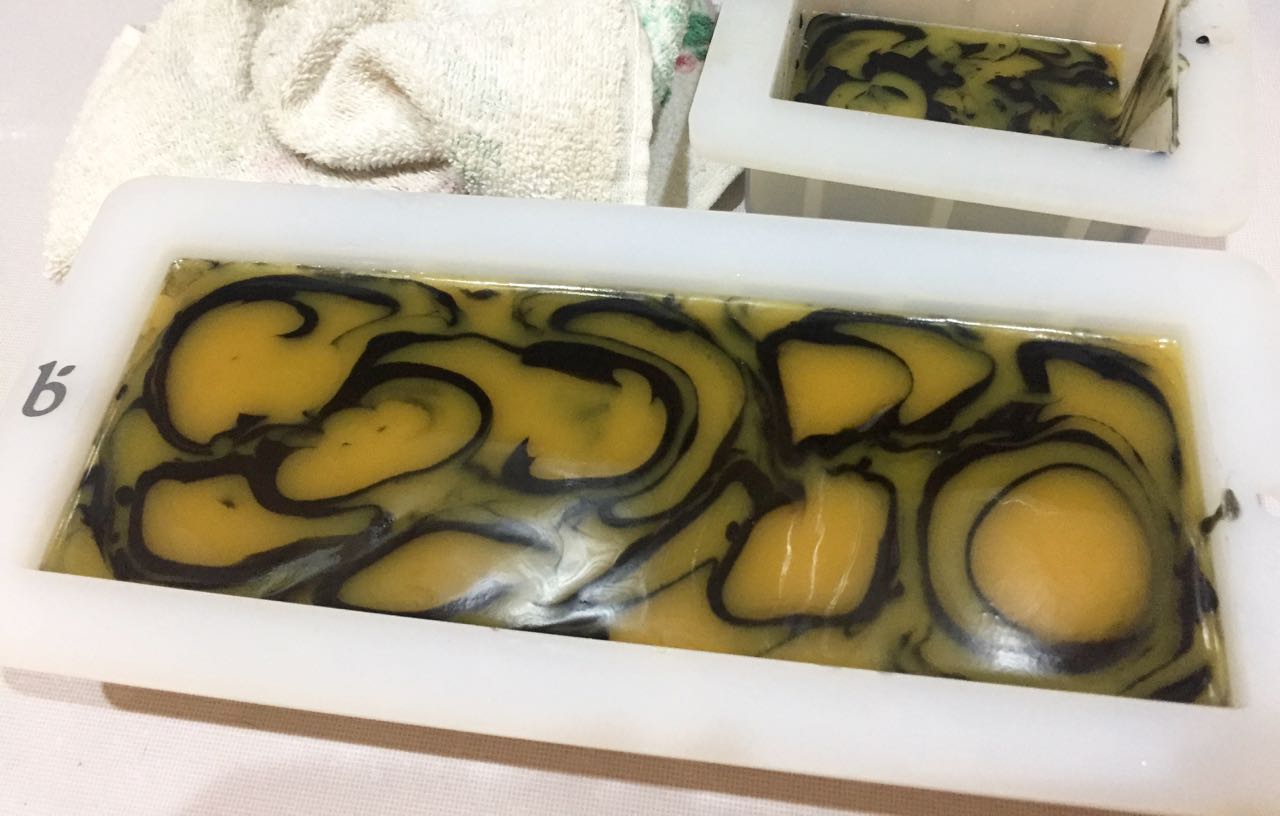
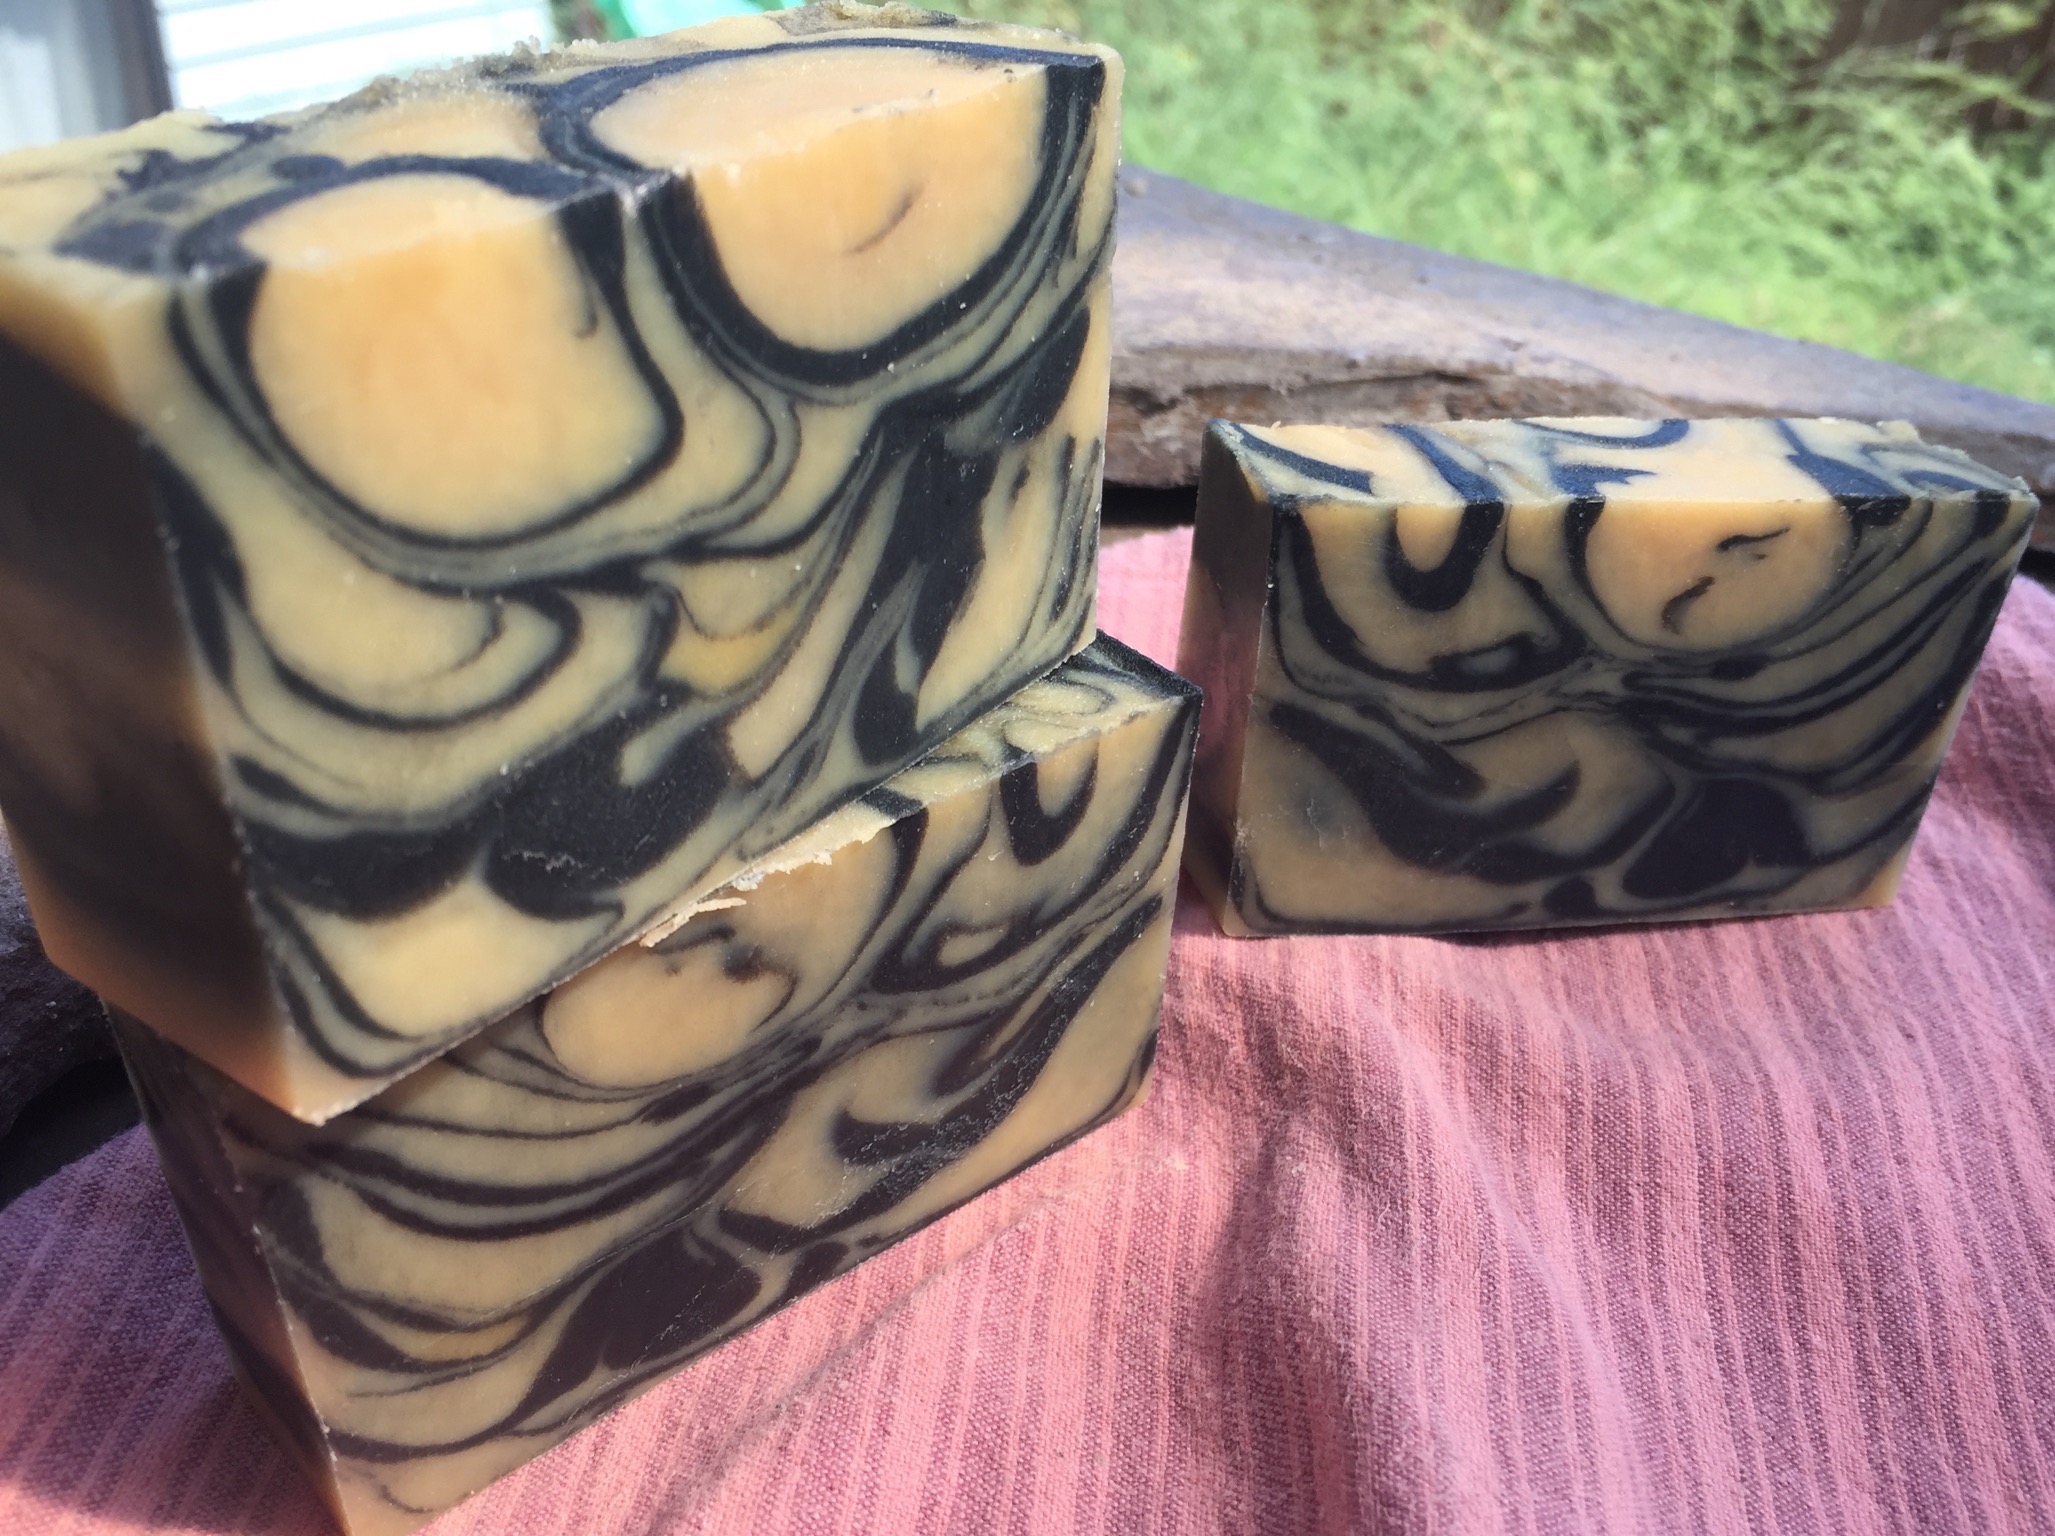
One thing leads to another. I went to New Mexico specifically to learn how to make SOAP molds, but somehow that led to an obsession with the Lewis Chessmen, and while thinking of things I might like to 3D print or cast in resin, I started thinking about chess sets in general. Also: my artist friend suggested that my 3D prints will be better if I have some experience with sculpture, even if I’m not very good.
So what should I sculpt? The absolute easiest thing for me is going to be horses. I drew only ONE thing as a child and it was horses 24/7.
I took some polymer clay I had sitting around and some j-mac oil-based modeling clay I was given and went at it.
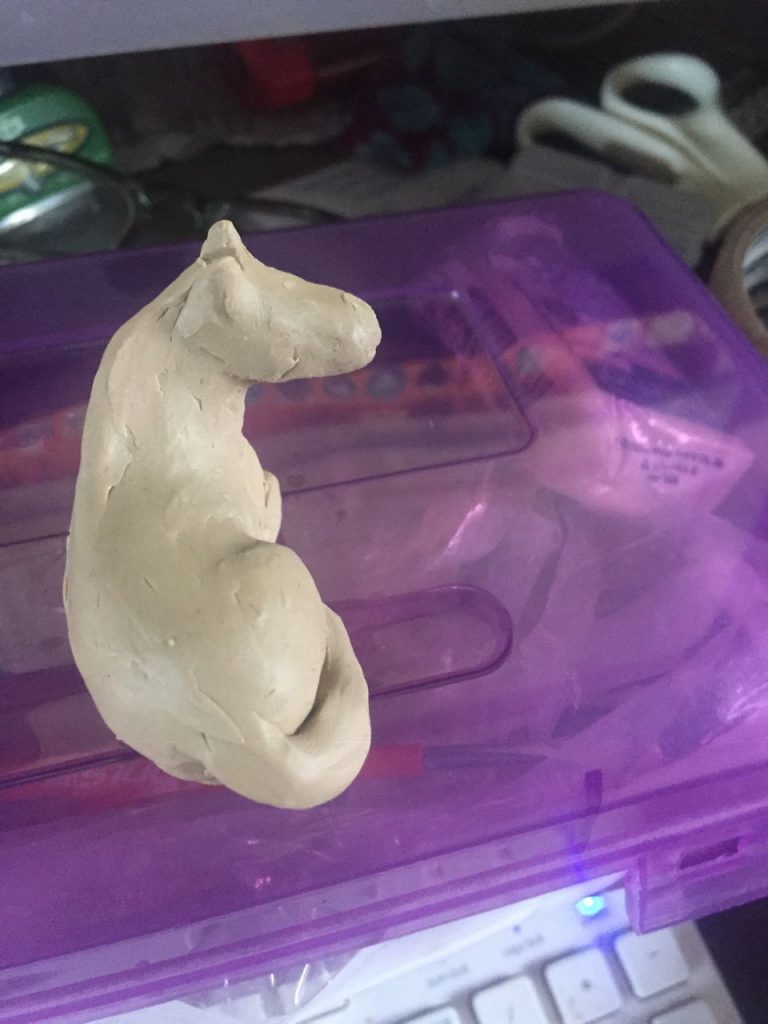
First pony 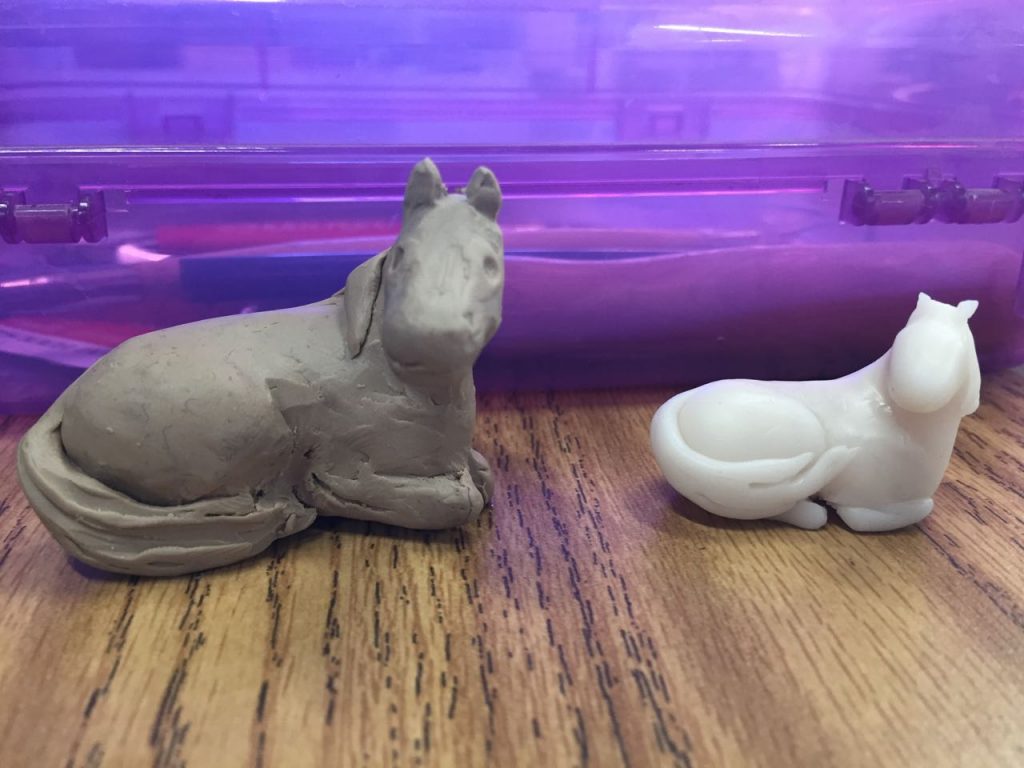
Another of polymer clay 
Many horse heads 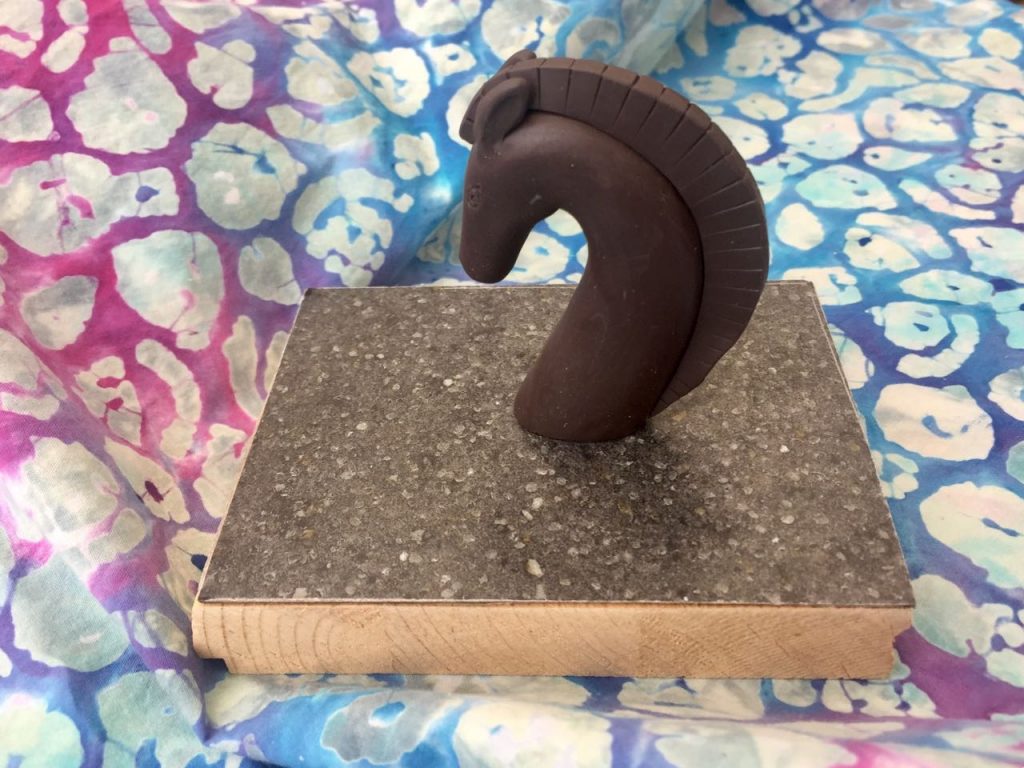
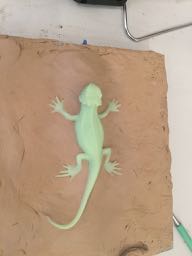
A chess knight or a sea monster?
I first made a few reclining ponies. They are quite small – so small that I had difficulty handling them. The first is made of j-mac and the smaller one of translucent polymer clay. I was thinking of making them into netsuke – these are carved buttons or toggles that are worn with kimono.
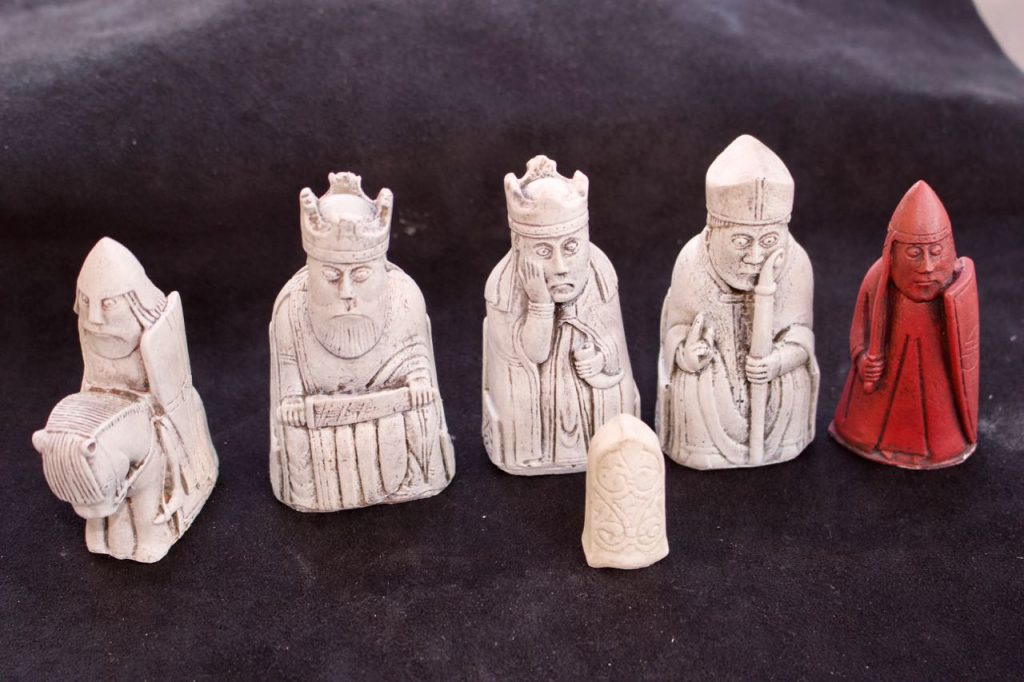
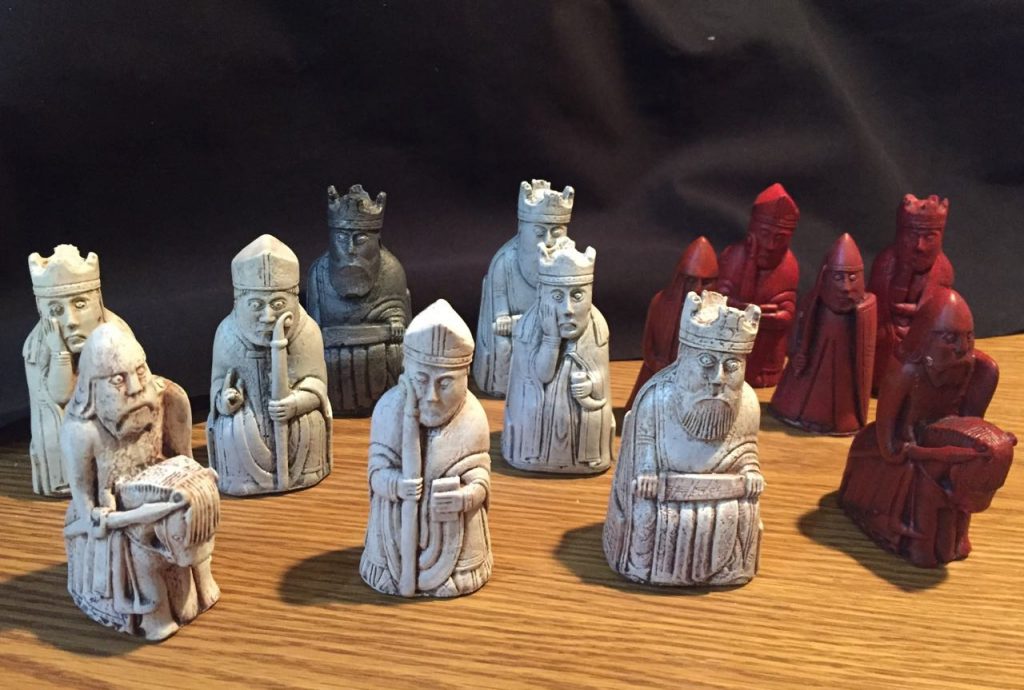
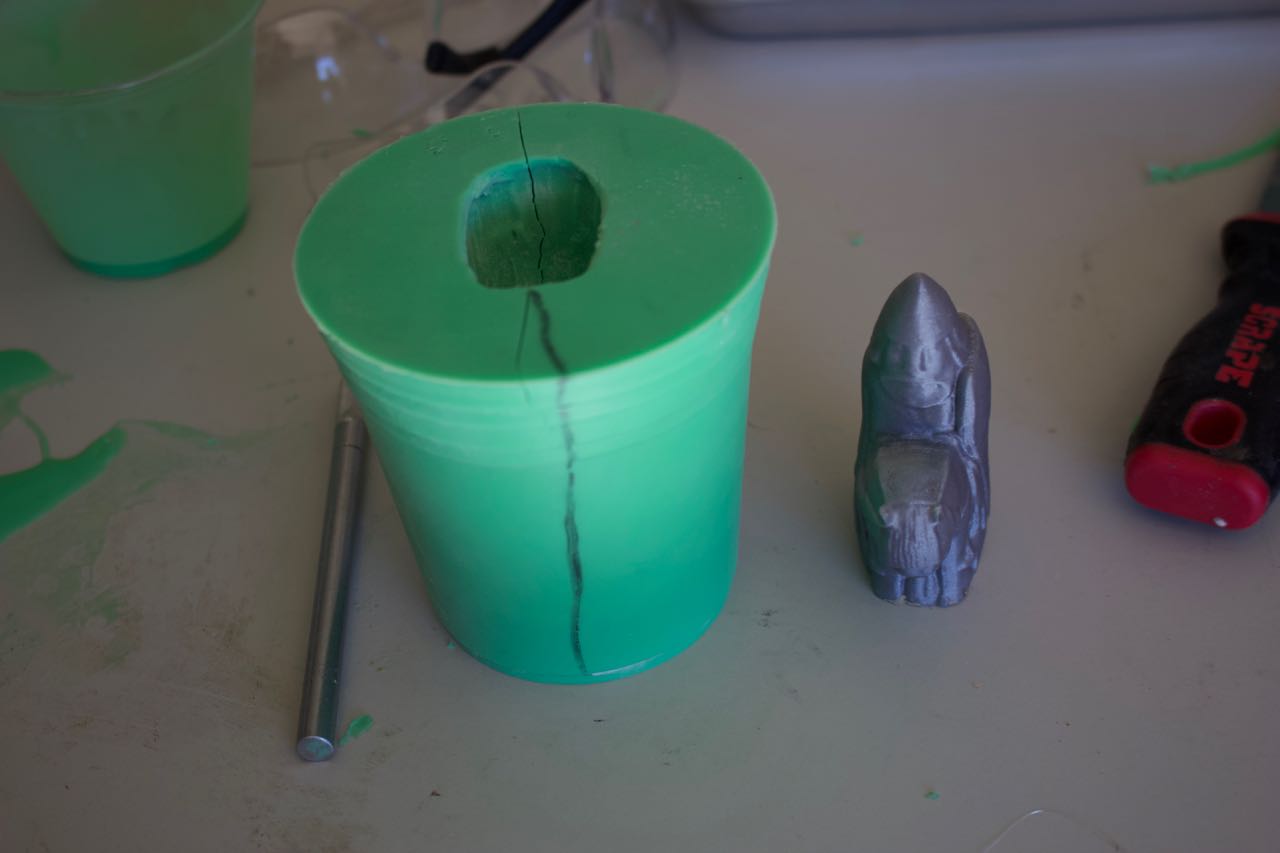
Next I started thinking about designing my own chess set and I spent a while looking at classic sets and some 3D printed models. Except for the knight, most chess pieces look like they are turned on a lathe, but the knight is special and asymmetric. For my very first try (back left in the collection) I went for something semi-realistic, but then I thought a much more stylized version might be fun. At the end I started going for something like an ancient bronze statue I’d seen before.

When I took that basic shape and made it less flat, I think my result looks more like a sea serpent with a mane, but I still like it.
The polymer clay is easy to smooth and overall easy to work with but it is difficult to get fine detail. The j-mac takes detail but I haven’t yet figure out how to get my toolmarks and fingerprints off the model. I also need to figure out how to stop dropping them while i’m working.


")


