Posted on 2 Comments

Final word in 2018

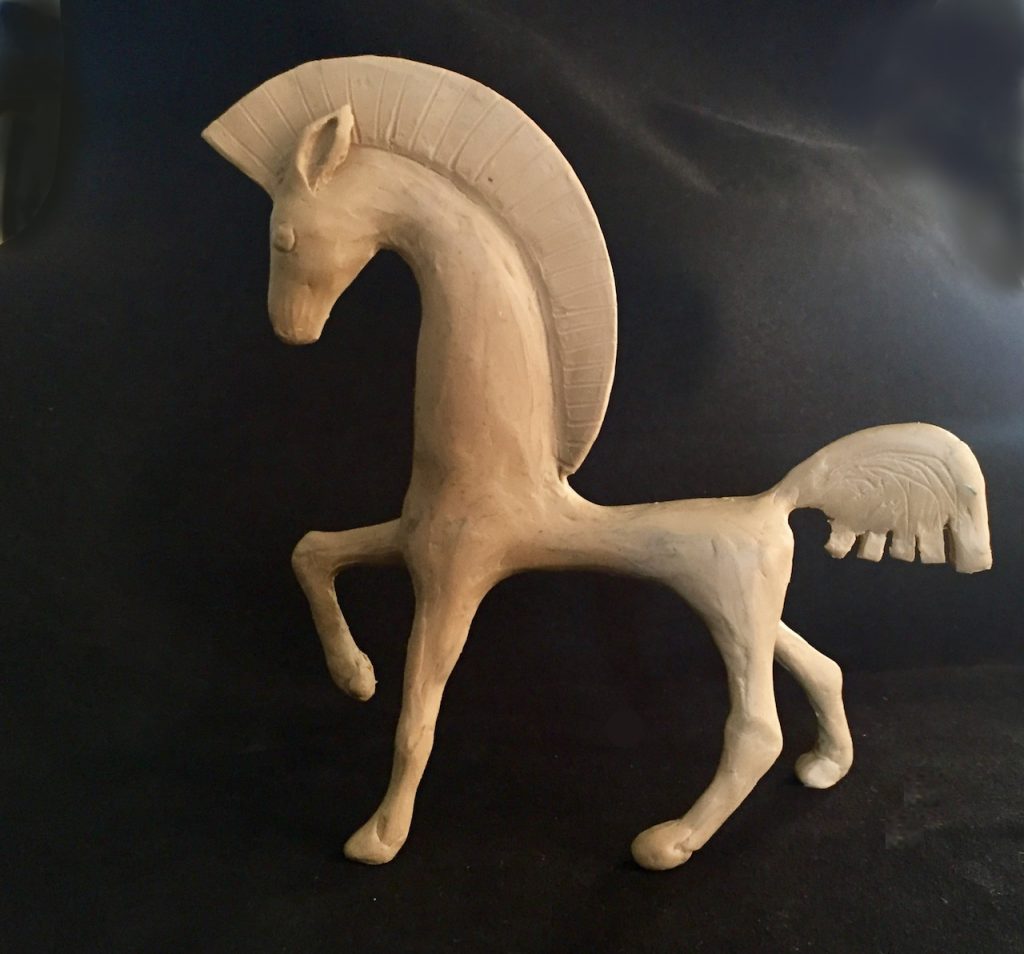
Obviously just making horse HEADS wasn’t going to be enough so I made a wire frame and made a whole entire horse.

I don’t yet know how to do the fine details or smooth out the tool marks, but here it is. It’s about 6 inches tall. Once I had it made in modeling clay I realized that I don’t know how to cast this, even if I made a two part mold for two reasons. 1) the shape and 2) the only time I’ve done a two part mold I embedded the original in modeling clay to make the first half. This is made of modeling clay so what do I embed it in?

horse sculpture

And finally, for a year-end wrap up, I made a gallery page of the ‘best of’ 2018.

I never finished cleaning up or posting my photos from France – I still intend to do so.
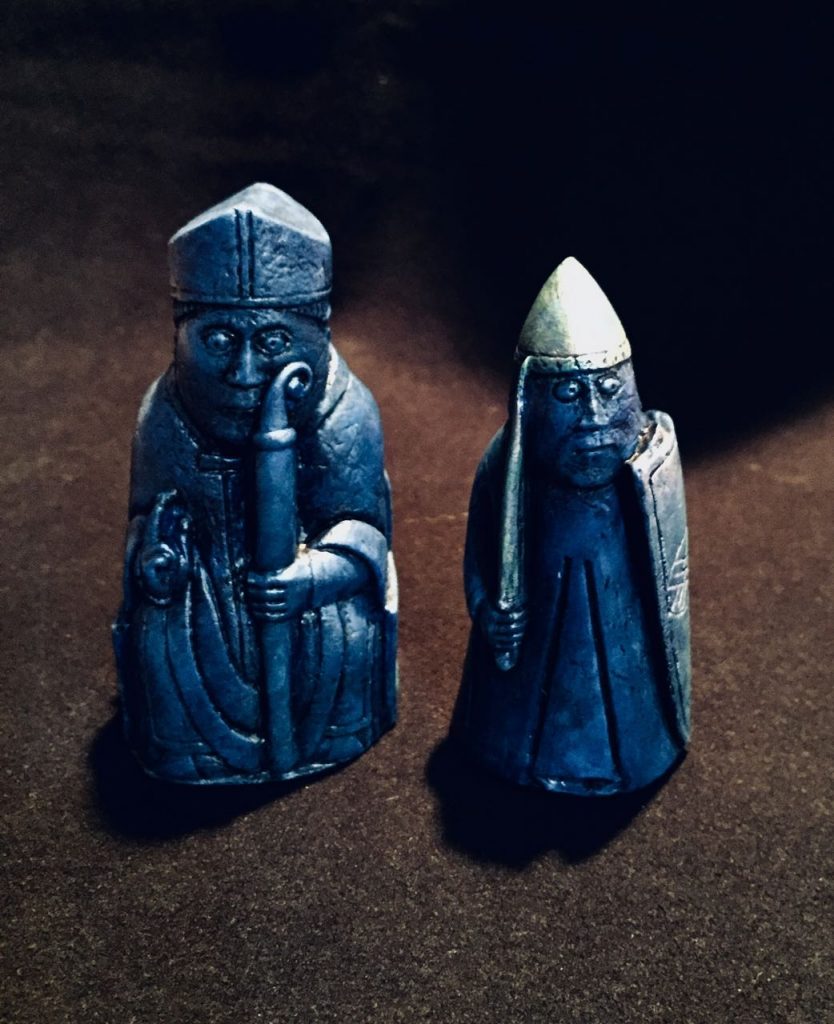
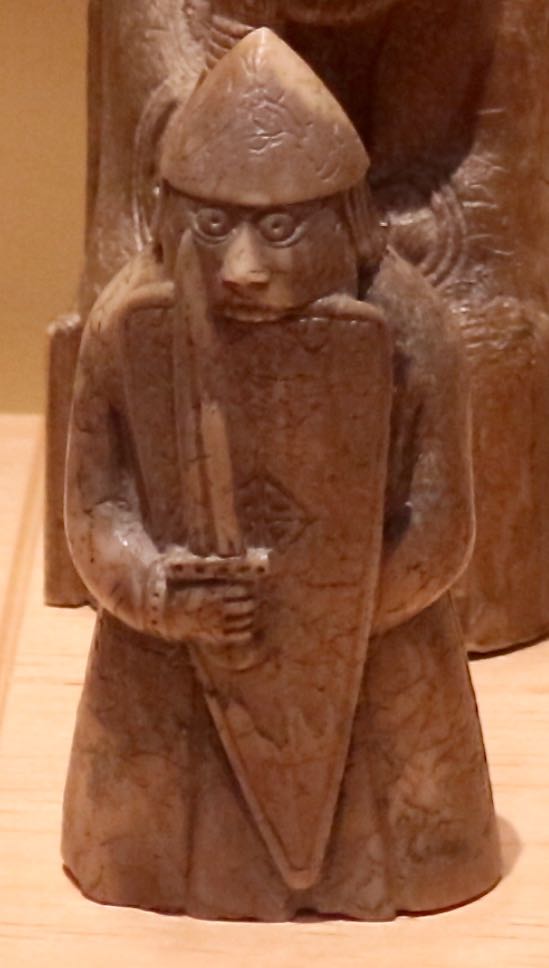
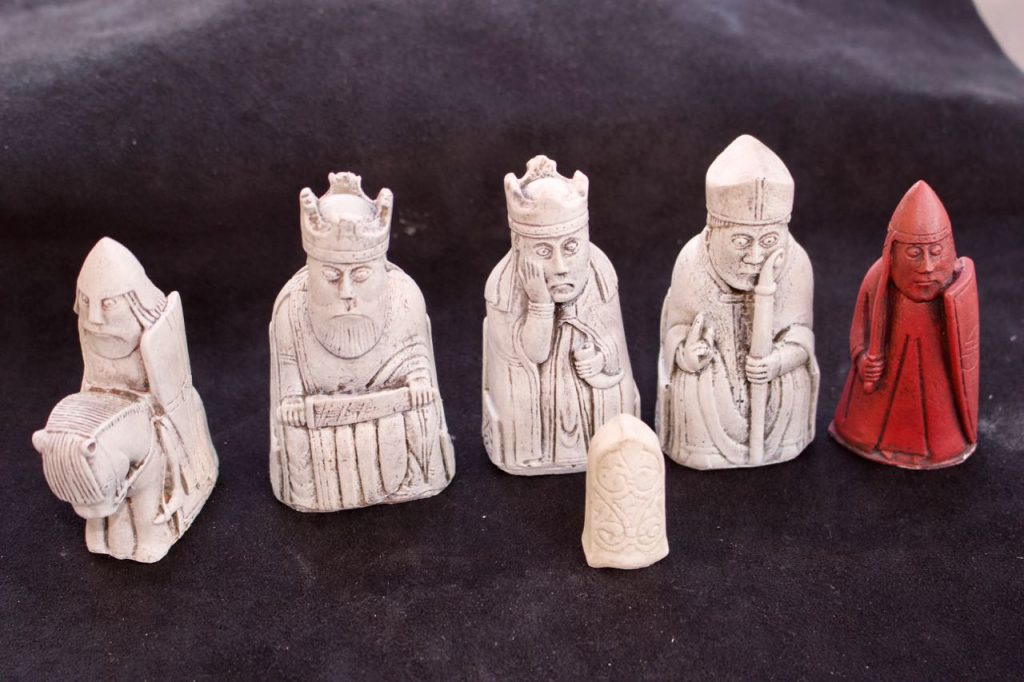
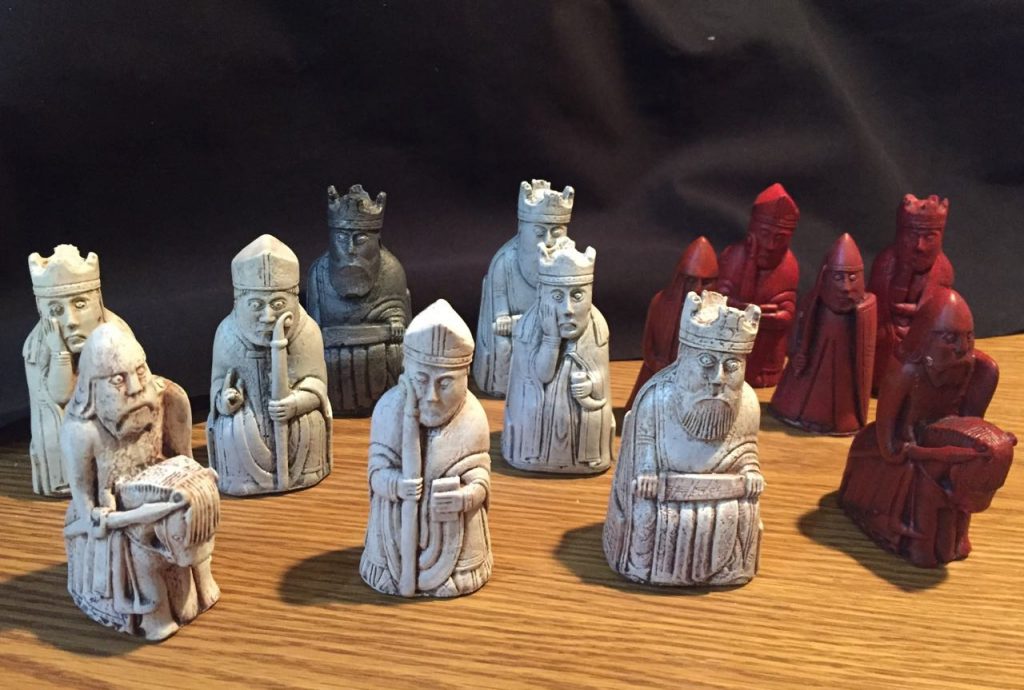
I also did a few more test paints of the chess set. This is blue, with a metallic blue finish and the Warder has his shield, helmet and sword painted with an ‘interference’ paint – it will shimmer green or red depending on the angle of view.

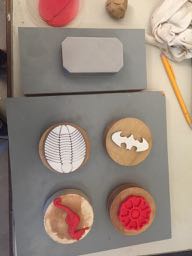
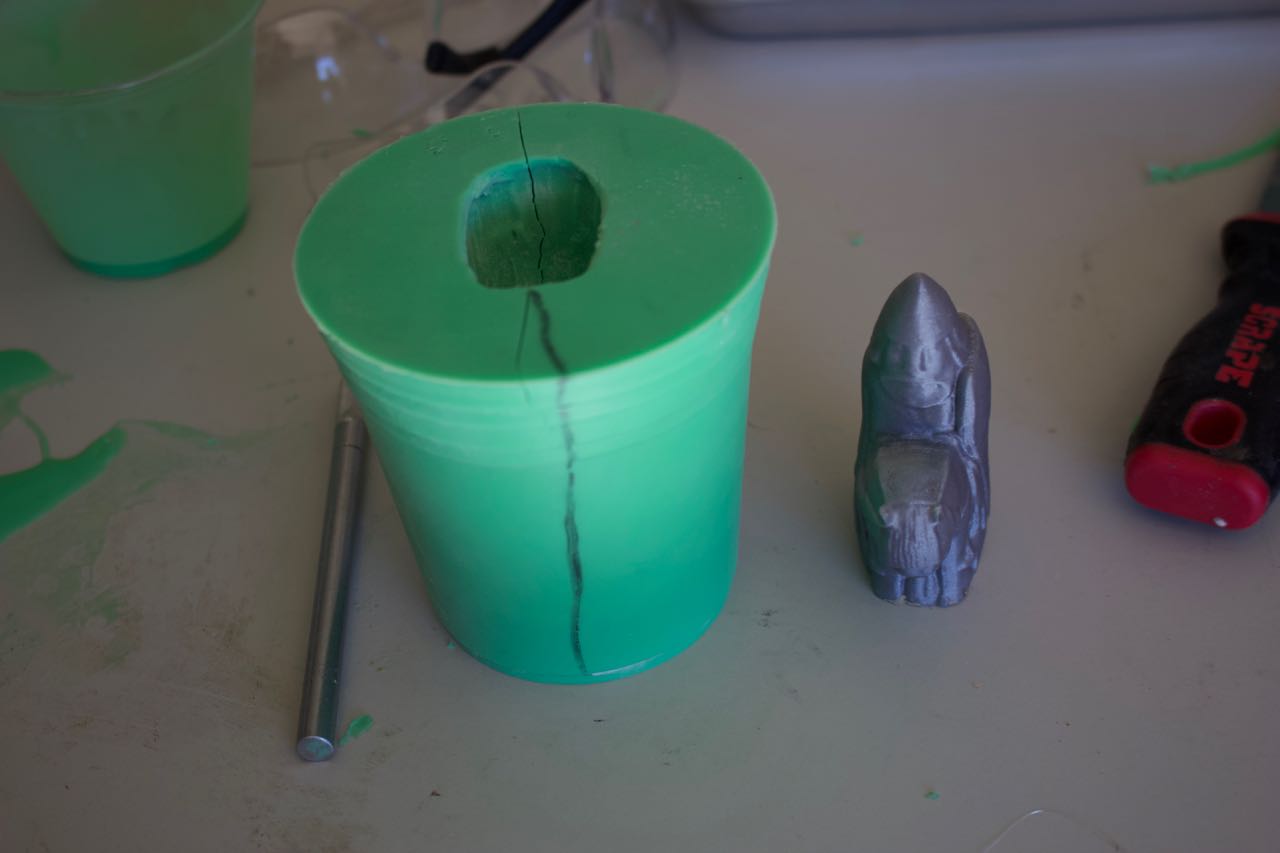
It has been suggested that I’ve gone a bit off the rails since I went to New Mexico to learn how to make SOAP MOLDS and this is clearly not a soap mold. But I learned something very valuable: making custom molds is expensive and I should definitely do everything I can to avoid having to make custom ones from silicone!

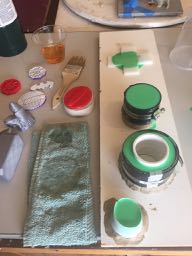
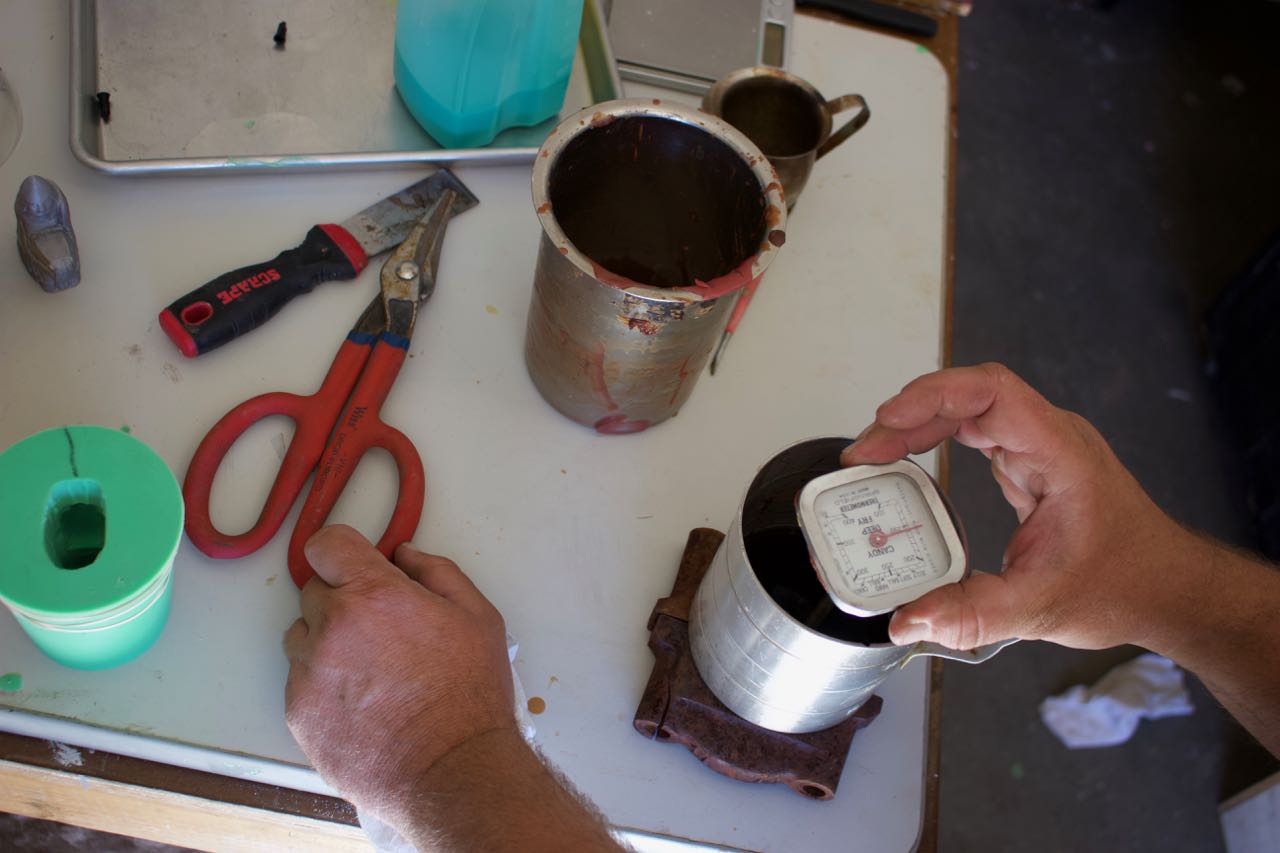
I’ve been puzzling over the size and shape of conditioner bars. I now have a formula I really like but I still need to settle on the packaging and the shape. I think I’m going to try a round column mold – I might make out out of PVC with a teflon liner – and since PVC comes in all sizes I can probably find one to exactly fit the 2 or 4oz tins I’ve been thinking of using as packaging.

More soap to come in 2019

Posted on Leave a comment

Lewis Chessmen

While learning how to make molds I became accidentally obsessed with the Lewis Chessmen.  We saw them first two years ago on our trip to Scotland and I tried to 3-D print one to make a test mold out of when I went to NM.  The 3-D print wasn’t detailed enough and soon after I discovered that I could purchase pre-made molds.  They are latex, not especially durable, and  I’m a bit afraid to cast resin in them.  I ruined one already by trying to cast wax into it and then couldn’t get the wax back out again. 

The originals are from the 12C and were discovered on the Island of Lewis in the Outer Hebrides.  There are 78 chess pieces in total.

Some of the original chessmen in Edinburgh.  
A bishop.  One of my molds includes this particular figure.
A berzerker.  This would take the place of a Rook.  I LOVE him.  Alas, he is not included in my set of molds.
The sets were originally white (walrus ivory) and red (paint).  I’m tryint to re-create that original look.
Playing around some more with warmer/cooler casts and one silver-on-black just to see how it looks.

Posted on Leave a comment

Mold Making

Last week I went to visit a friend in Albuquerque and pick his brain about how to make molds for soap and resin casting.  There was a LOT of information all at once and I’m still organizing it in my mind.  Here are some of the photos I took during the workshop.

I have workshop envy

This is the shop where he makes his molds.  Lately he’s been moving more into metal casting than resin, and one March (this year or next) I may come to a metal-casting workshop.  In the back notice the very large mold of the very, very large horny-toad.  I loved that sculpture.  On the back wall there is also a nice mold of the classic archaeopteryx fossil.  I would have taken a casting of that if I’d had space for it in my luggage.  As it was, I barely fit the molds I made myself plus the LARGE quantity of hot green chili I brought back.


Platsil 73-25 2-part mold silicone. And Nathan’s cool tray to allow it to pour more easily.

Vacuum de-gasser. We only used this once but I think it did reduce bubbles in the silicone

Some molds poured, other forms waiting to be set up.

Shapes glued down and ready for the mold form to go around it. I used cups or PVC for the round ones and foam-core board and hot glue for the rectangular one.

Lizard on a bed of clay ready for mold material to be painted on. This will be a 2-part mold.


Completed molds are trimmed and dusted with talc so they don’t pick up dust and dog hair.

Nathans epic $100 variable temperature glue gun. The glue sticks are a foot long and 1cm wide.


Completed chess mold after the 3D printed original was removed.

Heating wax to pour a shape that can be sculpted more

The final array. Everything I brought back with me: molds, originals, casts in resin, wax and plaster, extra wax and some new sculpting tools.