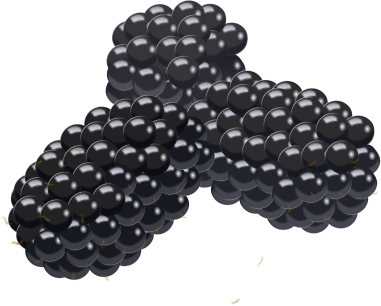
I spent a surprisingly long time arranging the berries. I may still go back and add the little hairs to them and possibly a shadow. It may not be noticeable, but each berry is a slightly different color because I wanted to make it clear that they were distinct even when they were on top of each other like this.
The hardest part of the thorns was getting the lighter color to run down the middle. I’m still not 100% happy with it, but after spending hours trying to fiddle with ‘mesh gradient’ until I gave up, I’m going to call this good enough for now.
Edit: here’s my soap label made from the above images.
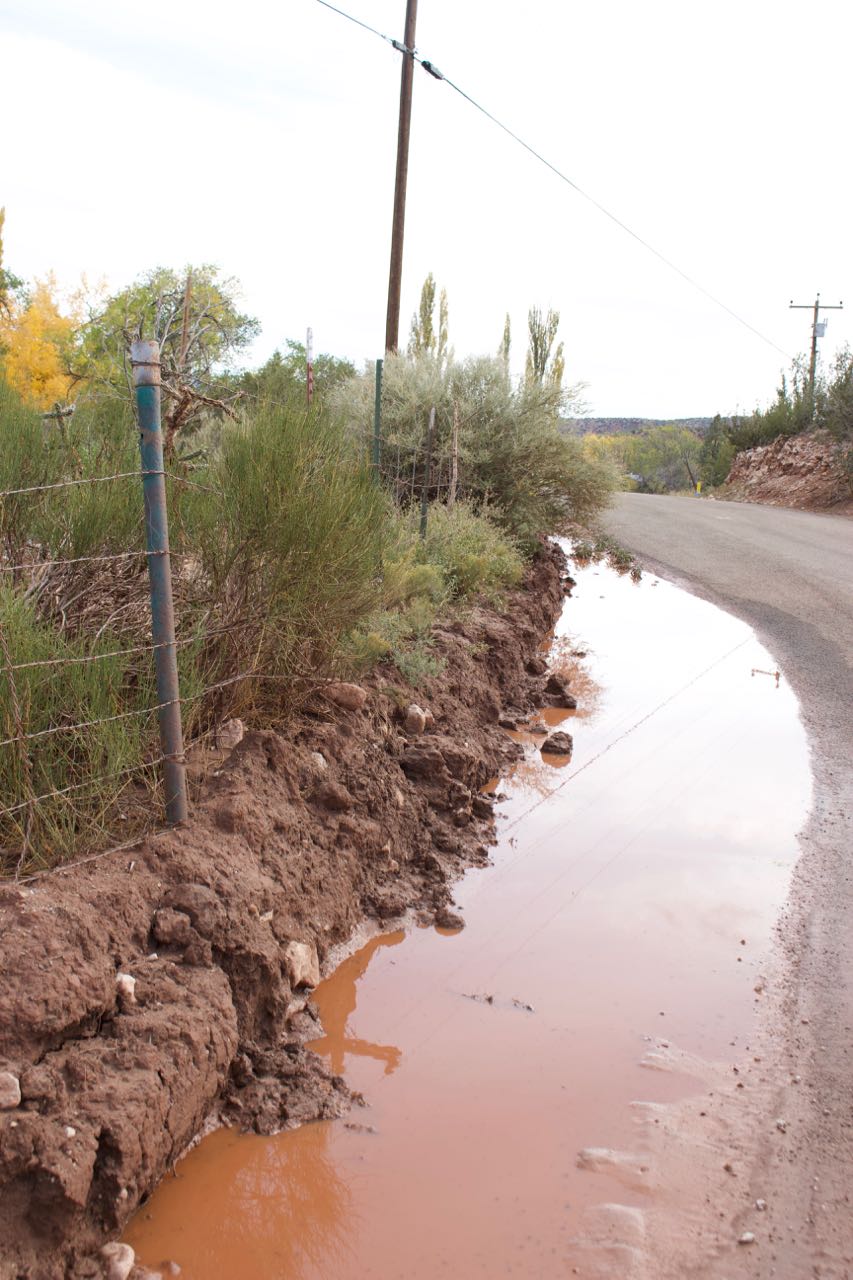
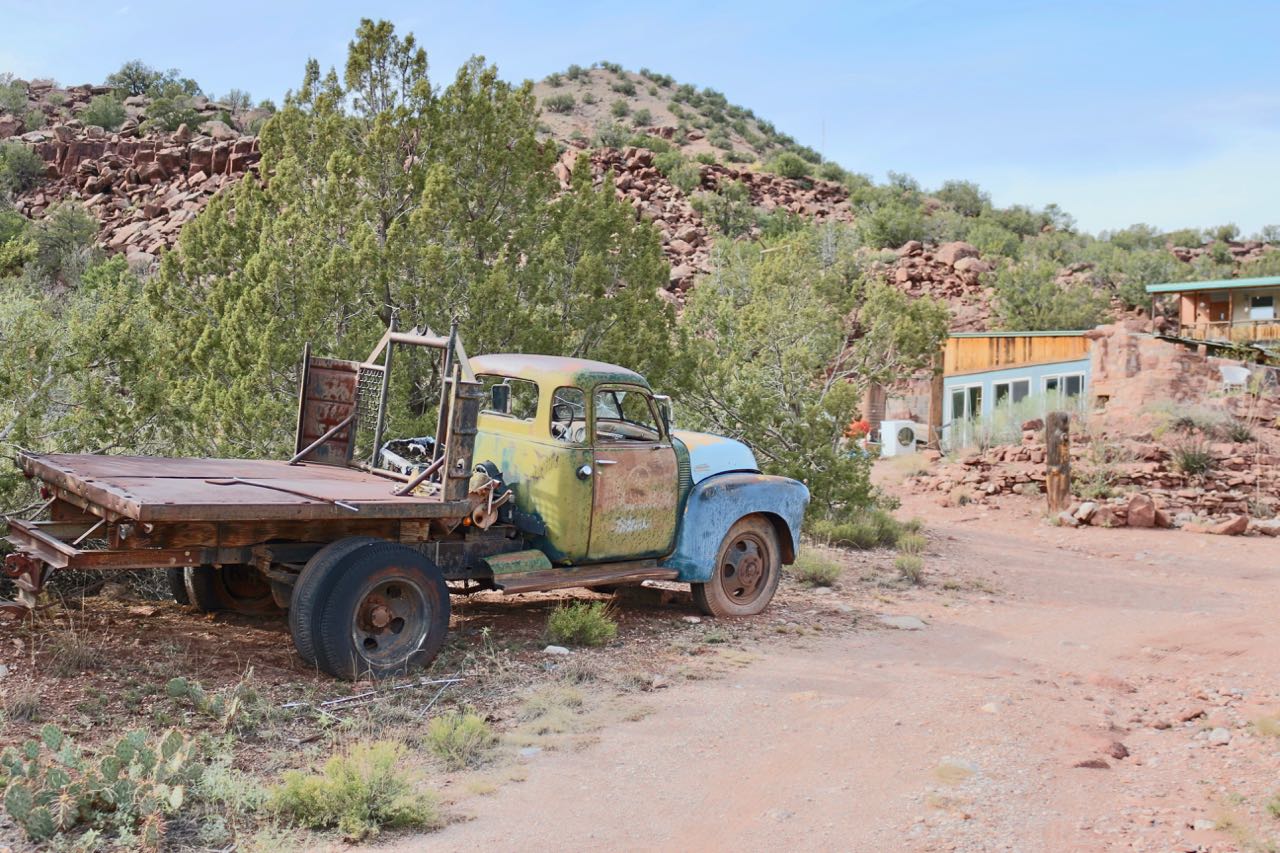
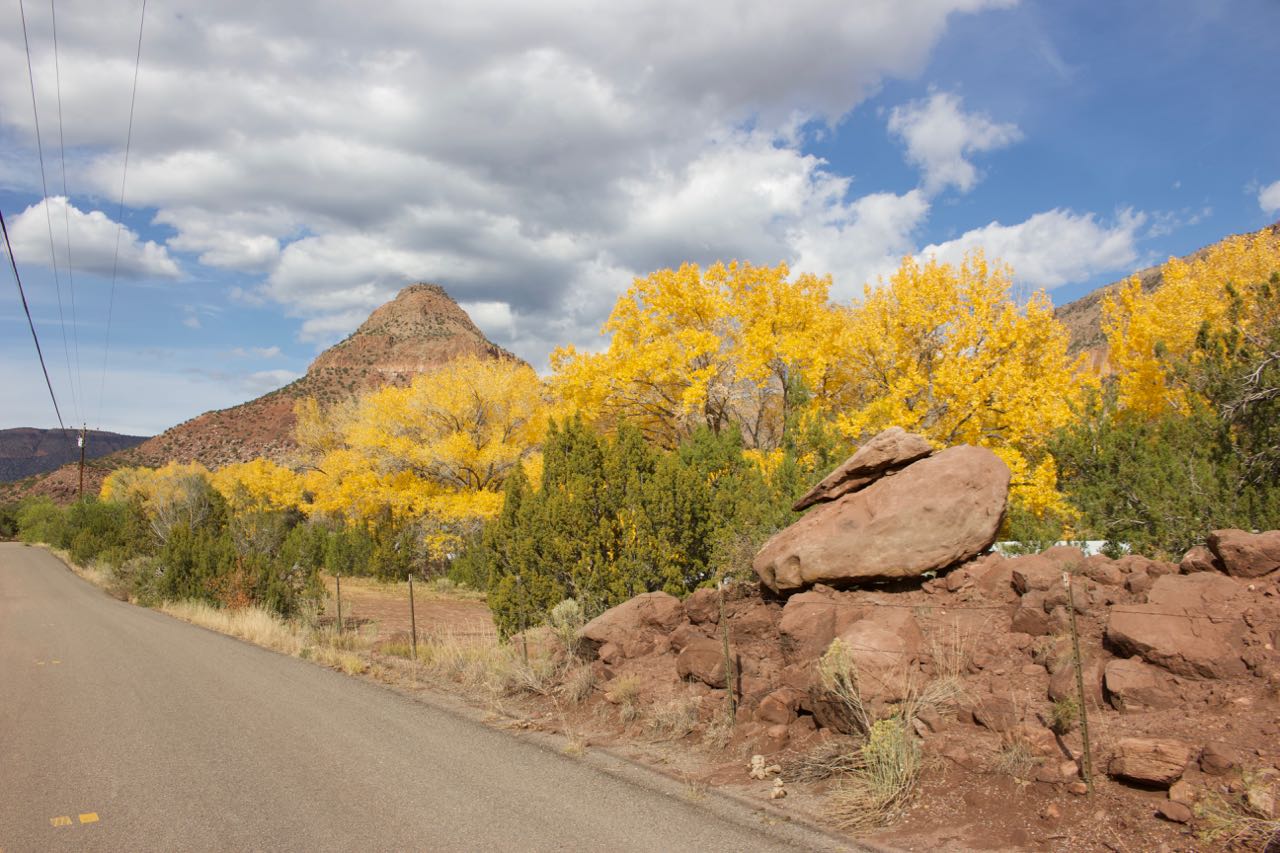
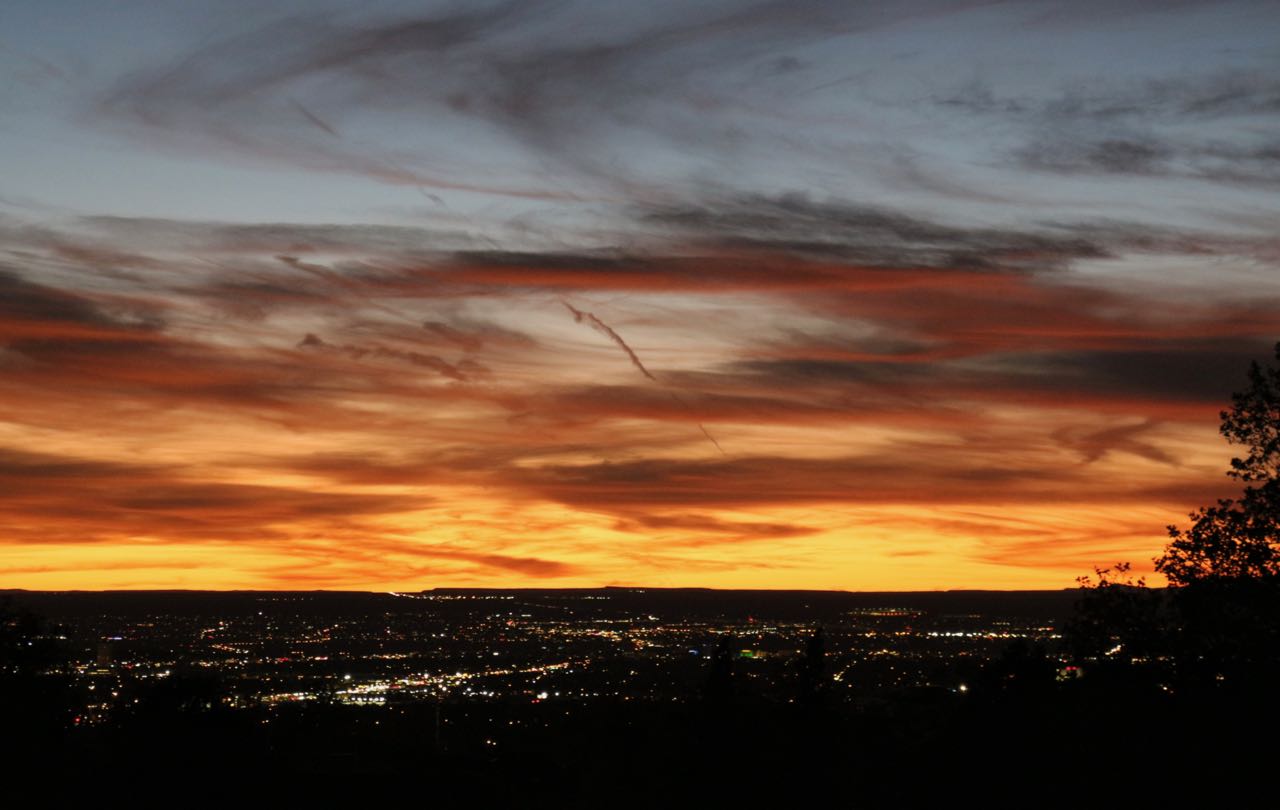
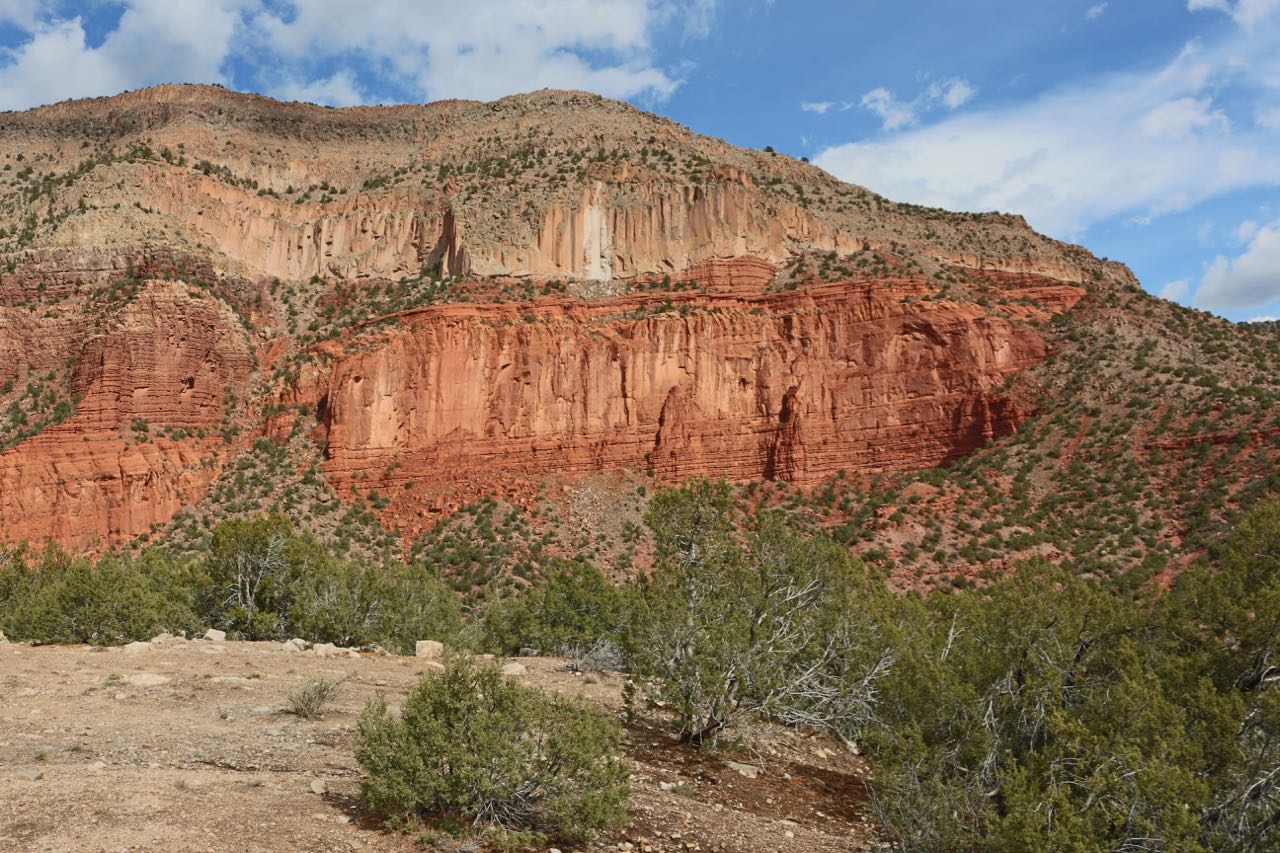
Back in the fall I took one day to make a loop through the Jemez. This is a favorite day trip of mine and each time I get to see a little something new. This time I took a side road up to see some tunnels through a steep pass that I’d never been out to see before.
Here’s a deep red mud puddle after a rain.
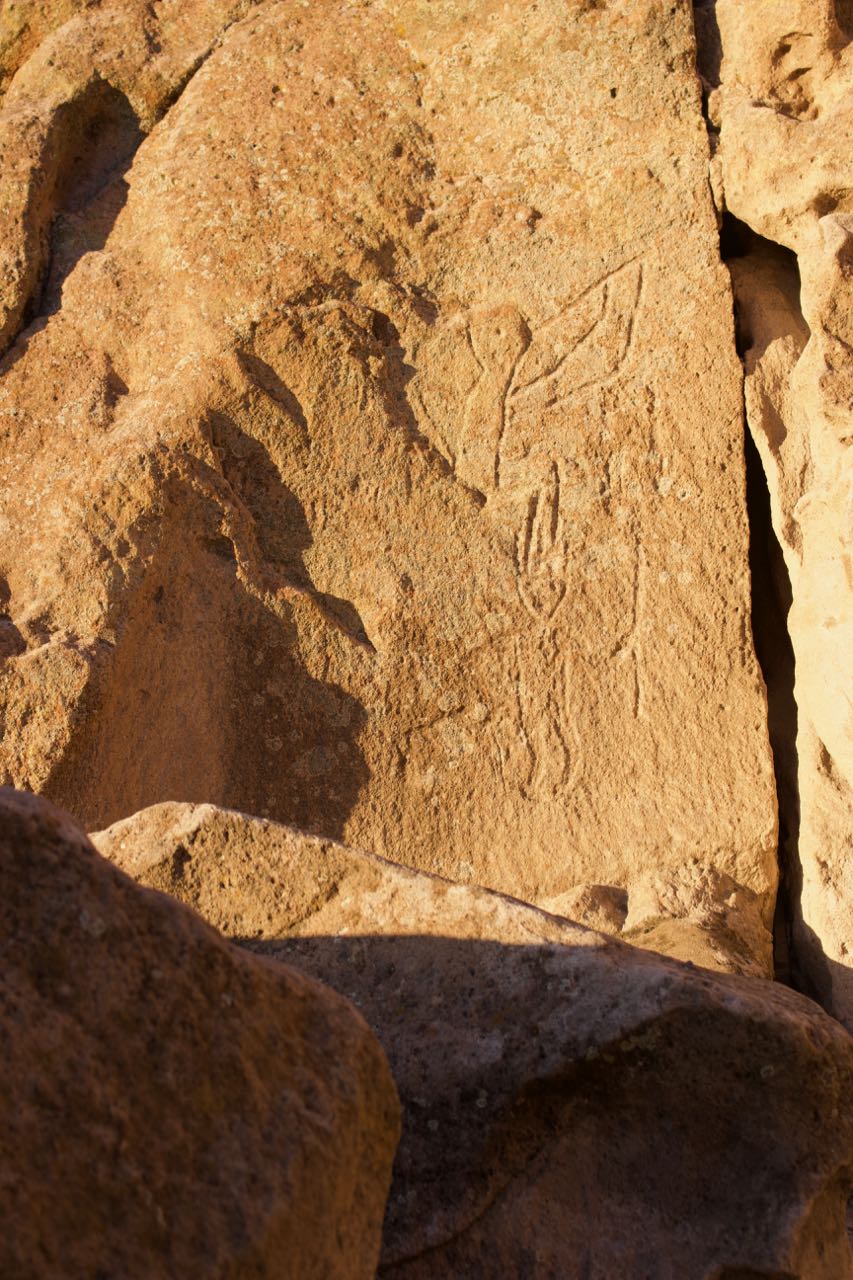
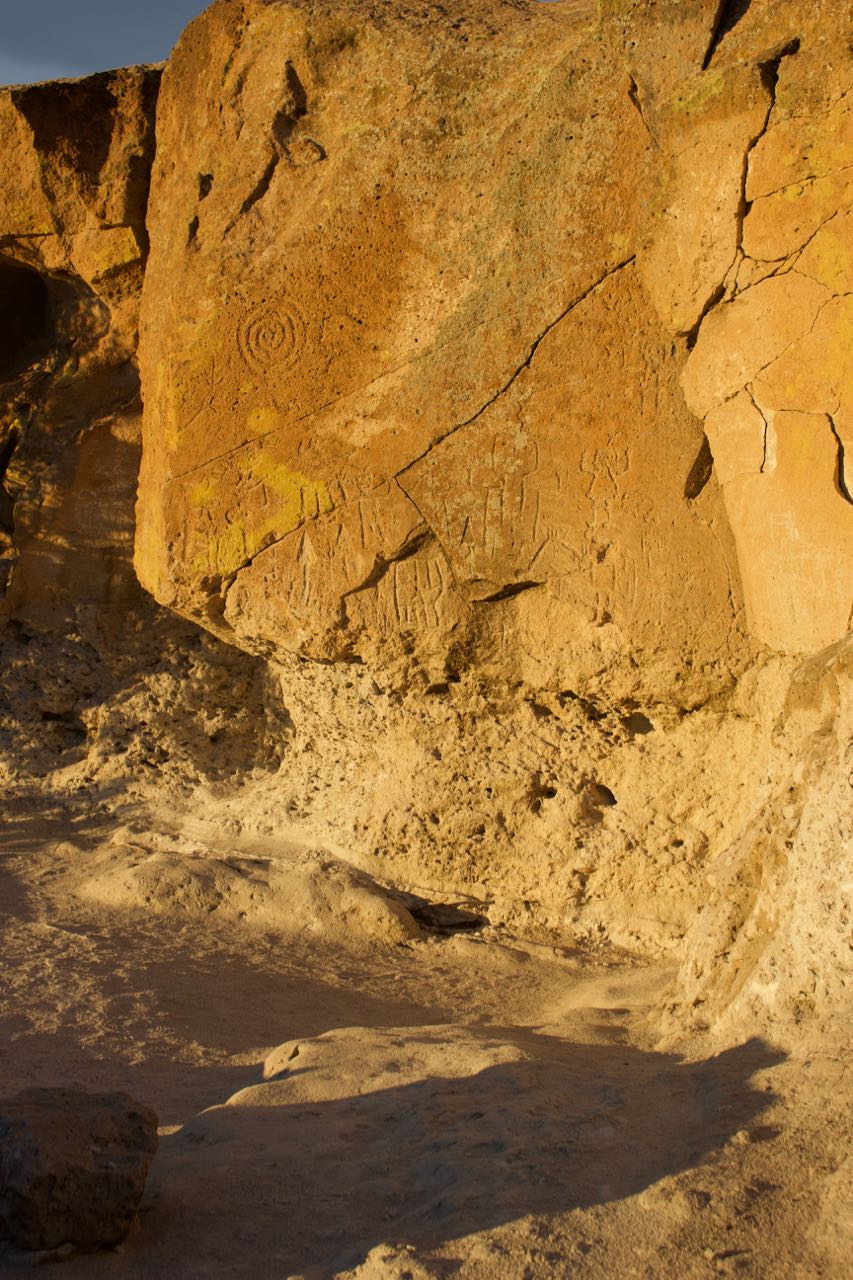
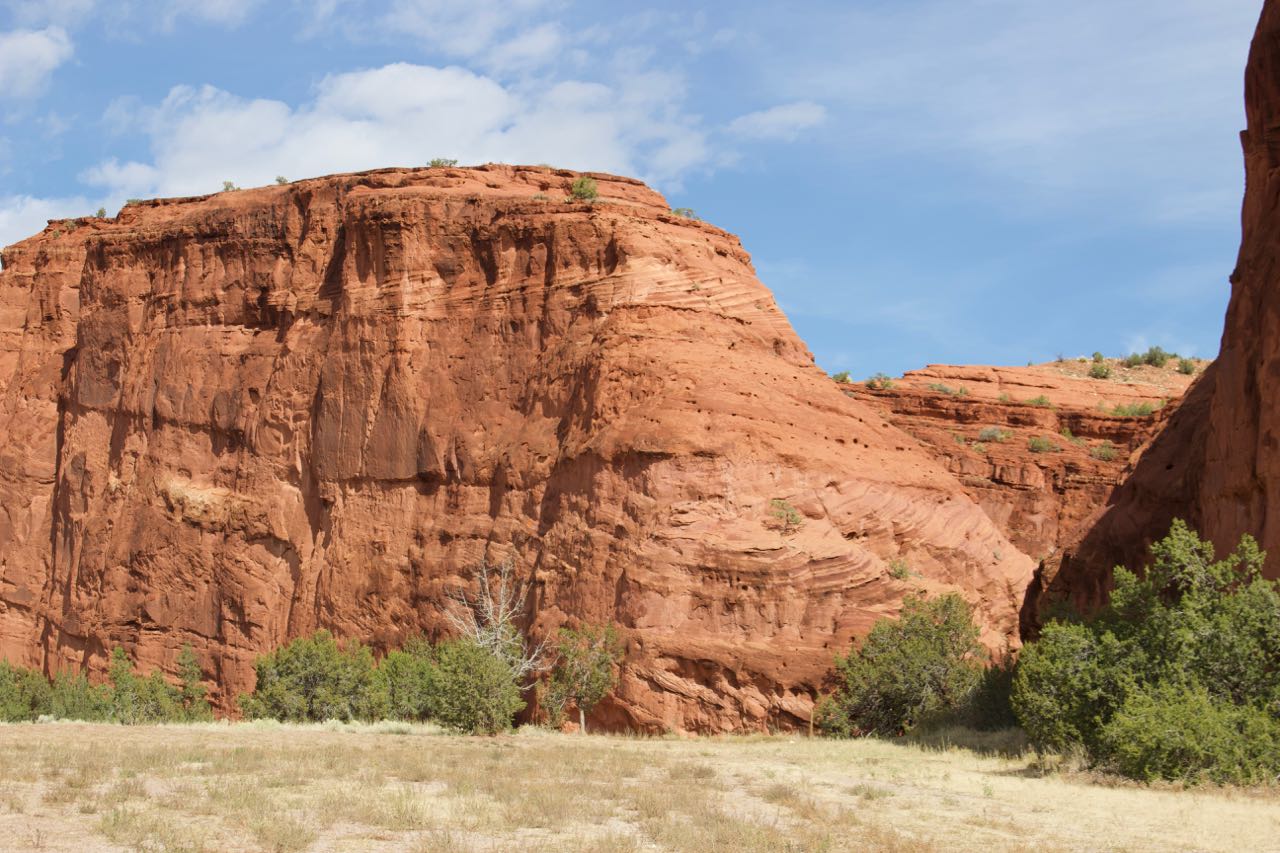
One of my favorite petroglyphs on part of Bandelier.
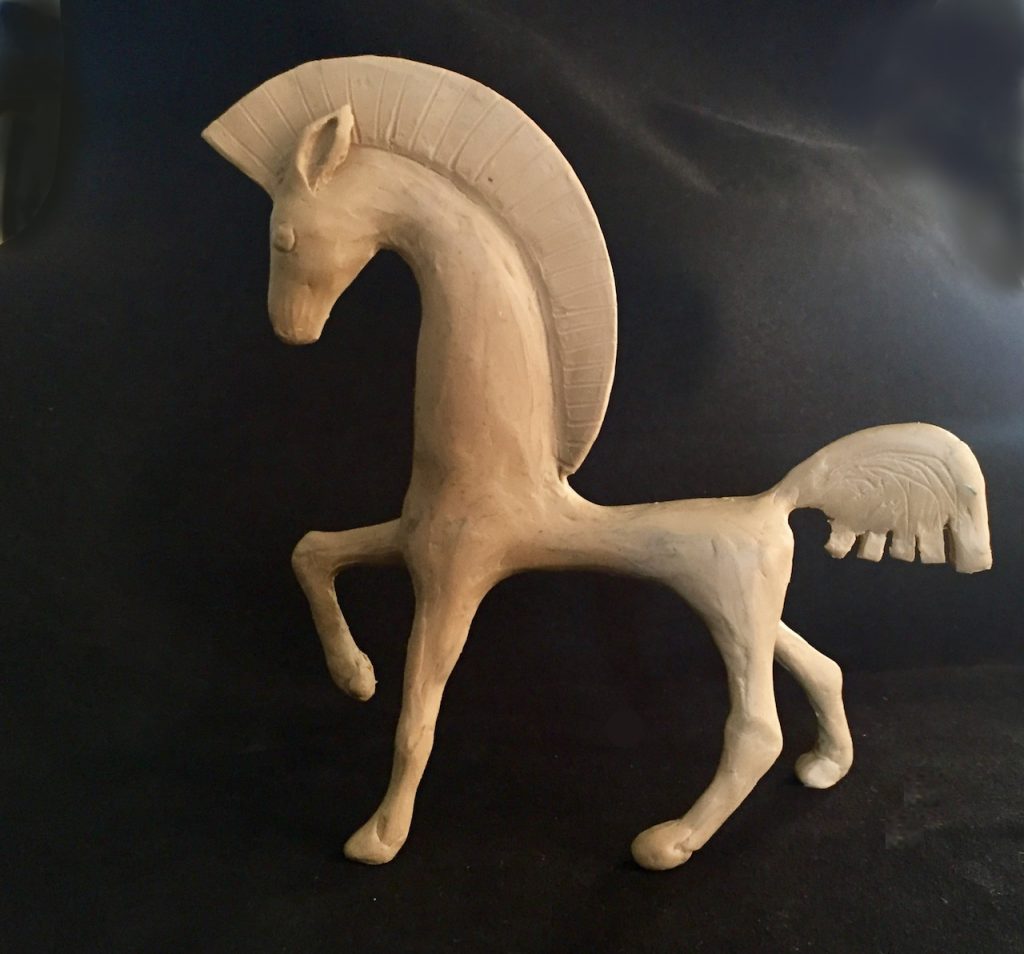
Obviously just making horse HEADS wasn’t going to be enough so I made a wire frame and made a whole entire horse.
I don’t yet know how to do the fine details or smooth out the tool marks, but here it is. It’s about 6 inches tall. Once I had it made in modeling clay I realized that I don’t know how to cast this, even if I made a two part mold for two reasons. 1) the shape and 2) the only time I’ve done a two part mold I embedded the original in modeling clay to make the first half. This is made of modeling clay so what do I embed it in?
horse sculpture
And finally, for a year-end wrap up, I made a gallery page of the ‘best of’ 2018.
I never finished cleaning up or posting my photos from France – I still intend to do so.
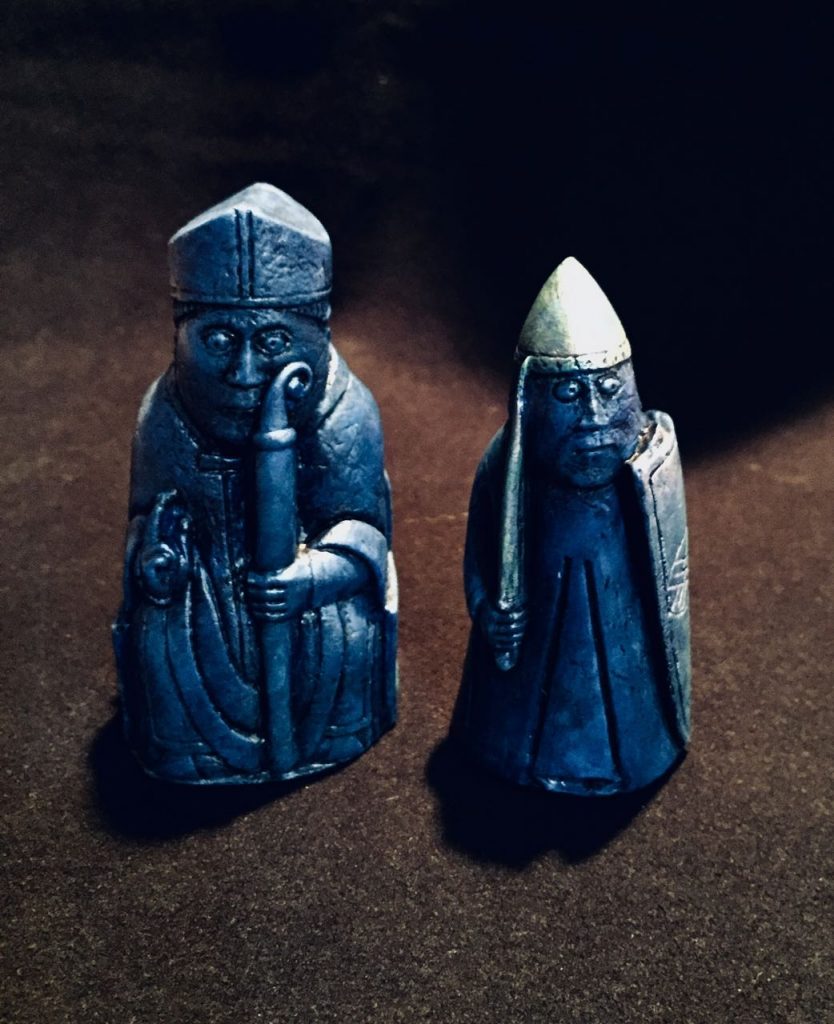
Bishop and Warder
I also did a few more test paints of the chess set. This is blue, with a metallic blue finish and the Warder has his shield, helmet and sword painted with an ‘interference’ paint – it will shimmer green or red depending on the angle of view.
It has been suggested that I’ve gone a bit off the rails since I went to New Mexico to learn how to make SOAP MOLDS and this is clearly not a soap mold. But I learned something very valuable: making custom molds is expensive and I should definitely do everything I can to avoid having to make custom ones from silicone!
I’ve been puzzling over the size and shape of conditioner bars. I now have a formula I really like but I still need to settle on the packaging and the shape. I think I’m going to try a round column mold – I might make out out of PVC with a teflon liner – and since PVC comes in all sizes I can probably find one to exactly fit the 2 or 4oz tins I’ve been thinking of using as packaging.
Last week I went to visit a friend in Albuquerque and pick his brain about how to make molds for soap and resin casting. There was a LOT of information all at once and I’m still organizing it in my mind. Here are some of the photos I took during the workshop.
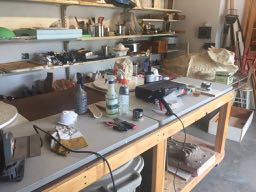
I have workshop envy
This is the shop where he makes his molds. Lately he’s been moving more into metal casting than resin, and one March (this year or next) I may come to a metal-casting workshop. In the back notice the very large mold of the very, very large horny-toad. I loved that sculpture. On the back wall there is also a nice mold of the classic archaeopteryx fossil. I would have taken a casting of that if I’d had space for it in my luggage. As it was, I barely fit the molds I made myself plus the LARGE quantity of hot green chili I brought back.
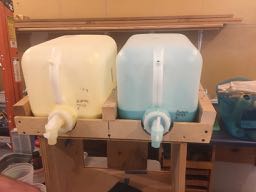
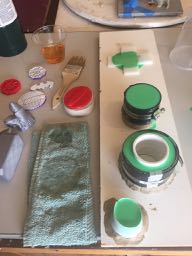
Platsil 73-25 2-part mold silicone. And Nathan’s cool tray to allow it to pour more easily.
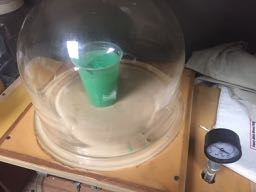
Vacuum de-gasser. We only used this once but I think it did reduce bubbles in the silicone
Some molds poured, other forms waiting to be set up.
Shapes glued down and ready for the mold form to go around it. I used cups or PVC for the round ones and foam-core board and hot glue for the rectangular one.
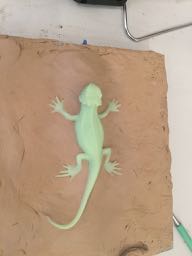
Lizard on a bed of clay ready for mold material to be painted on. This will be a 2-part mold.
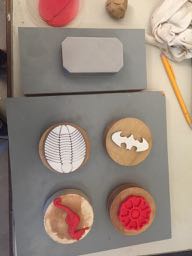
Completed molds are trimmed and dusted with talc so they don’t pick up dust and dog hair.
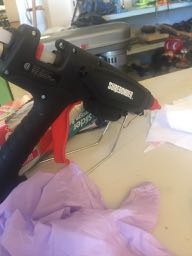
Nathans epic $100 variable temperature glue gun. The glue sticks are a foot long and 1cm wide.
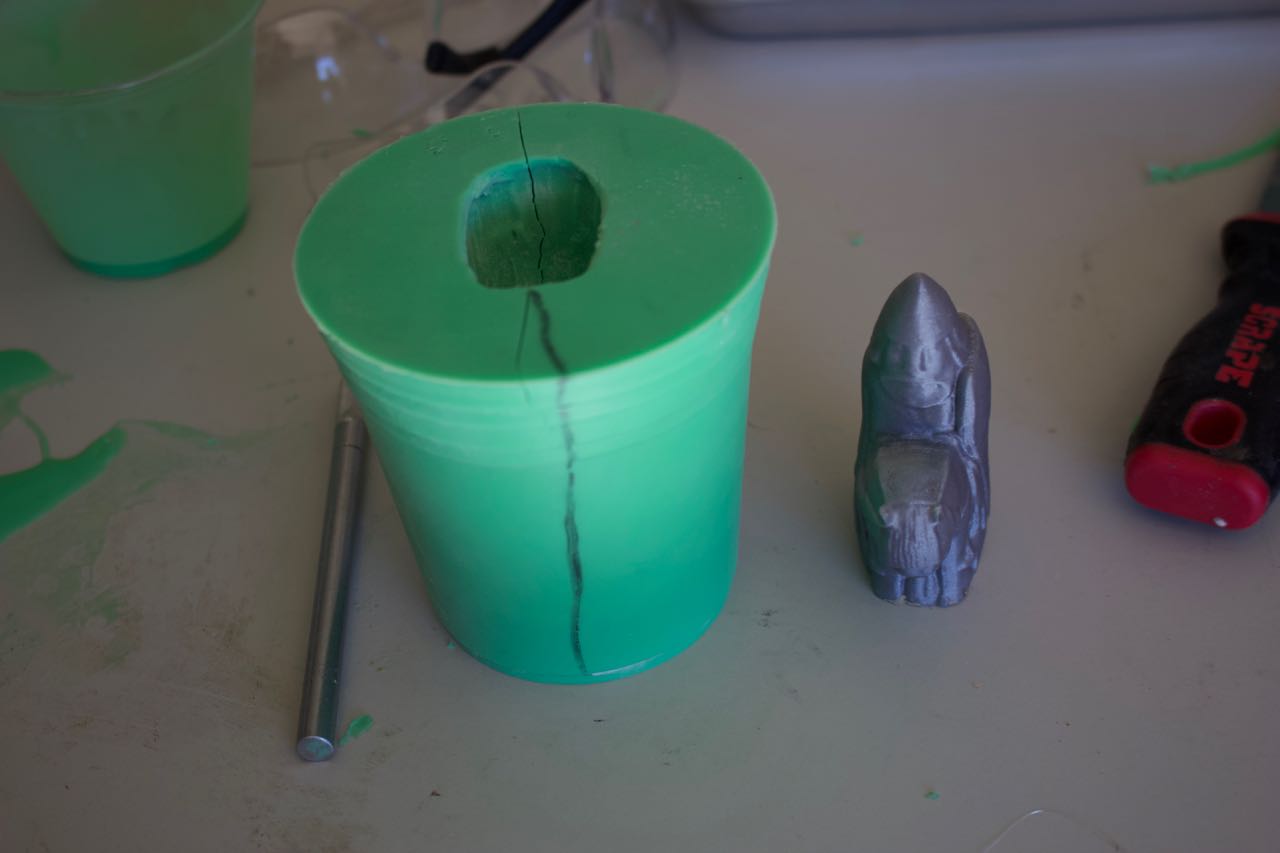
Completed chess mold after the 3D printed original was removed.
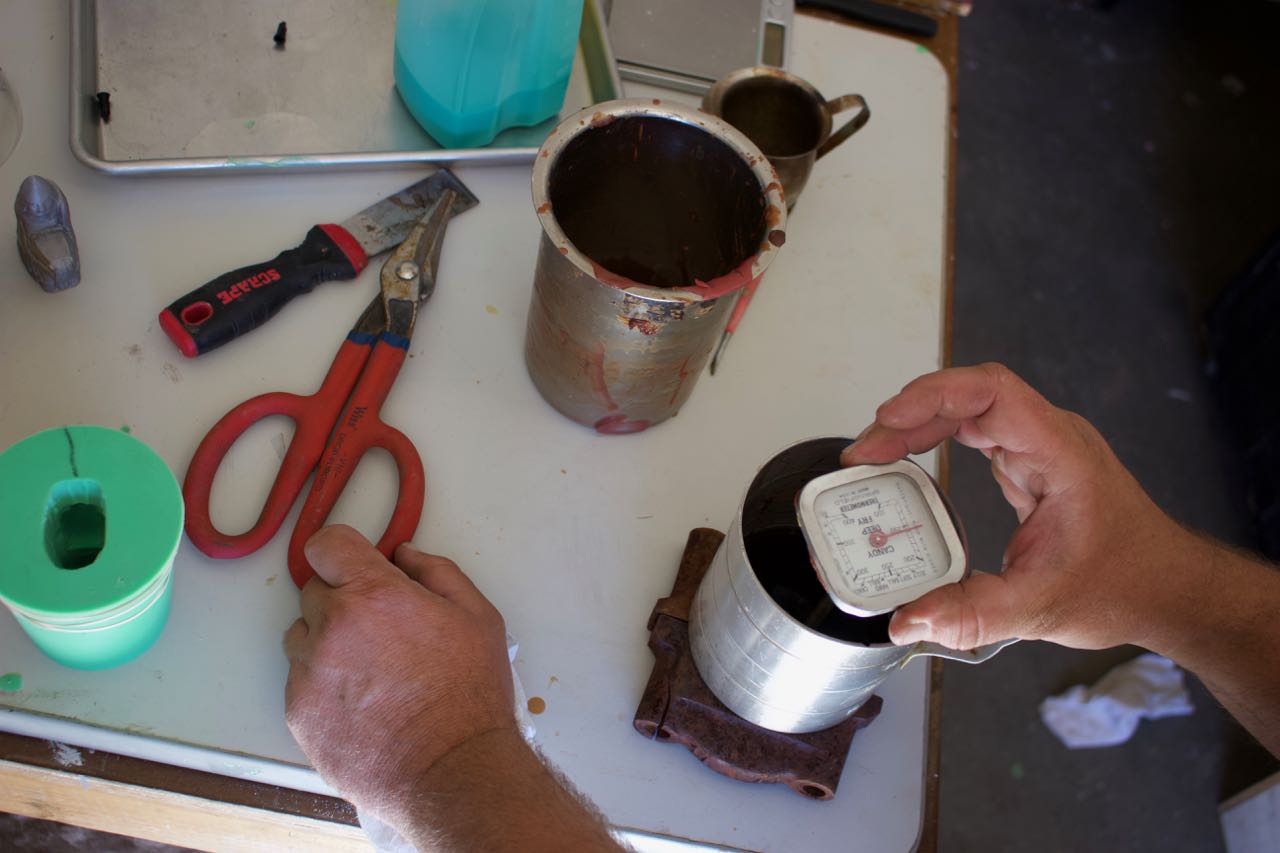
Heating wax to pour a shape that can be sculpted more
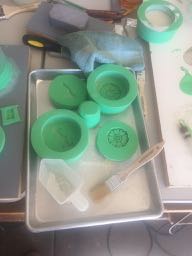
The final array. Everything I brought back with me: molds, originals, casts in resin, wax and plaster, extra wax and some new sculpting tools.
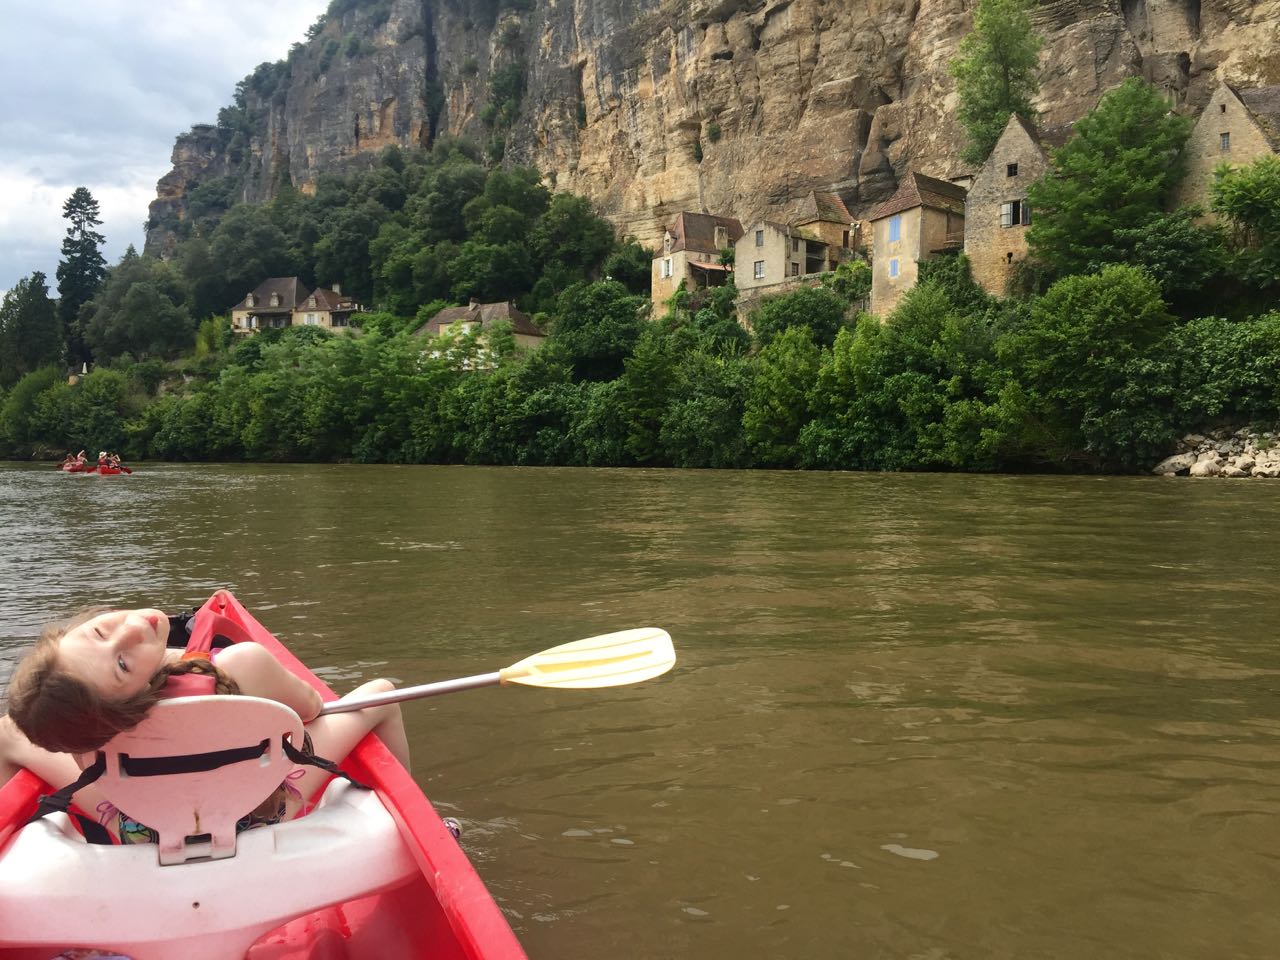
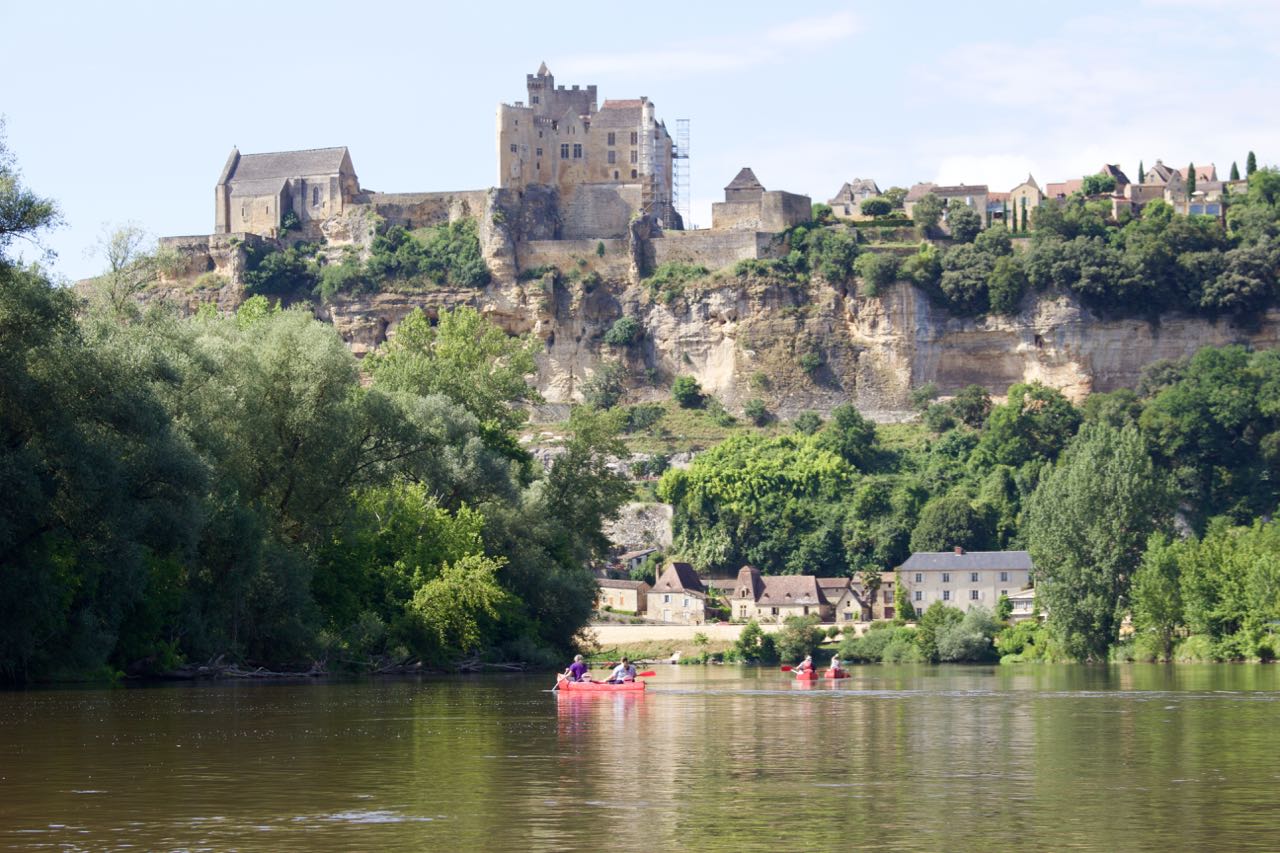
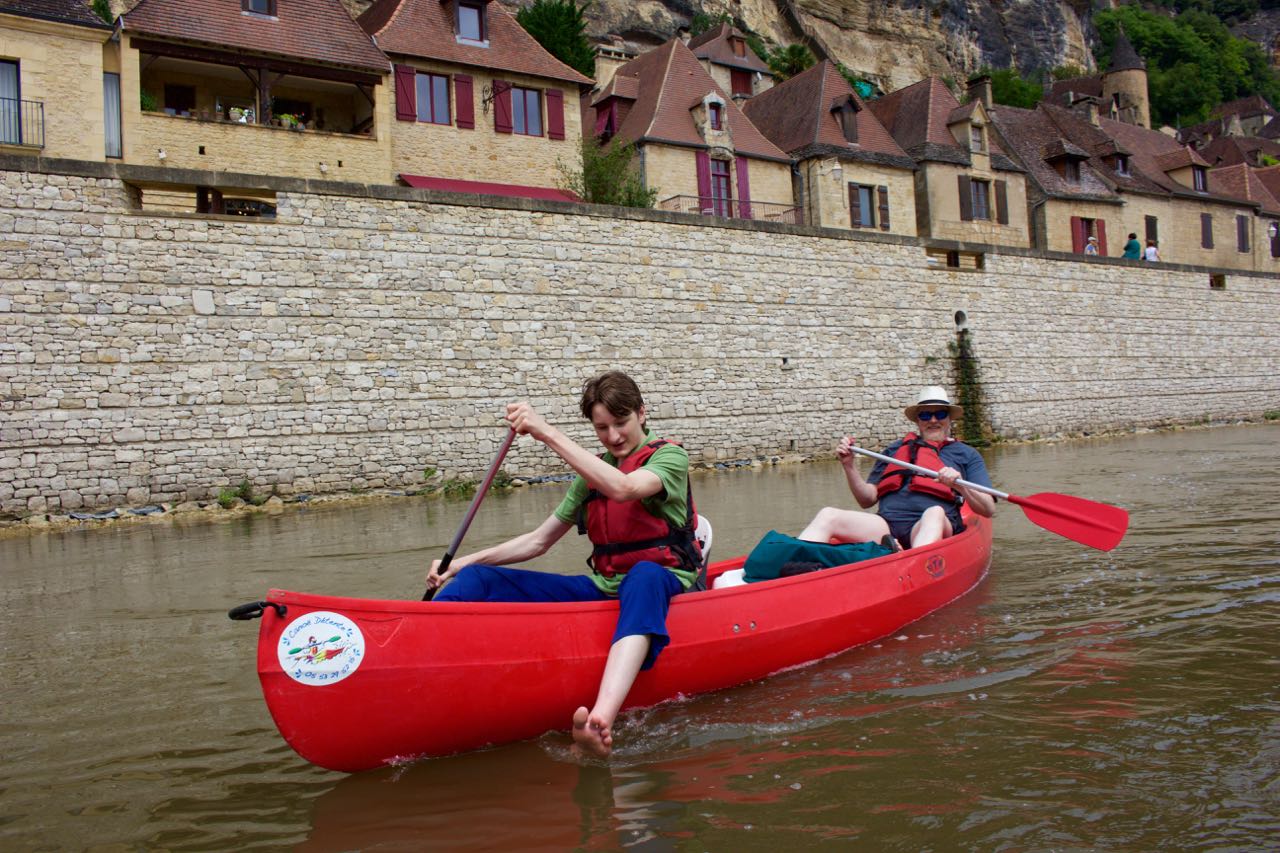
Back to some France photos. This is something I think I would not have thought to do if I were left to my own devices. We took canoes down the Dordogne valley, past some adorable cute towns and stopped for ice cream along the way.
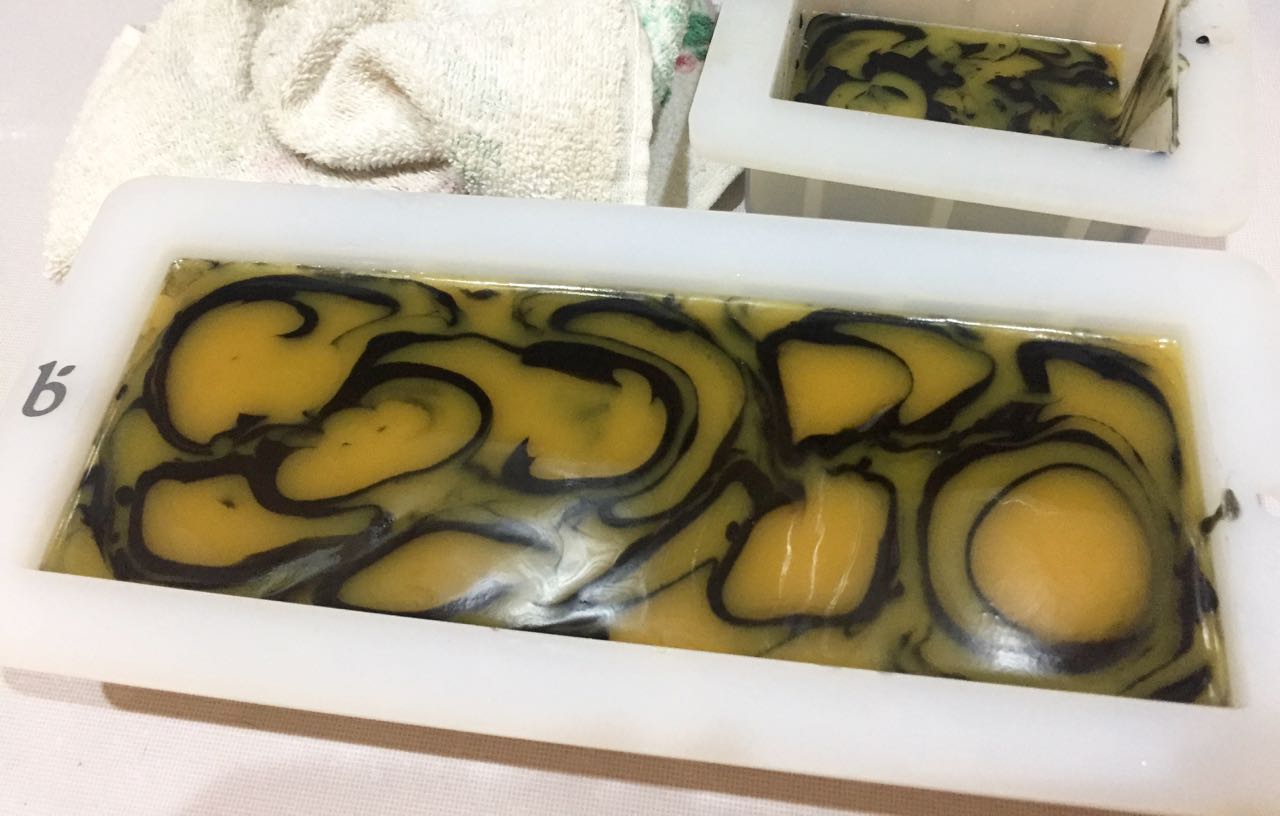
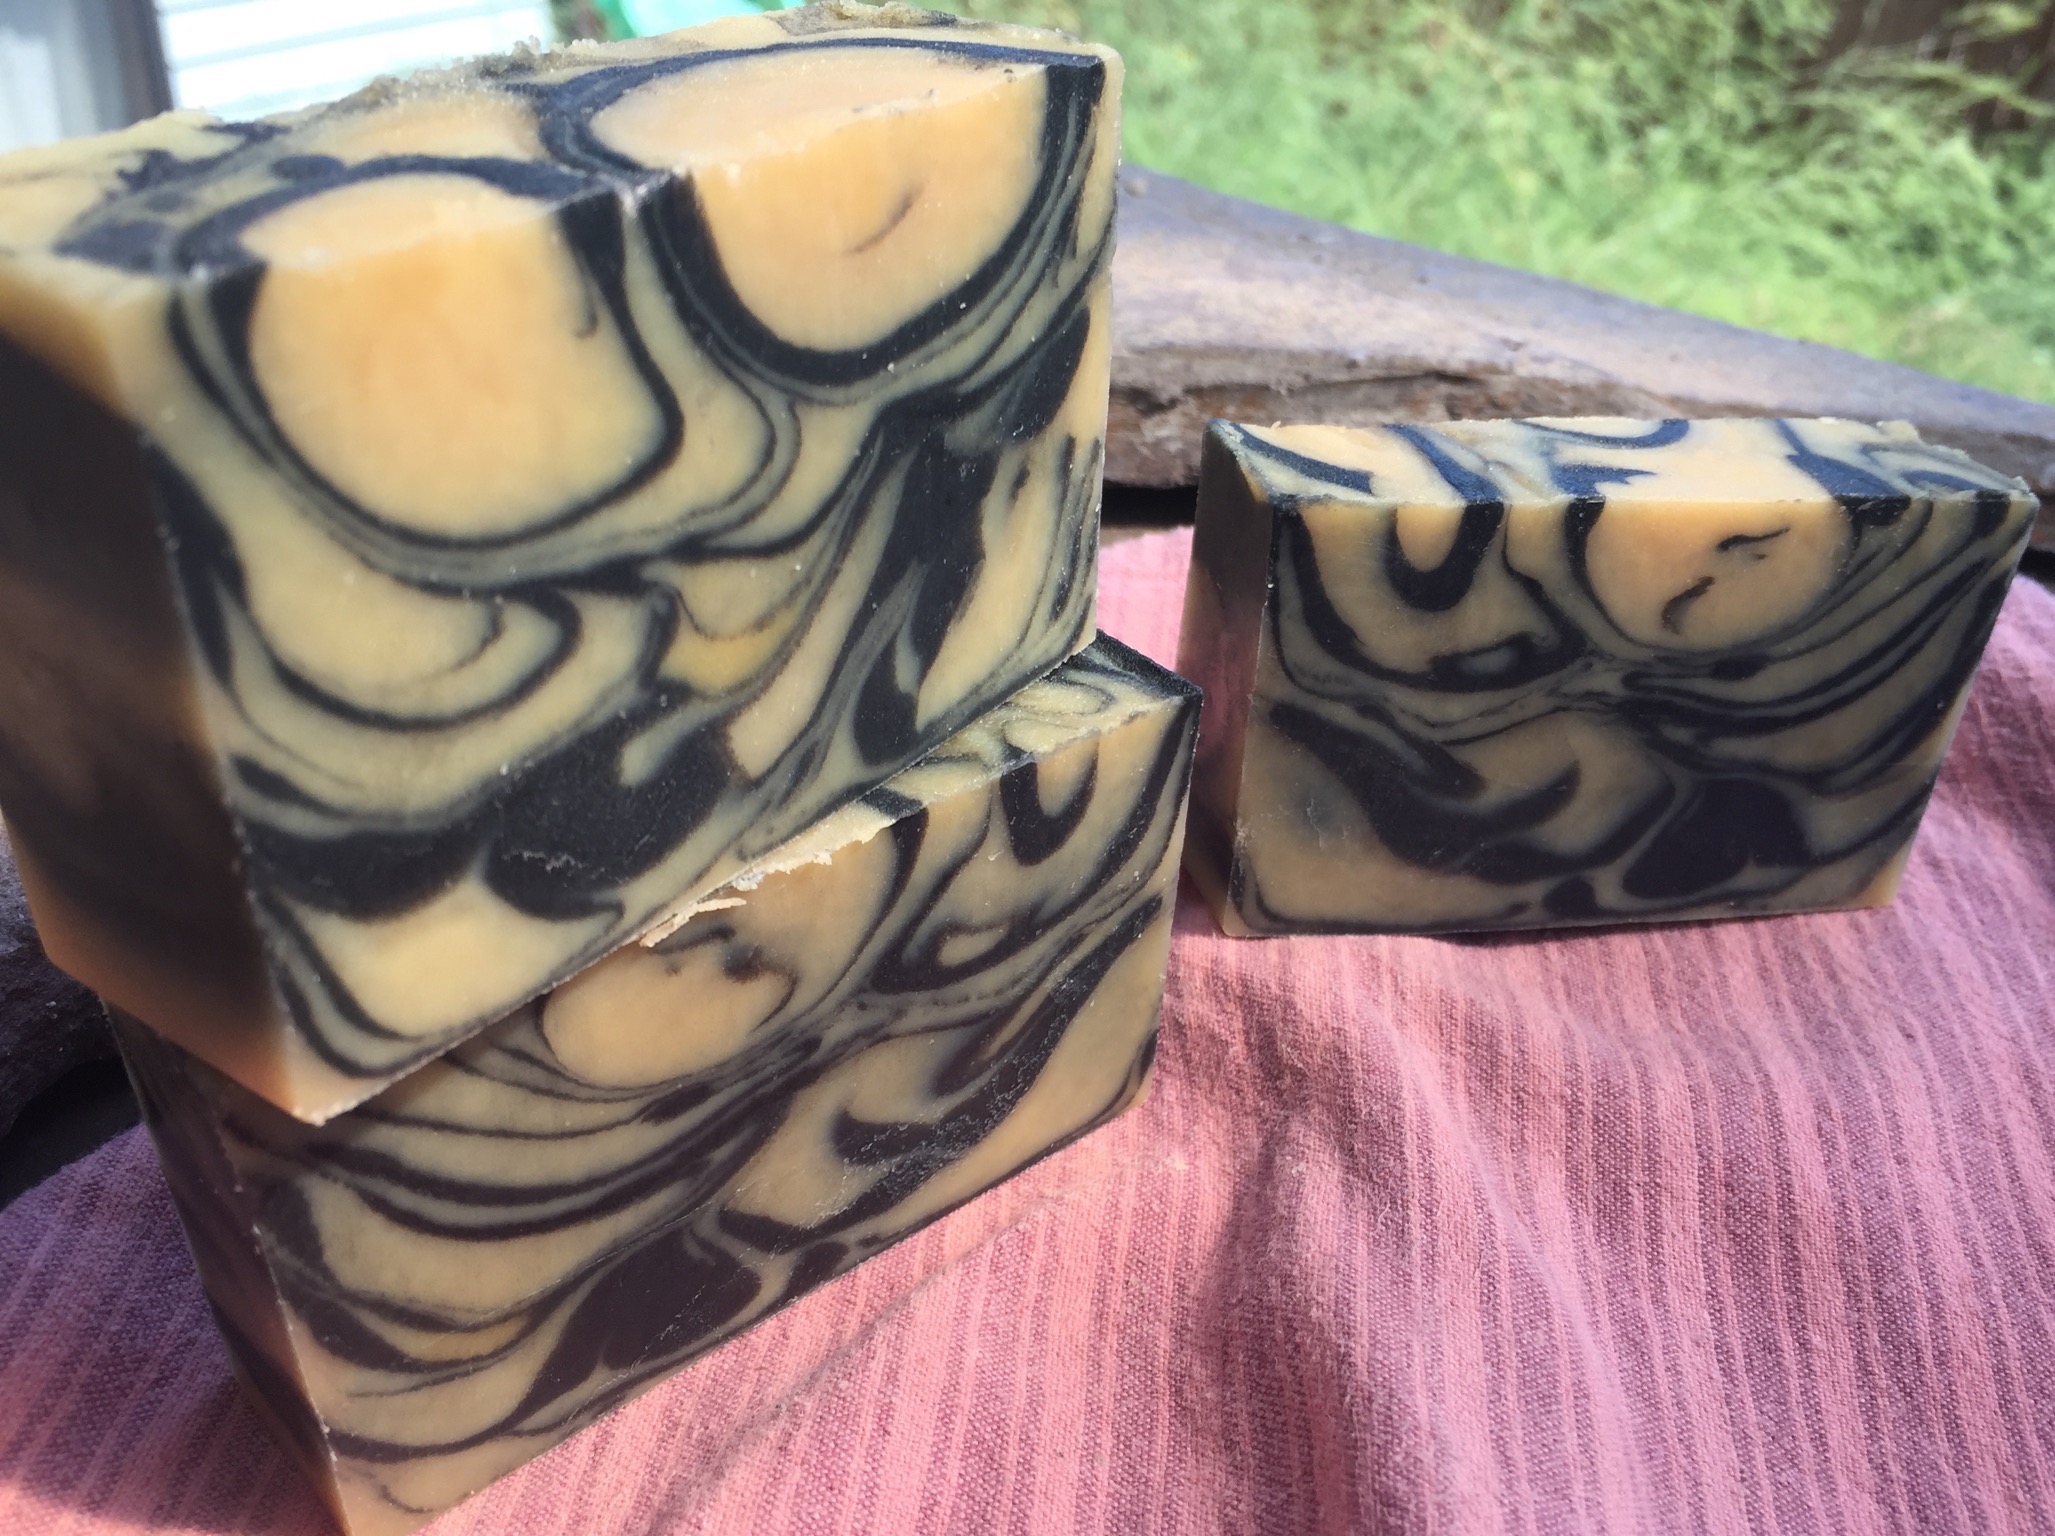
Just a quick post today. My first attempt at a “funnel pour” using one of my standard recipes and Frankincense and Myrrh fragrance oil. The black is activated charcoal while the yellow is the natural color of the soap. I expect it to morph into a tan as it cures.
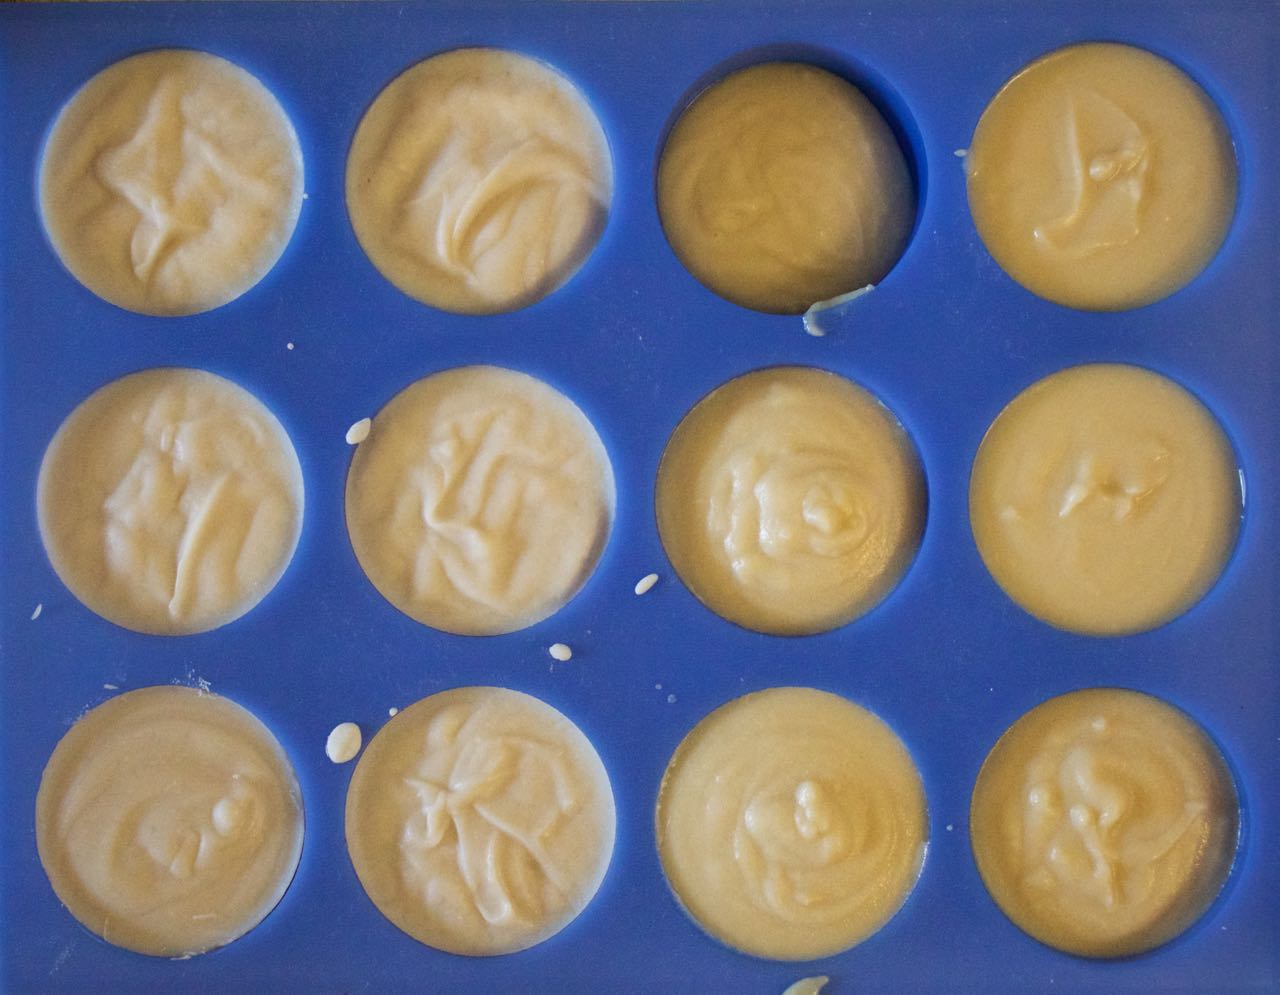
Also check out my new silicone molds from Brambleberry.
I ordered new supplies recently and got new things to experiment with! When the rest of the order comes in I will try a hand at making solid conditioner bars, a syndet* shampoo and some oil cleanser.
But first, here’s what I tried today.
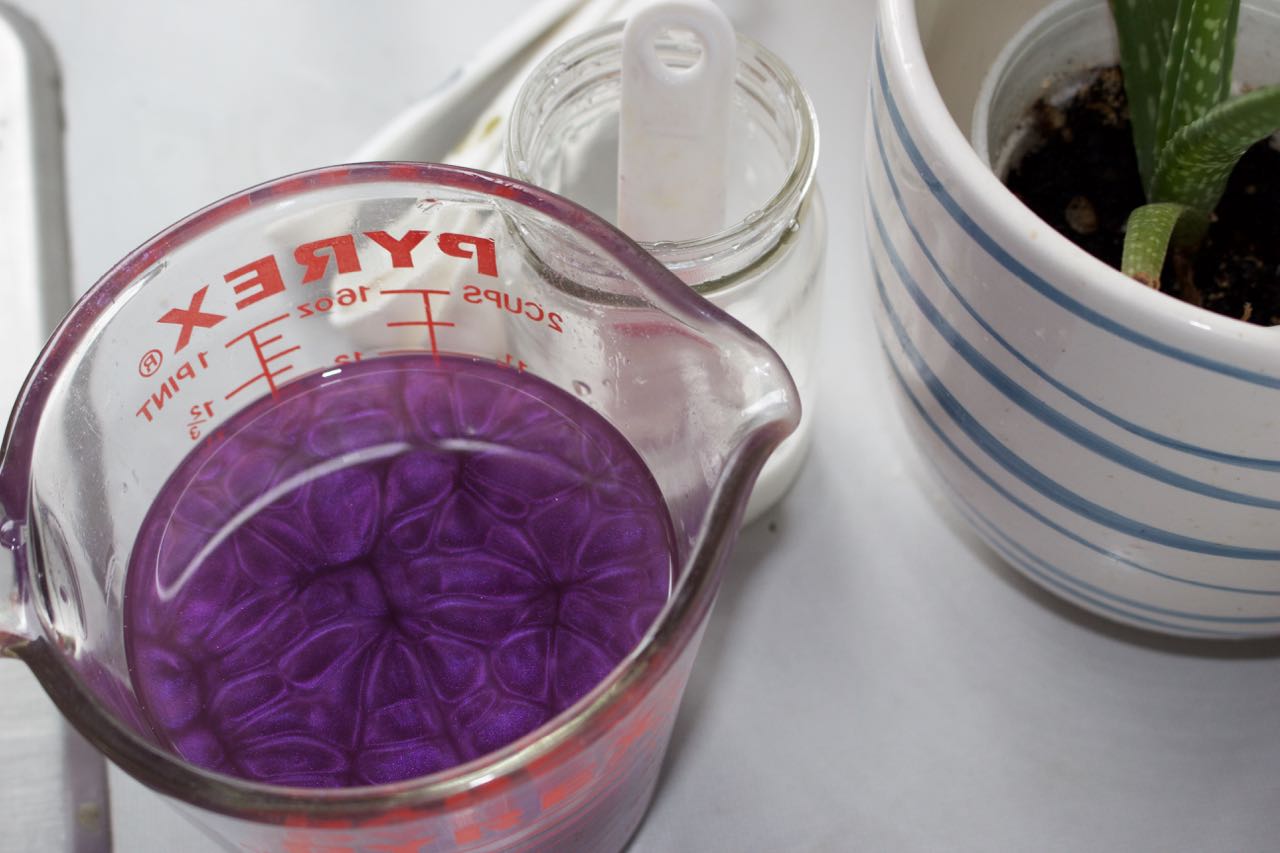
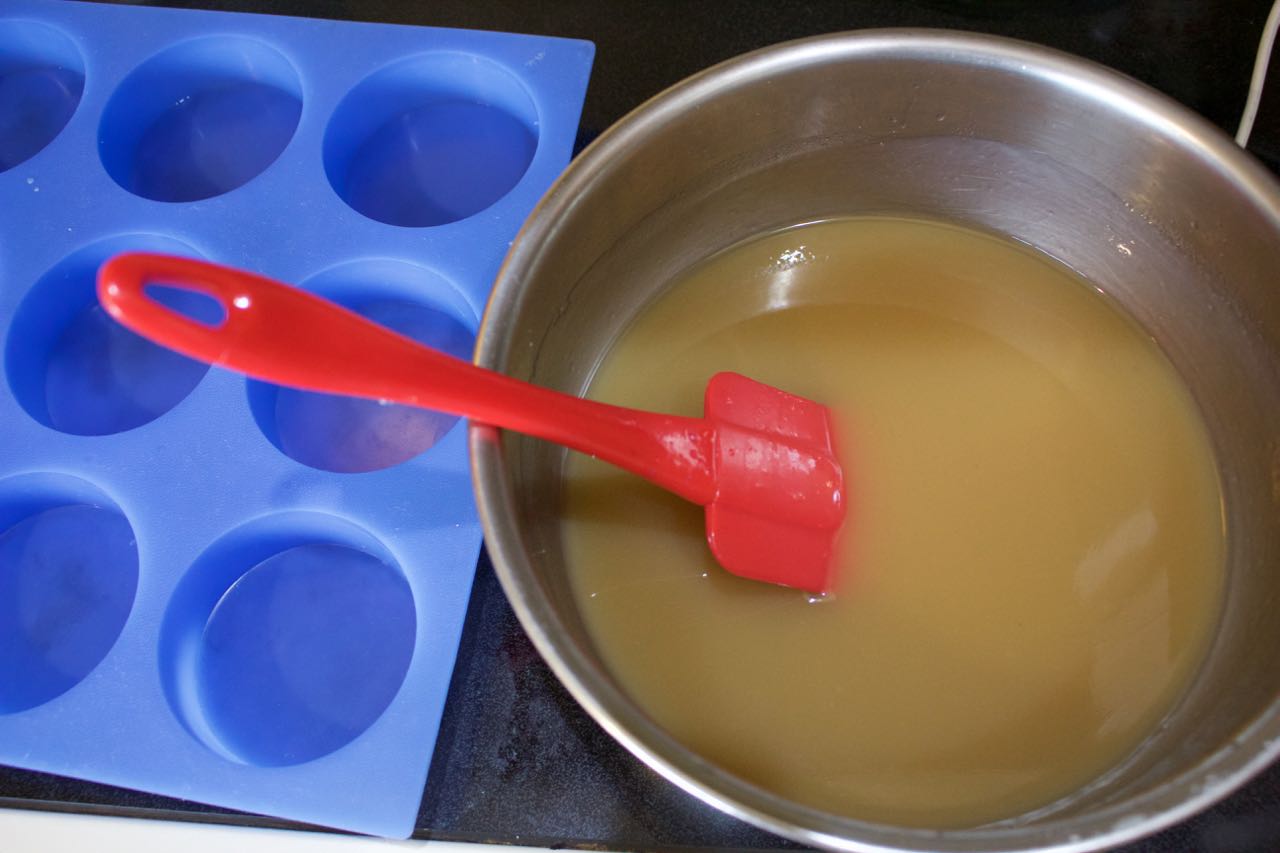
I got a free sample of a nice floral fragrance called “Midnight Waters”, just enough for a 1 pound batch. I made a simple coconut soap with coconut milk and tried to color it purple. The fragrance discolored a bit tan so my base purple was crowded out, but since things were moving slowly I tried to add a purple line and colored the top pale green. I’m quite pleased with the result
This glorious purple mica was overwhelmed by the FO discoloration
Bars after unmolding and cut. The purple line looks great. I’ve never tried one before.
Then I tried two shampoo bars. One is my favorite coconut recipe but I wanted to try it again with the addition of apple cider vinegar and citric acid. The next was a very different recipe with 6-oils that also includes apple cider vinegar.
Cider vinegar in the lye does not make for an attractive color.
I scented one with ylang-ylang and bergamot essential oils and the other with a green tea fragrance oil.
Coconut shampoo on the left, 6-oil shampoo on the right.
*But wait, I hear you say. What is a syndet bar? The shampoo bars I’ve made so far are all true soaps. That means they are made by reacting lye with fatty acids from plants or animals and you get a high-pH solid soap at the end. Your hair has a natural pH on the acid side and some (but not all) shampoos you can buy commercially make a big deal out of matching the pH of the shampoo to your hair. It’s unclear to me if this is really beneficial or a marketing ploy (I suspect the latter), but I do notice that when I use my soap-shampoo that every week or two I like to use a cider vinegar rinse that seems to remove some build up. (It will also de-scum your bathtub!)
If you try to add acid to soap to lower the pH below around 8, you will undo the chemical reaction that makes it soap and be left with a pile of fatty acids.
Enter ‘synthetic detergents’. This is what nearly all commercial shampoos are made of. They can have a pH anywhere from about 4 to 8 or 9 but they stay detergents, and will still clean, even with a lower pH.
Lush makes shampoo bars by pressing detergent noodles into a mold along with some other ingredients and I’m going to have a go at that and see if like it any better than my soap-based shampoo.
The local 4-H Arts program had a workshop where the kids could learn to make acrylic-pour art on canvas. Since I’d been looking at exactly that just a few weeks earlier and thinking that I wanted to try it out, I jumped at the chance to sign up with my two younger children.
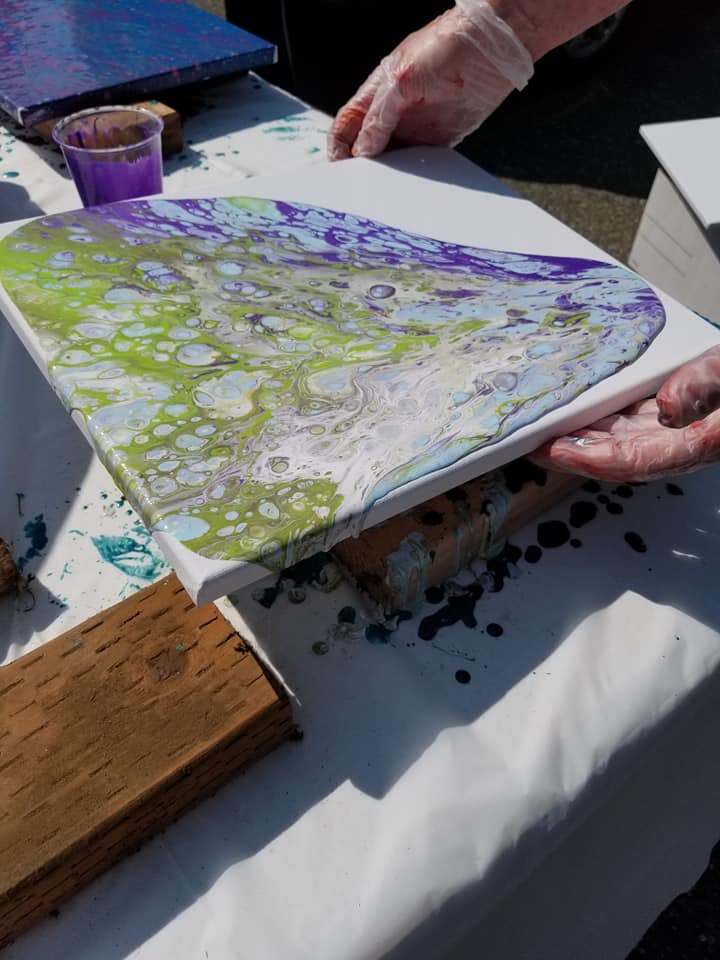
We did a ‘flip cup’ pour with only 3-4 colors as this was suggested to get the best results for the kids. And I held back a bit to watch how everything turned out. Part of the secret seems to be patience – don’t rush the process of letting the colors spread out.
Spreading the paint
The initial flip
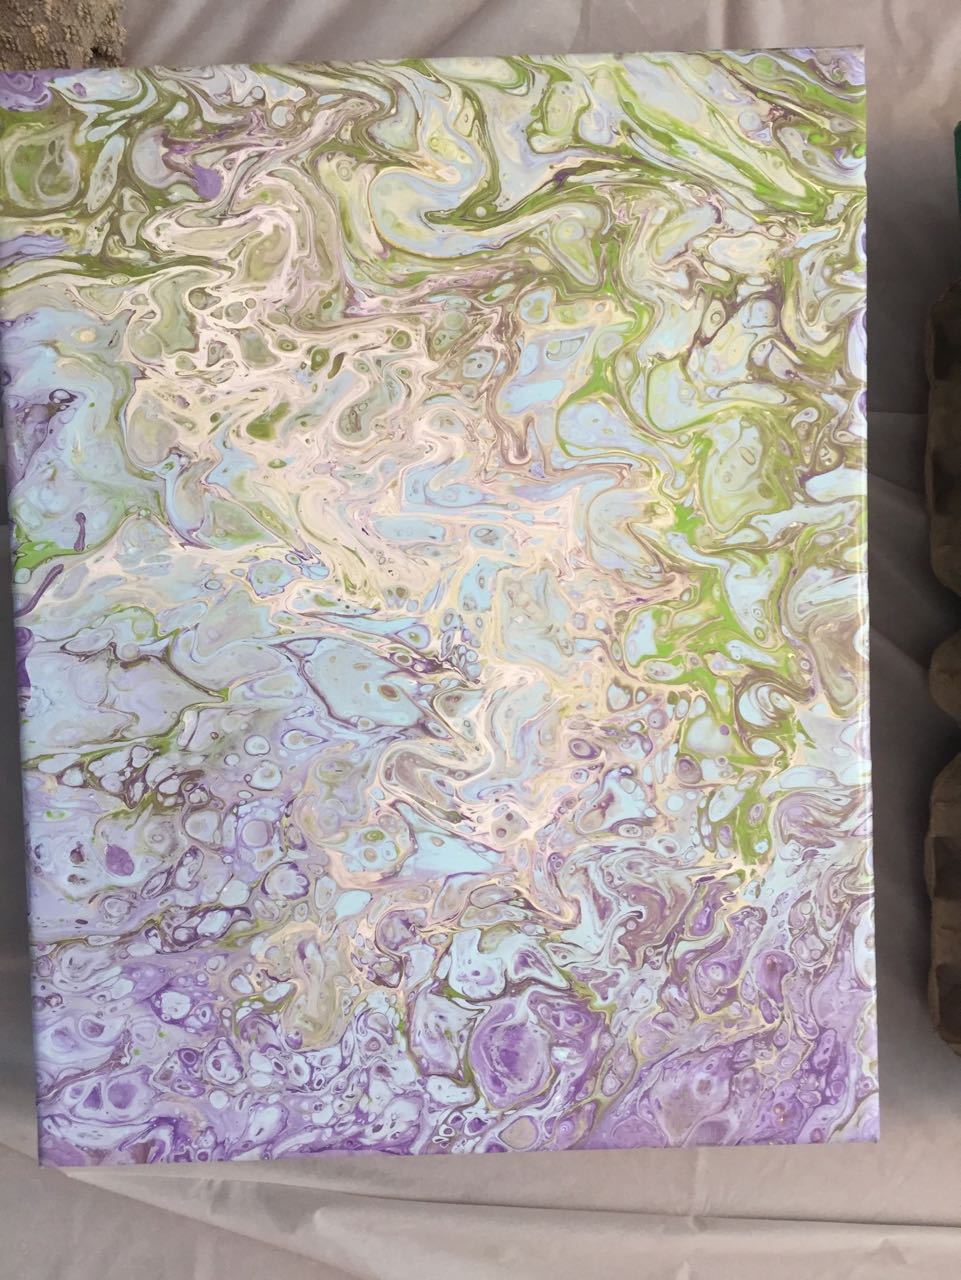
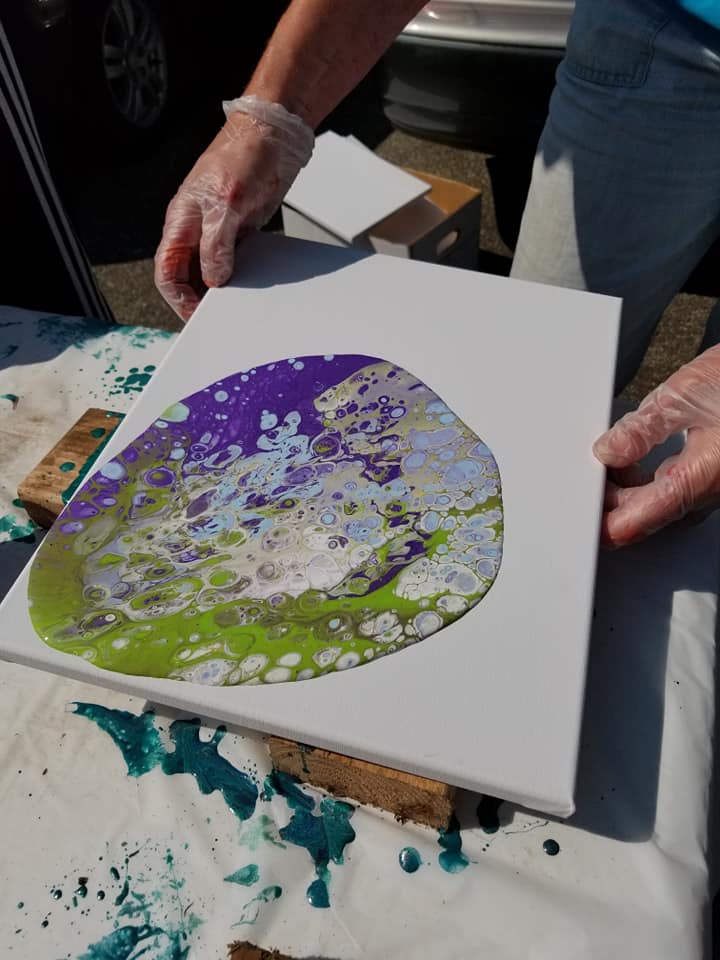
I happen to like the one made by my youngest best, I think choosing highly contrasting colors help the final outcome. I also noticed that the color I used most in the cup isn’t necessarily what you get most of on the canvas. (For mine, I used nearly 1/2 purple, but it’s not dominant in the final painting).
My final painting using purple, green, light blue, and white
Youngest daughter’s final result using red, orange, purple and silver. I really didn’t think these colors would work, but now it’s my favorite.
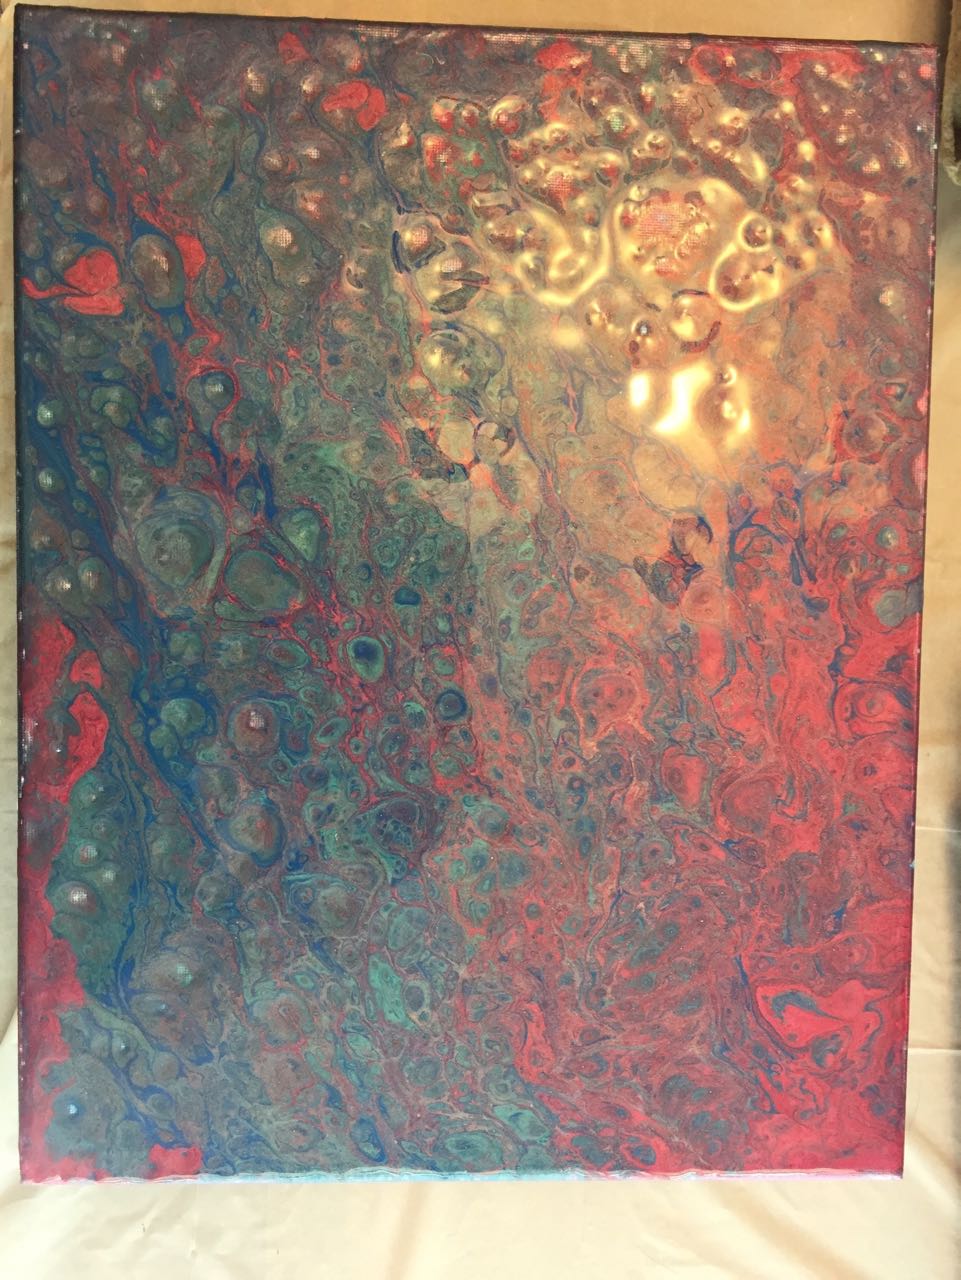
My middle child’s effort. Sorry about the glare here, I’ll get a better photo when it’s dried. He was going for ‘space’ and didn’t quite achieve that, but it’s still cool.
They are still drying right now and will have a poly finish applied before they are ready to go.
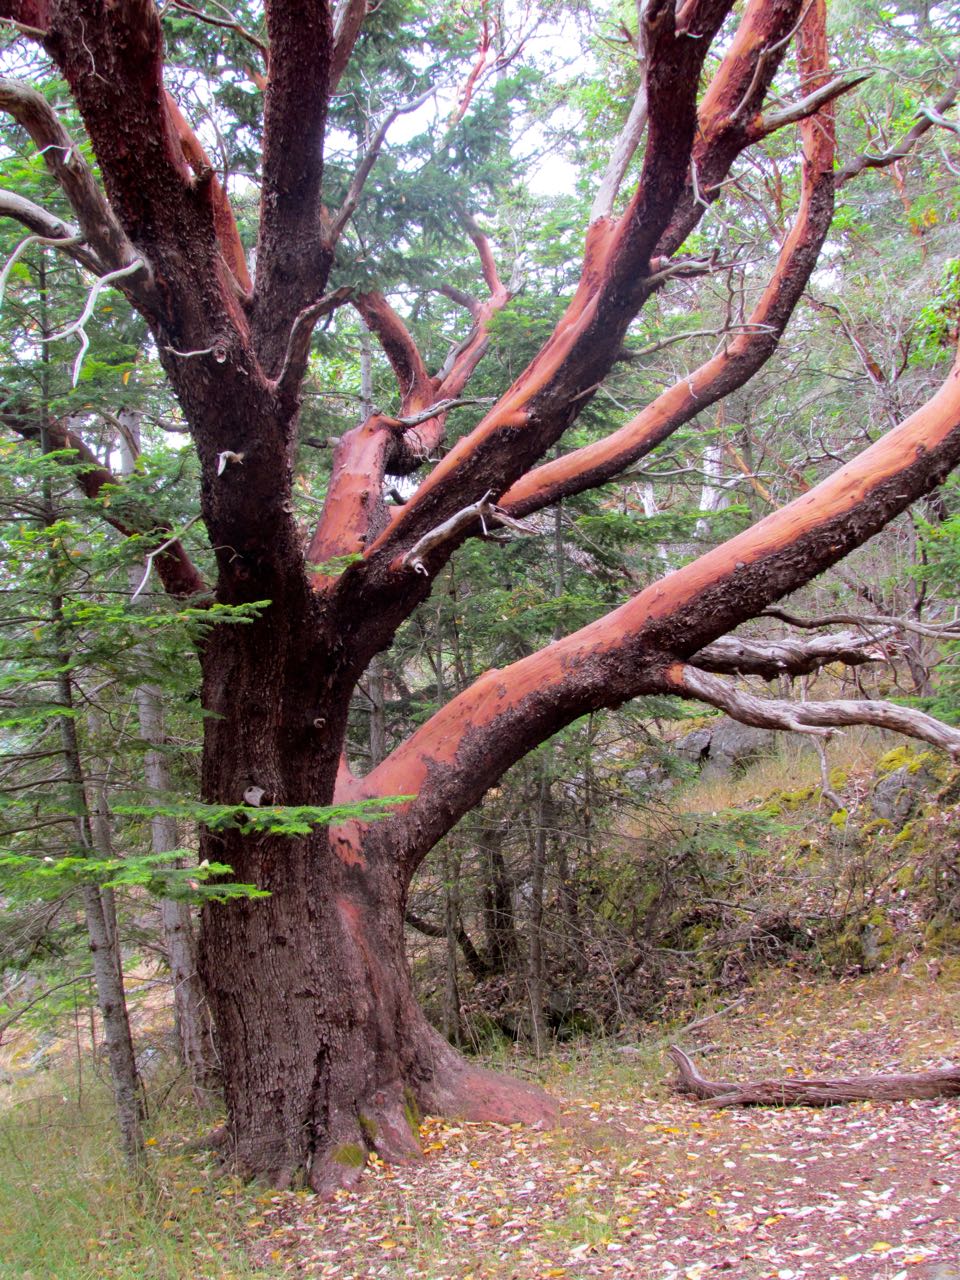
Or at least – ‘artists impression of a sandalwood tree’. I admit it looks more like a madrone (and like all my other trees so far), but I’m happy with it.
A little break from photos of France. I am getting ready for my fall soaps and thinking of new labels in color. I wanted a wood grain, but when I tried looking for photos of that I was disappointed in the results.
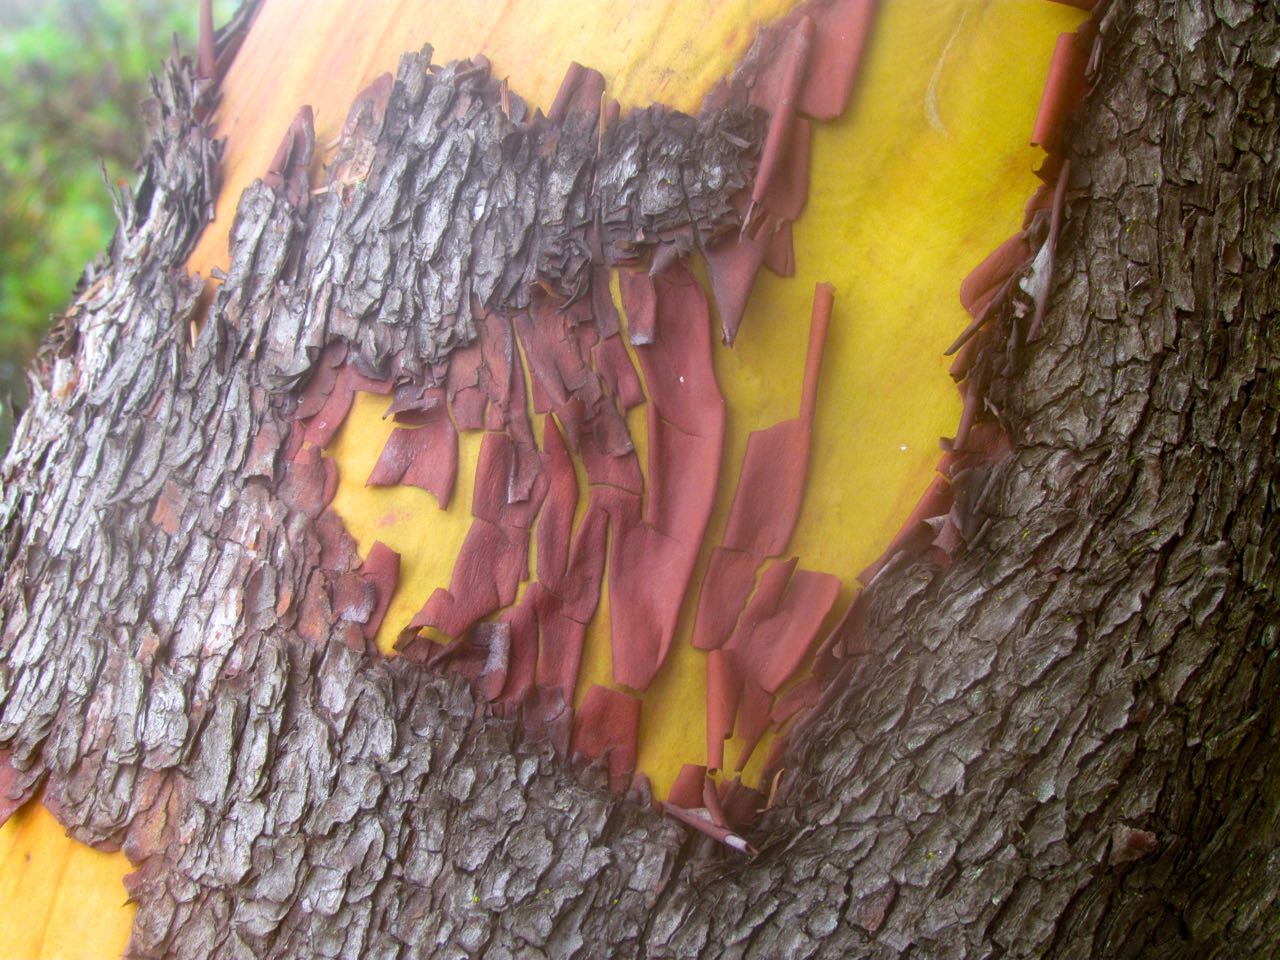
And if you are thinking “what is a madrone tree?” They have a very striking cinnamon color bark that peels. The outer bark can get rough and darker, the inner bark is smooth, flowing and can be orange to green. They are a broad leaf evergreen that lives in the pacific northwest.
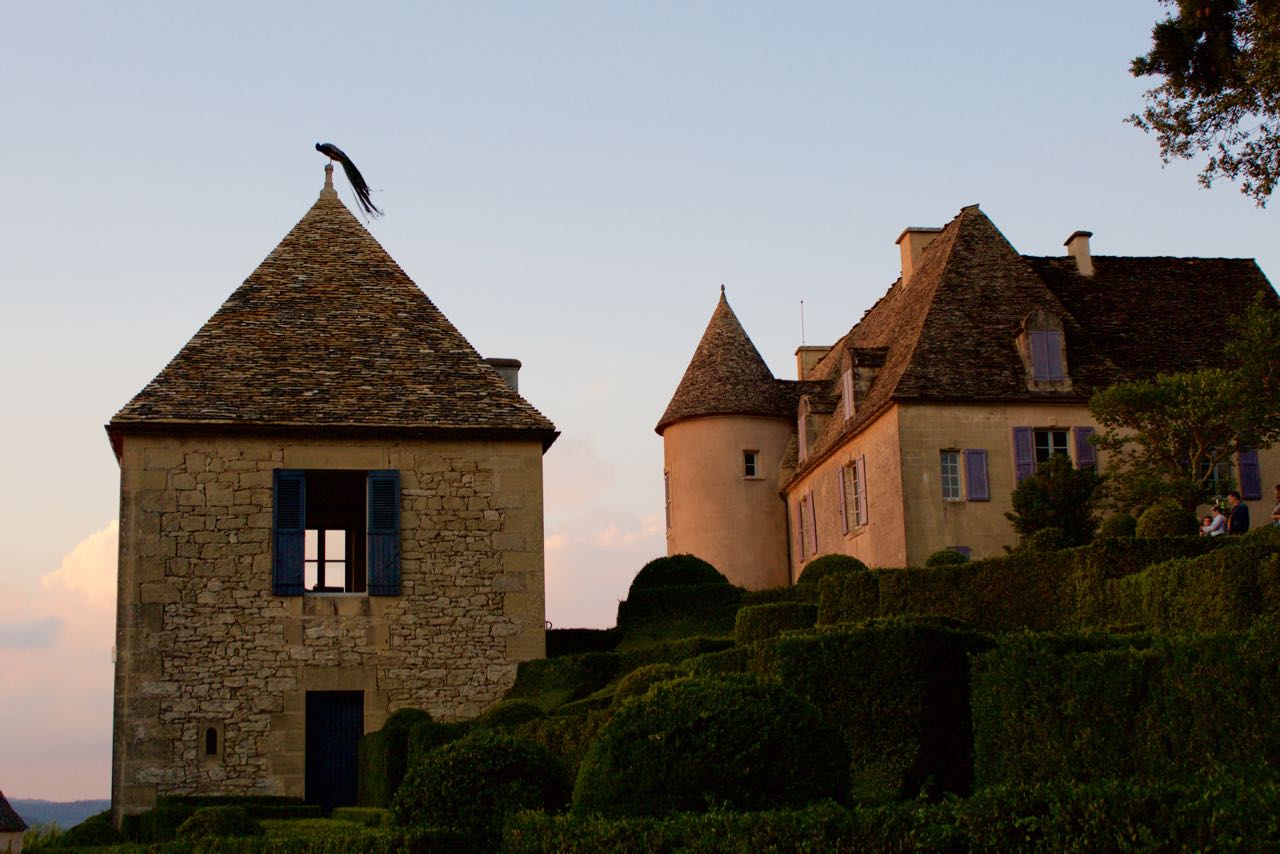
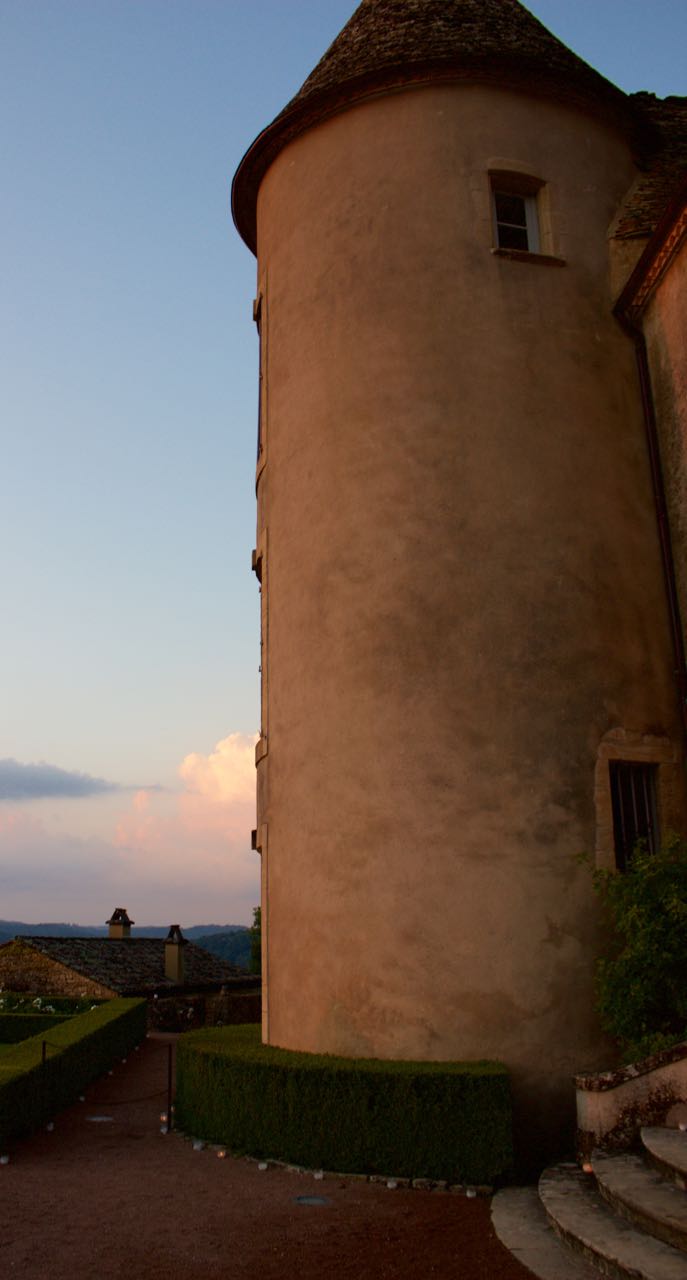
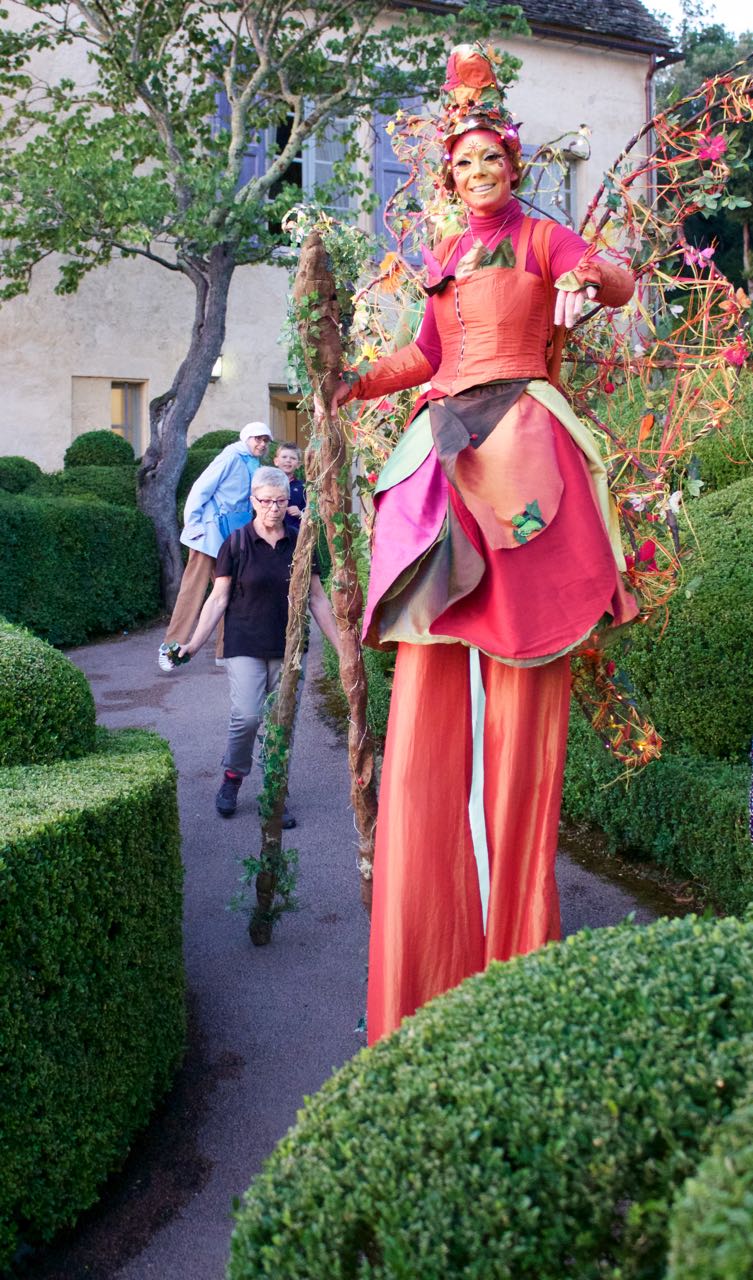
This is a chateau and large garden on a ridge-line above the Dordogne river. Normally open during the day, it sometimes opens in the evening for a candlelit view of the gardens along with music. I would go back in a heartbeat. I’d love to also see it during the day.
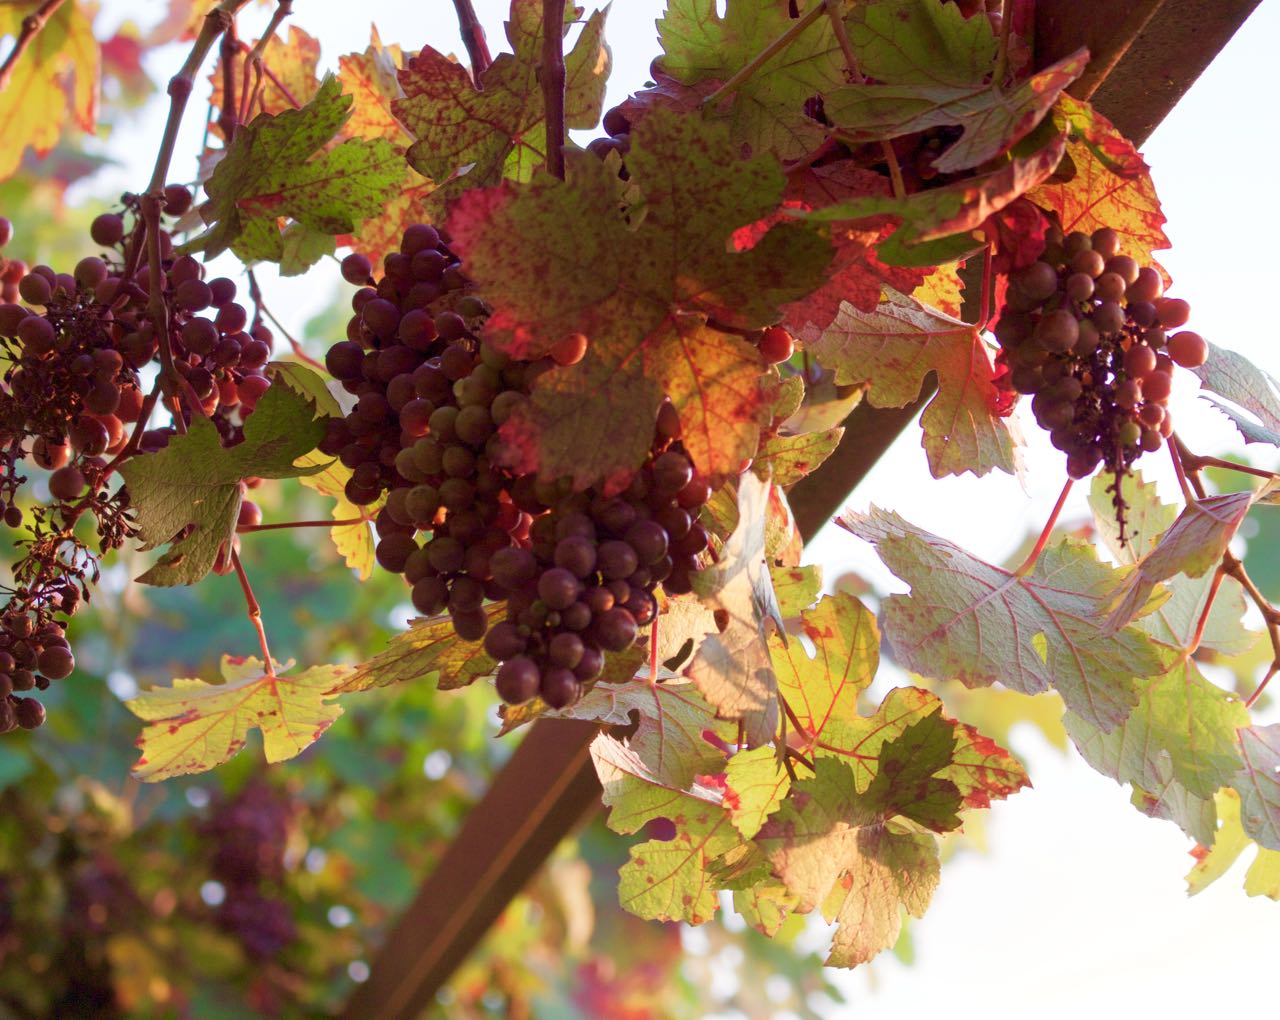
As we were about to walk in, the light glowing through a grape arbor caught my eye.
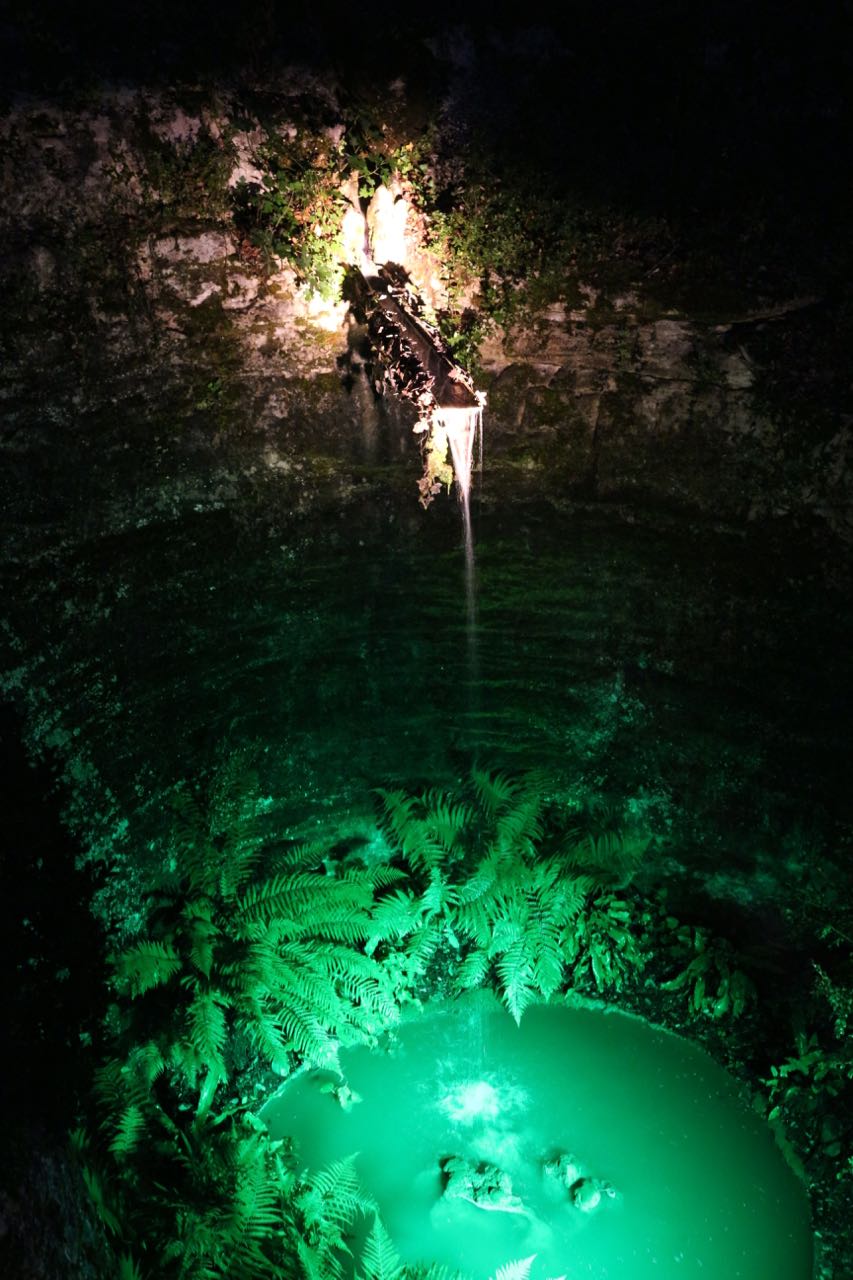
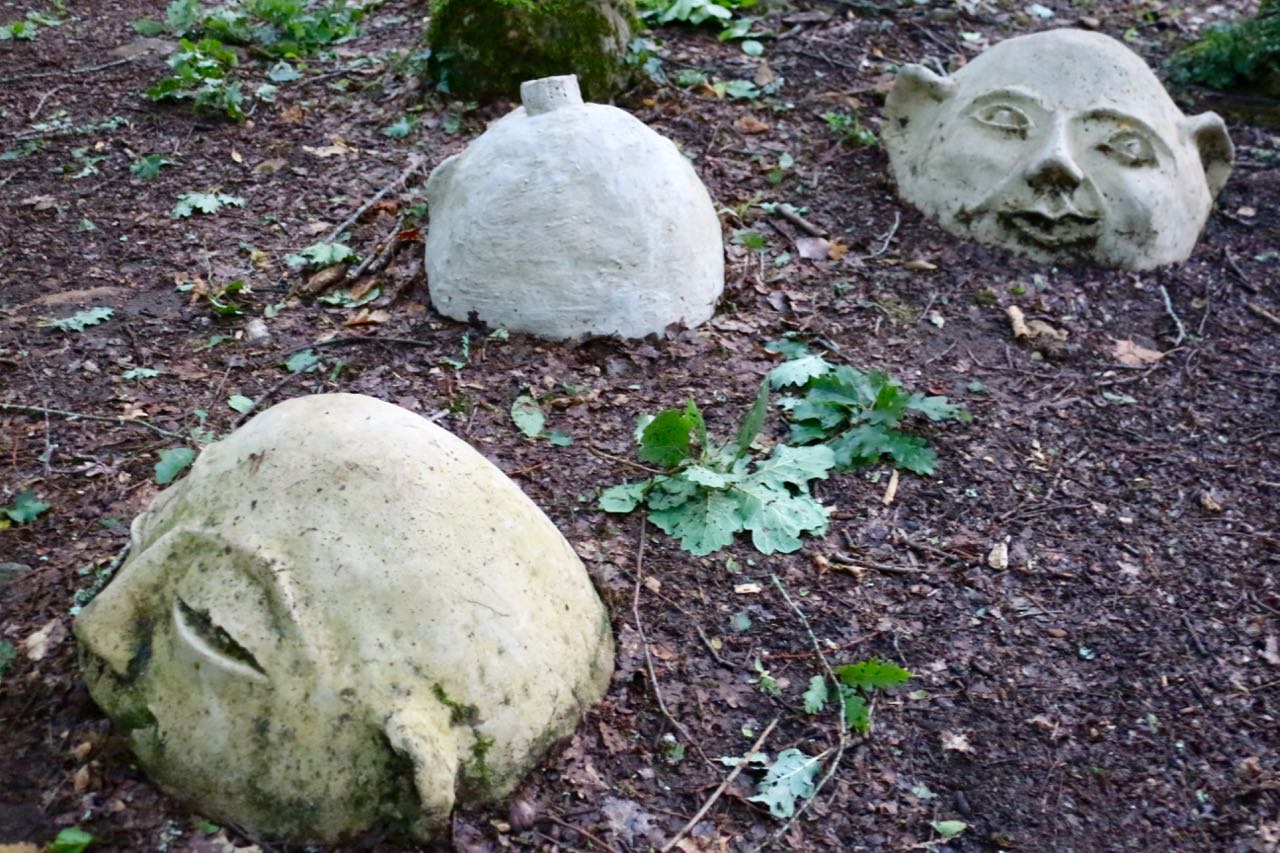
Inside, in addition to musicians, there were ‘fairies’, colorfully lit fountains and these little goblins popping out of the earth. In the daytime there was a mini rope-net course for the kids to play on, but we didn’t have much time there before it became too dark to see.
Fairies
Enchanted pool
Our girls casting some sort of spell.
Earth goblins. I think I need some of these for my yard.


")


