I hurt my back this morning, and my knee last week so that took out most physical things I wanted to do today, but the back was feeling well enough that I opted to get some stuff done around the house. I wound up dividing and repotting several plants that had been looking a little sad.
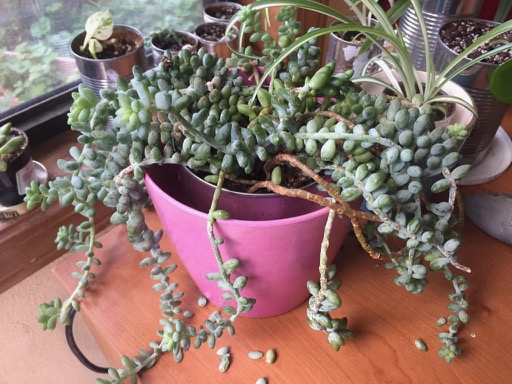
This burros tail had lots of fallen ‘leaves’ that were rooting. I gave them pots. 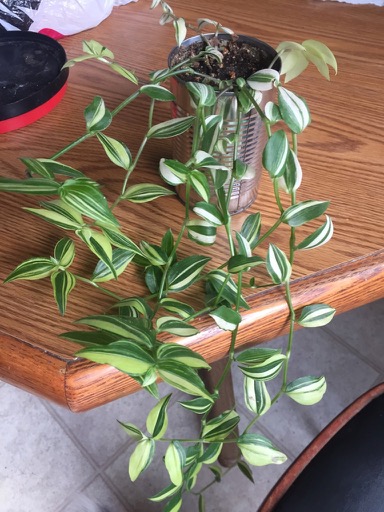
This was getting too shaggy so I took cuttings. 
This was a rooted cutting I finally put in a pot. 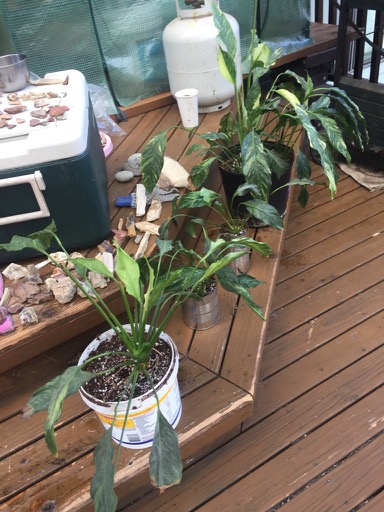
Mama peace lily was divided into 4 pots. 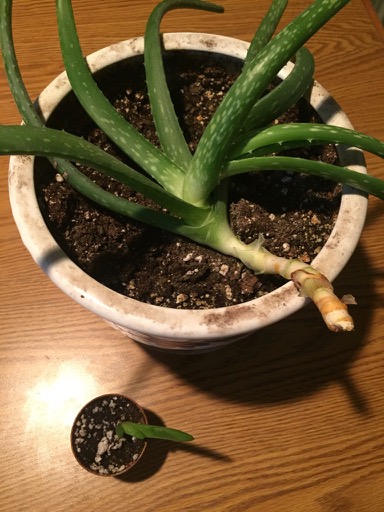
This aloe was getting a weird curly stem. Trimmed it back and potted the pup.
I also repotted my orchid and took a leaf cutting from an African violet. The mama plant is looking sad, but the one I pulled out a month ago looks fantastic.
Update: I felt the need to take a photo of all my variegated plants because I love them and then I also did a little update on ‘what’s outside’. The outside garden had a rough year.
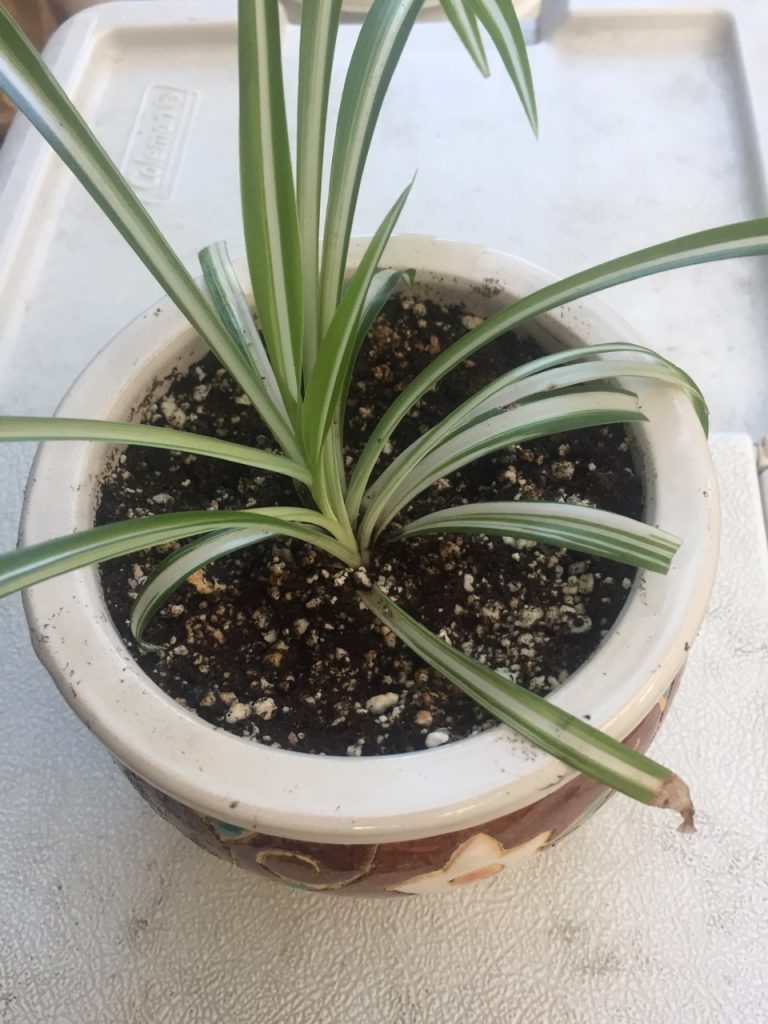
varigated spider plant 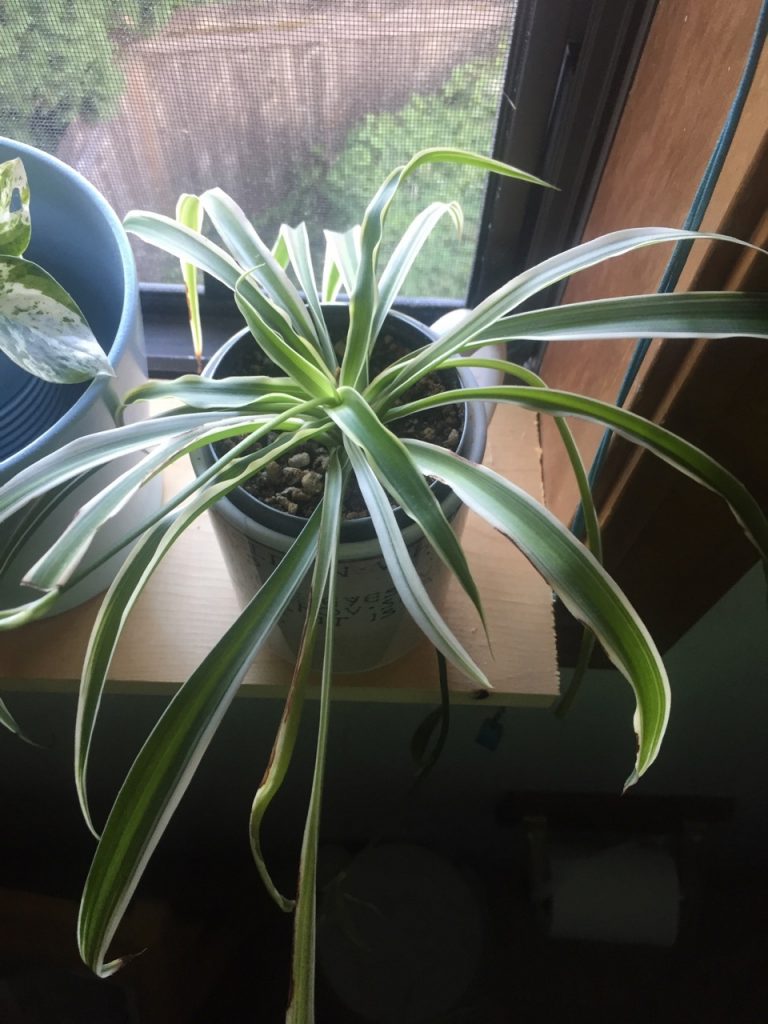
reverse varigated! 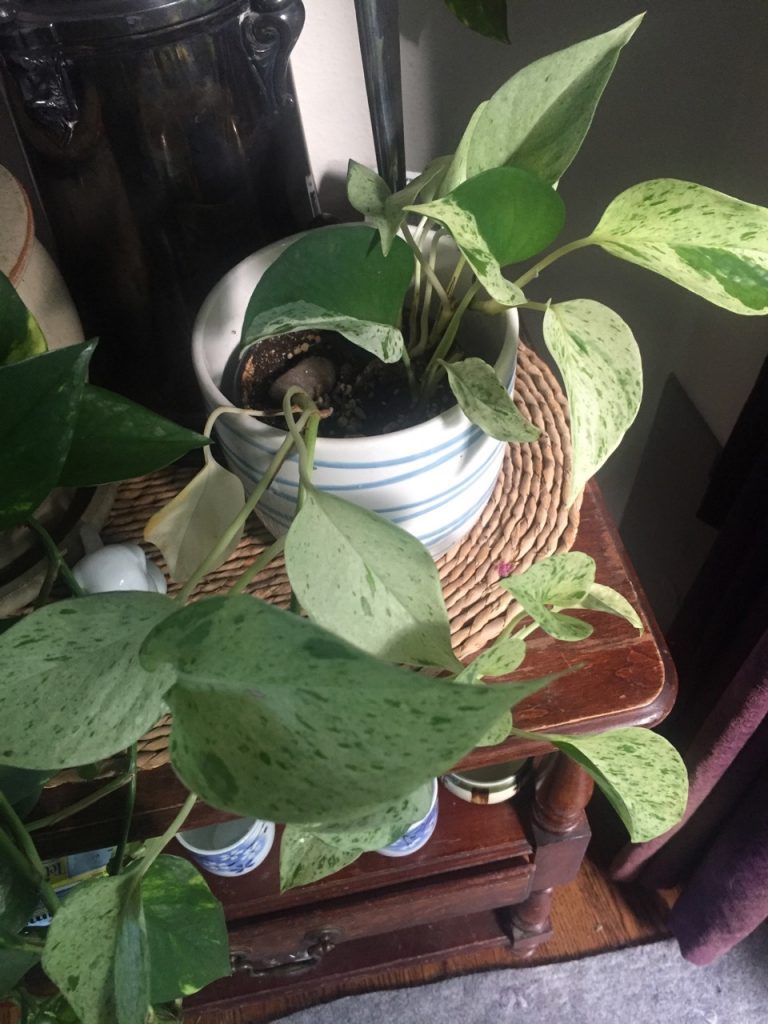
marble queen pothos 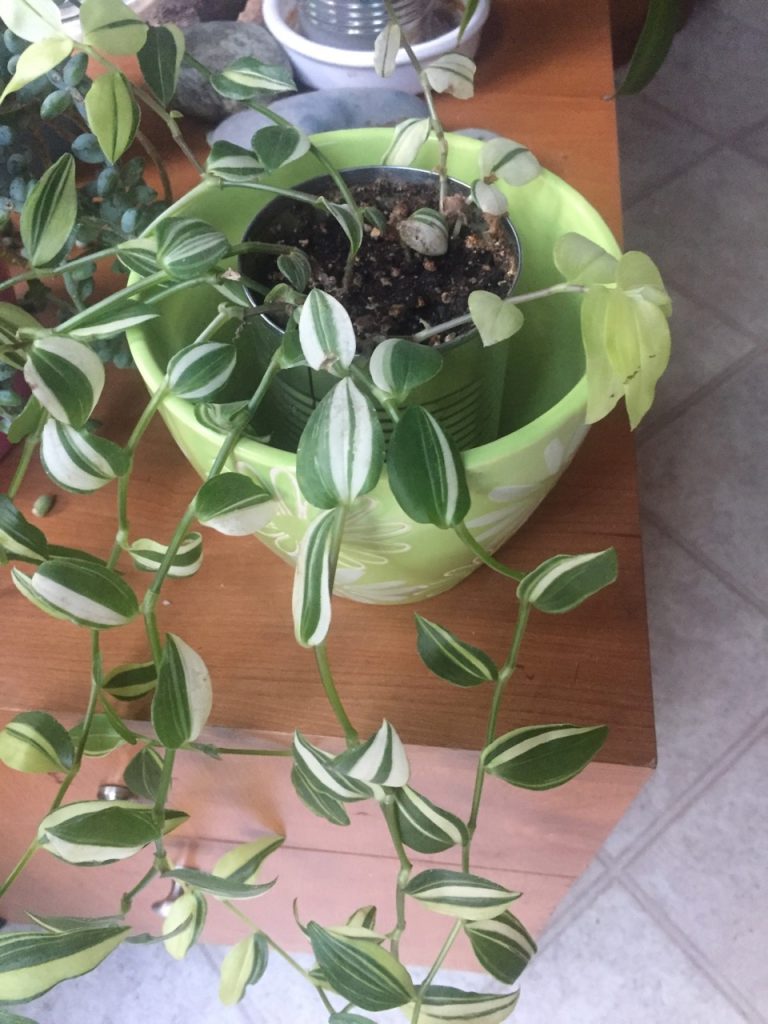
more varigation! 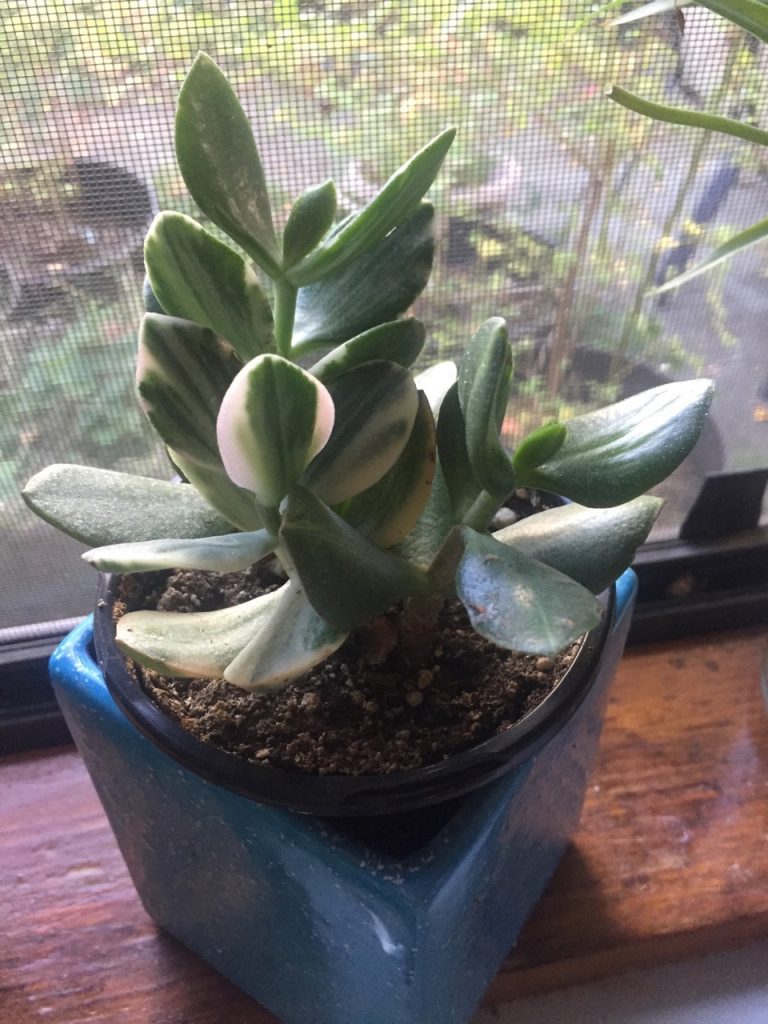
variegated jade! 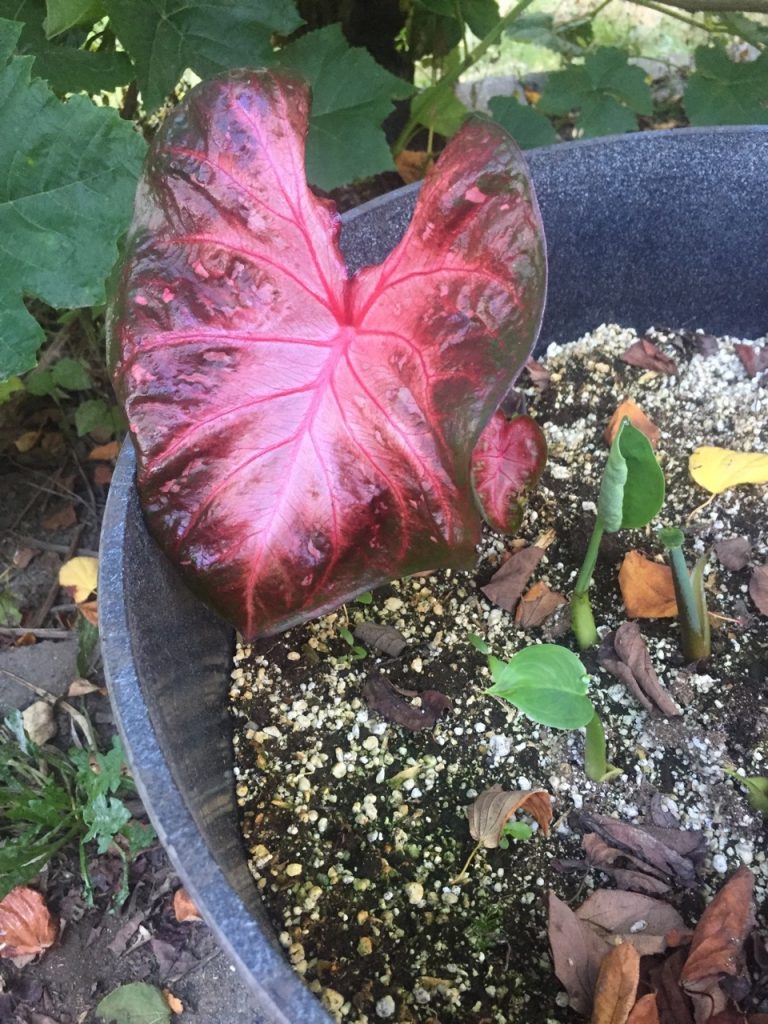
Caladium didn’t die, barely 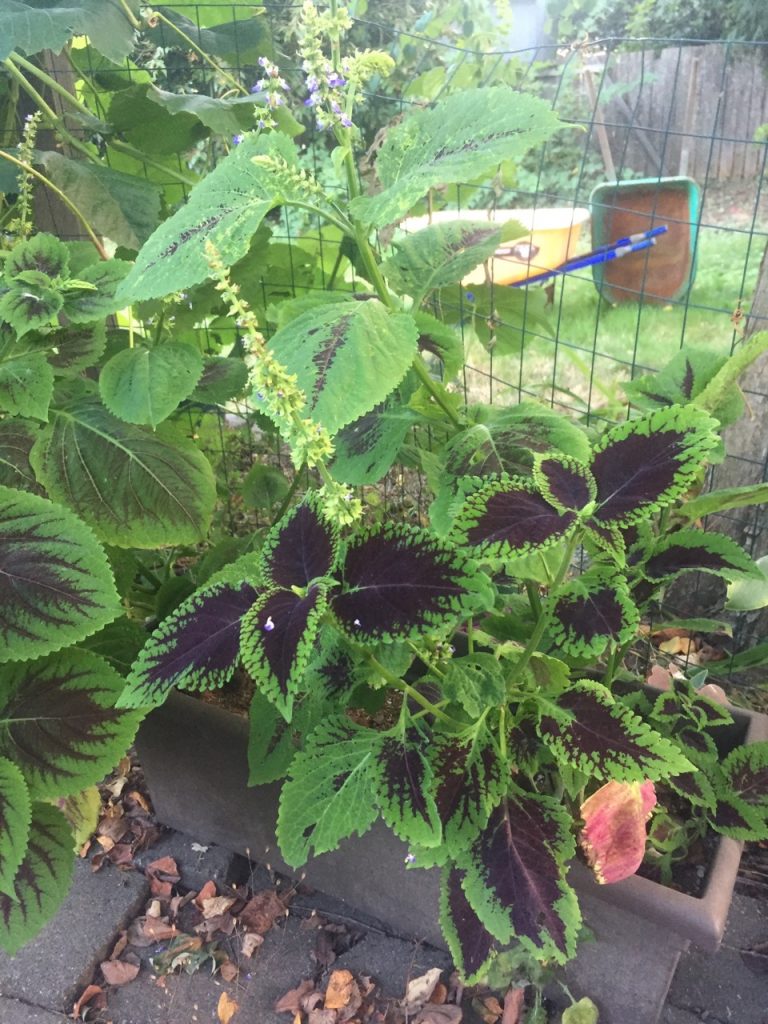
coleus, looks good 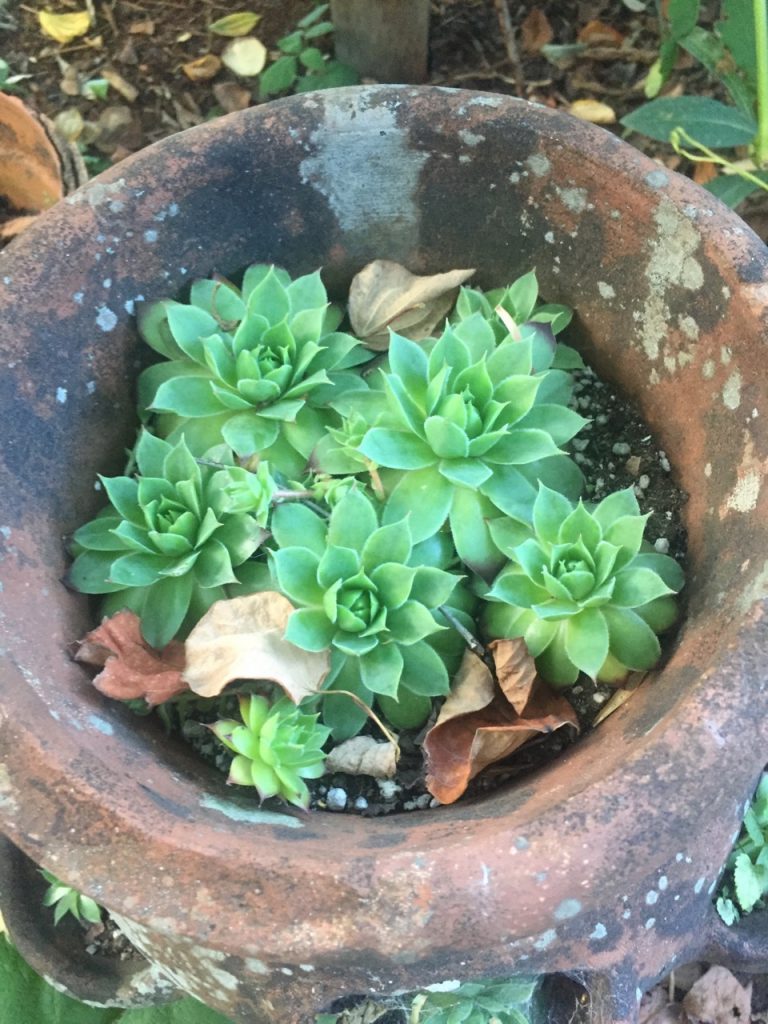
hens & chicks everywhere


")


