The local 4-H Arts program had a workshop where the kids could learn to make acrylic-pour art on canvas. Since I’d been looking at exactly that just a few weeks earlier and thinking that I wanted to try it out, I jumped at the chance to sign up with my two younger children.
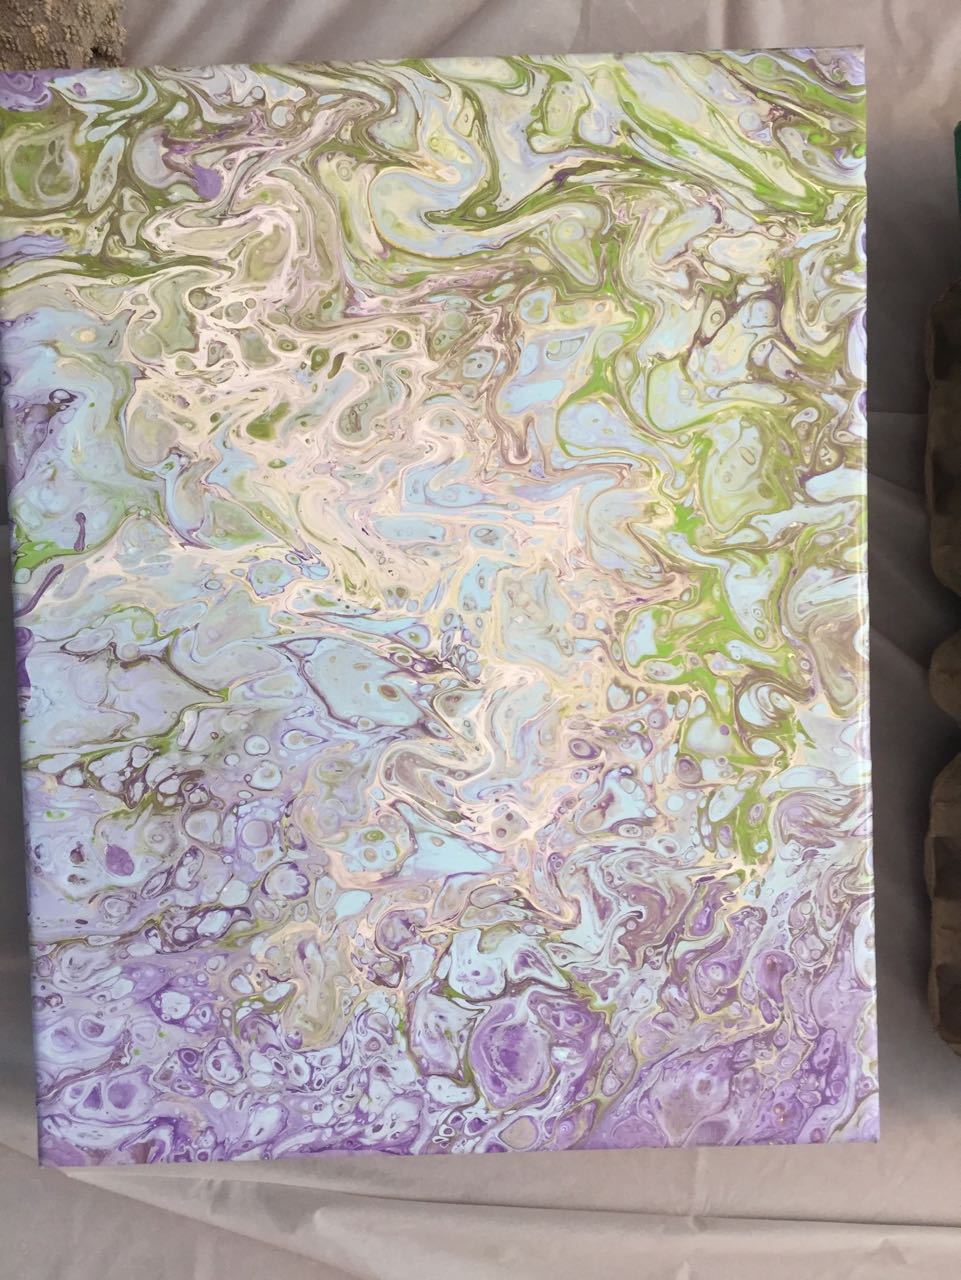
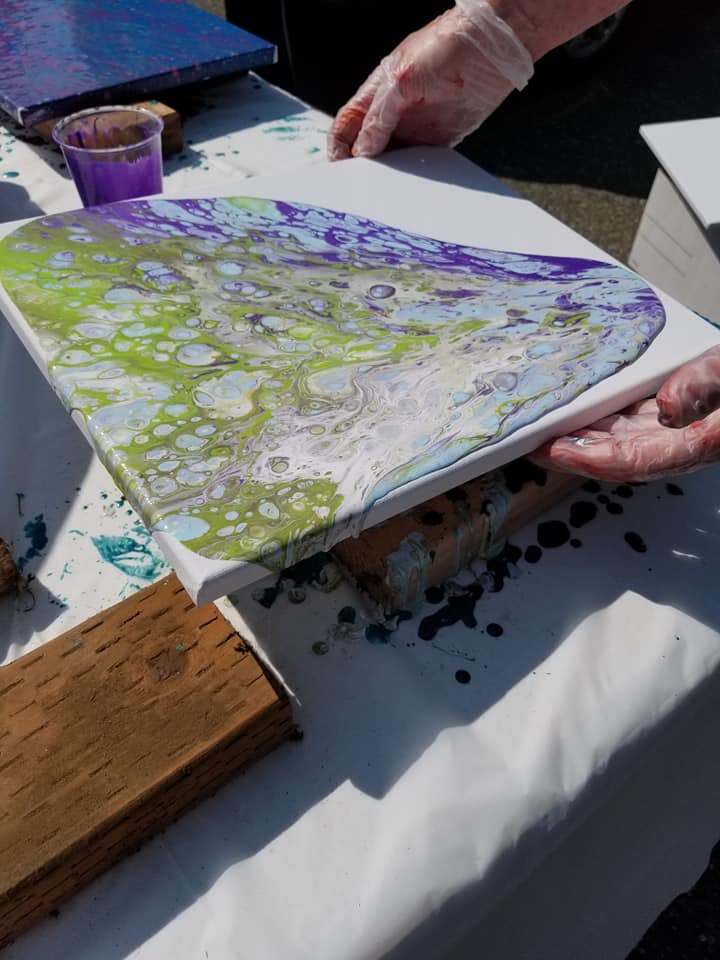
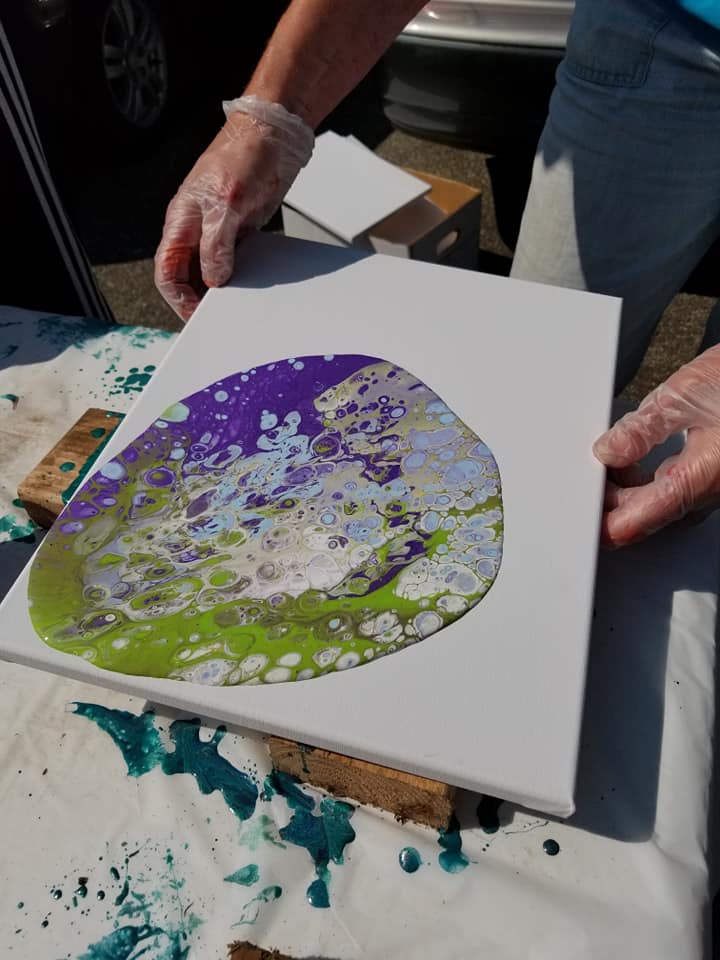
We did a ‘flip cup’ pour with only 3-4 colors as this was suggested to get the best results for the kids. And I held back a bit to watch how everything turned out. Part of the secret seems to be patience – don’t rush the process of letting the colors spread out.
I happen to like the one made by my youngest best, I think choosing highly contrasting colors help the final outcome. I also noticed that the color I used most in the cup isn’t necessarily what you get most of on the canvas. (For mine, I used nearly 1/2 purple, but it’s not dominant in the final painting).

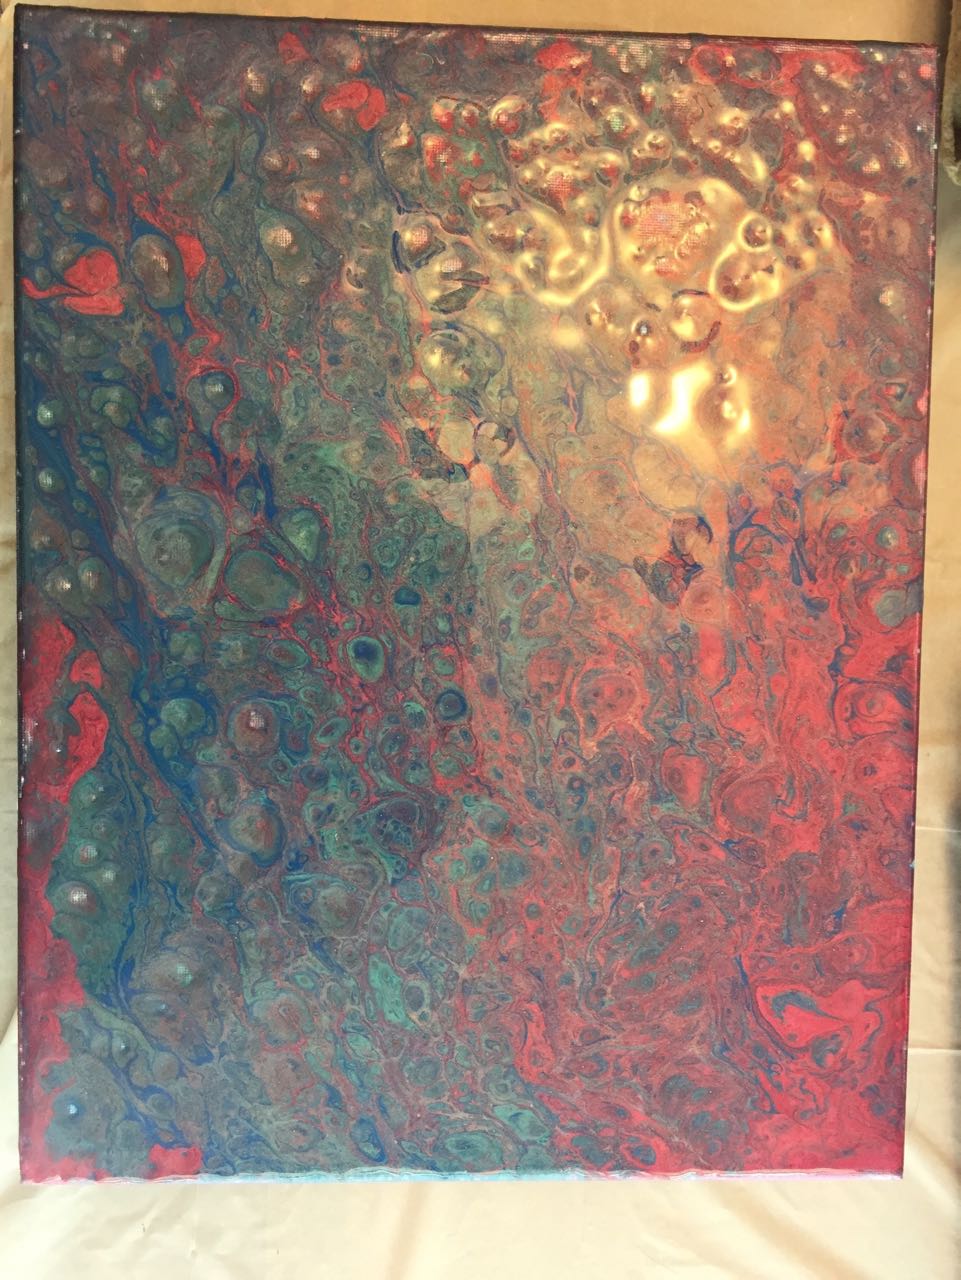
They are still drying right now and will have a poly finish applied before they are ready to go.
The kids loved this so expect to see more!
")


