Last week I went to visit a friend in Albuquerque and pick his brain about how to make molds for soap and resin casting. There was a LOT of information all at once and I’m still organizing it in my mind. Here are some of the photos I took during the workshop.
I have workshop envy
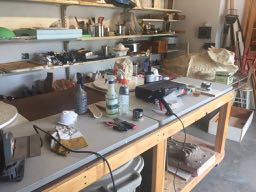
This is the shop where he makes his molds. Lately he’s been moving more into metal casting than resin, and one March (this year or next) I may come to a metal-casting workshop. In the back notice the very large mold of the very, very large horny-toad. I loved that sculpture. On the back wall there is also a nice mold of the classic archaeopteryx fossil. I would have taken a casting of that if I’d had space for it in my luggage. As it was, I barely fit the molds I made myself plus the LARGE quantity of hot green chili I brought back.
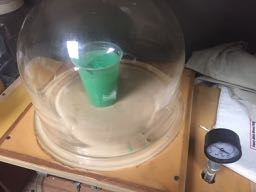
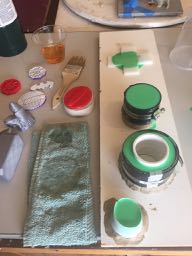
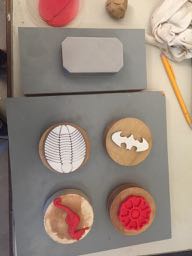
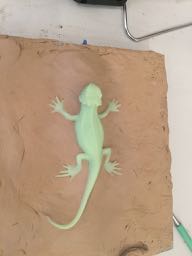
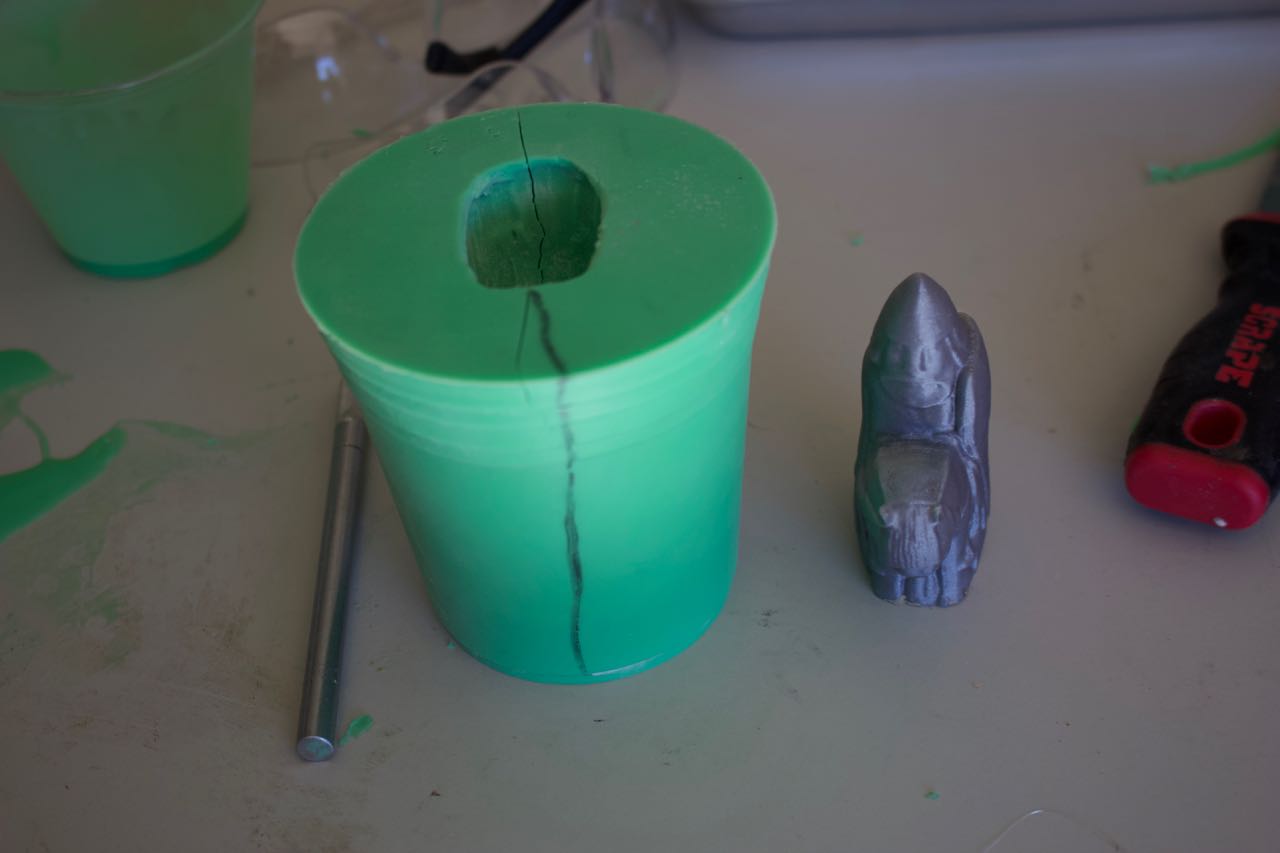
Platsil 73-25 2-part mold silicone. And Nathan’s cool tray to allow it to pour more easily.Vacuum de-gasser. We only used this once but I think it did reduce bubbles in the siliconeSome molds poured, other forms waiting to be set up.Shapes glued down and ready for the mold form to go around it. I used cups or PVC for the round ones and foam-core board and hot glue for the rectangular one.Lizard on a bed of clay ready for mold material to be painted on. This will be a 2-part mold.
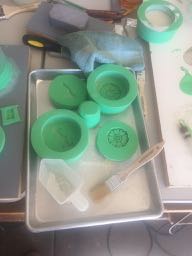
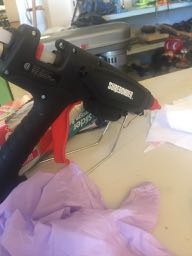
Completed molds are trimmed and dusted with talc so they don’t pick up dust and dog hair.Nathans epic $100 variable temperature glue gun. The glue sticks are a foot long and 1cm wide.
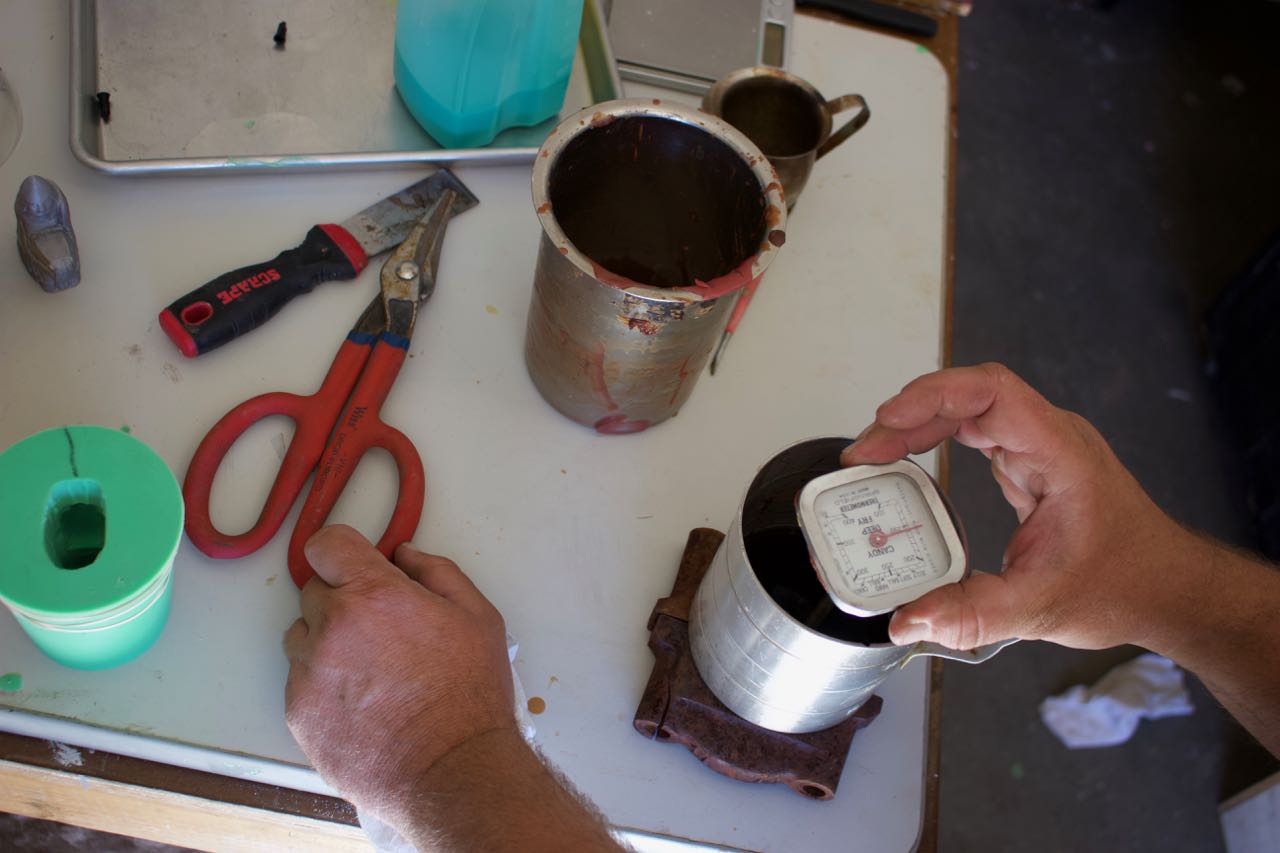
Completed chess mold after the 3D printed original was removed.Heating wax to pour a shape that can be sculpted moreThe final array. Everything I brought back with me: molds, originals, casts in resin, wax and plaster, extra wax and some new sculpting tools.

")


